I have mentioned a time or two about how if you want to stain a piece of furniture that you have to remove the previous finish…down to the bare wood to stain. What about pieces that aren’t made from wood? Or you sand through the veneer and now only have the option to paint. Which if you have sanded through the veneer I highly suggest you check out this post first. It contains a vital element to making sure your piece is properly prepped to continue on! What if I told you that there is a way to stain the previously mentioned unstainable.
What if I told you that no matter what your piece of furniture is made out of and no matter the damage you can still stain it! I am not talking fake stain but use an actual stain and get a beautifully stained wood grain look. It is possible to stain the unstainable and I am going to tell you how to do it!
This post may contain affiliate links, which means I may receive a commission, at no extra cost to you, if you make a purchase through a link. Please see my full disclosure for further information.
Supplies Needed
- Primer (optional)
- Retique It – or buy it on Amazon
- Paint Brush
- Graining Tool
- Stain
- Foam Brush
- Rags
A Little Bit About the Piece
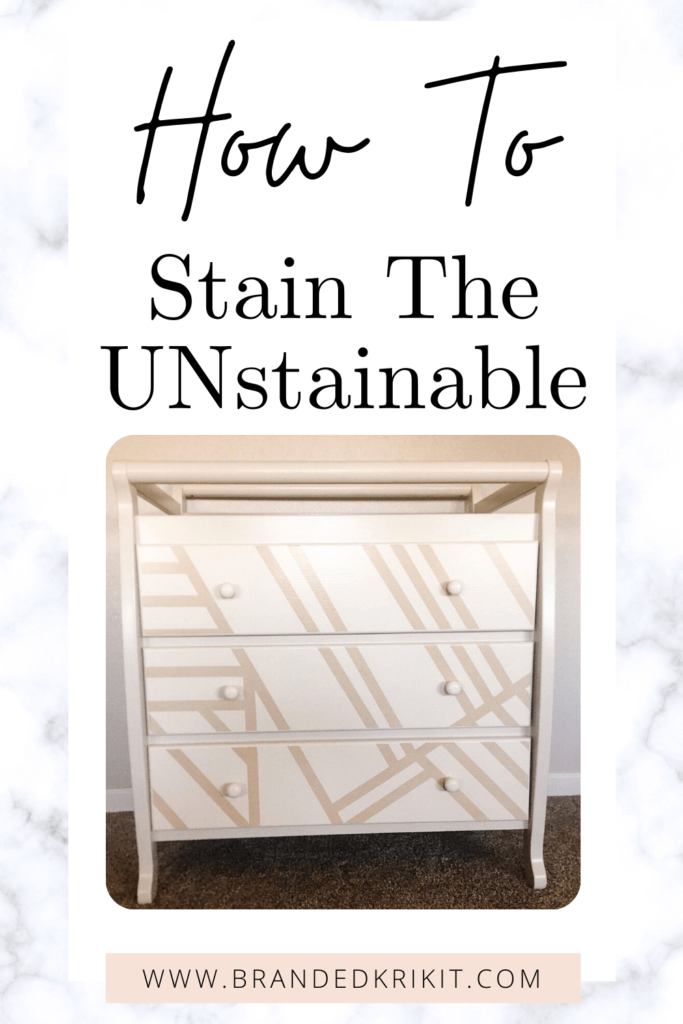
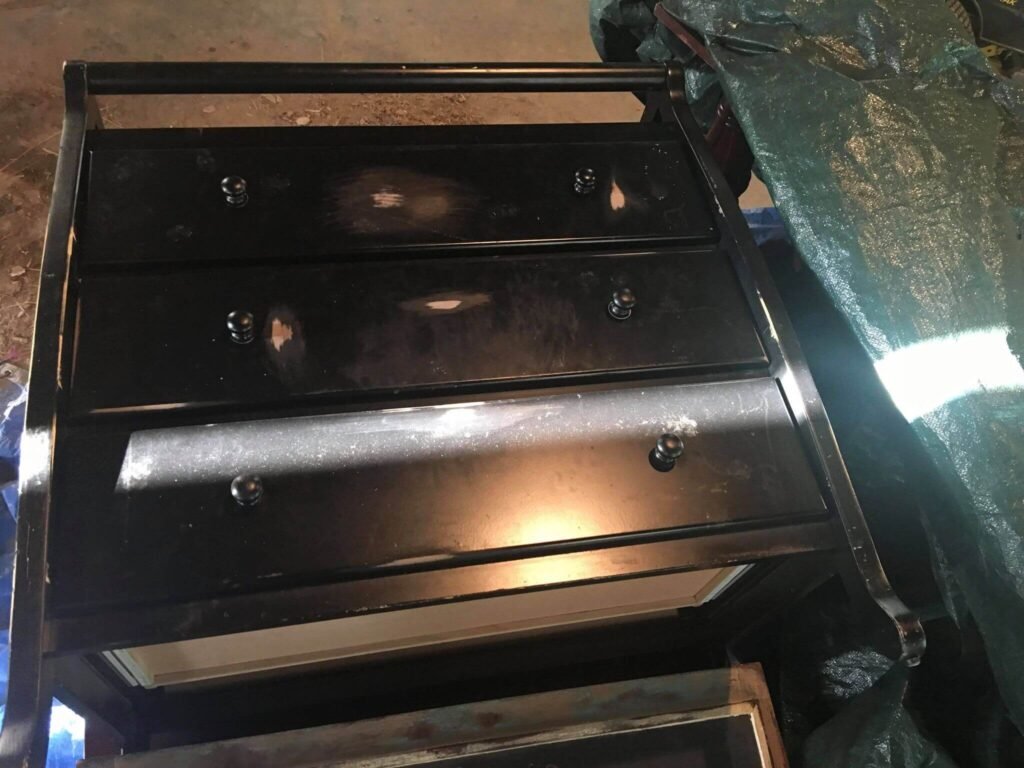
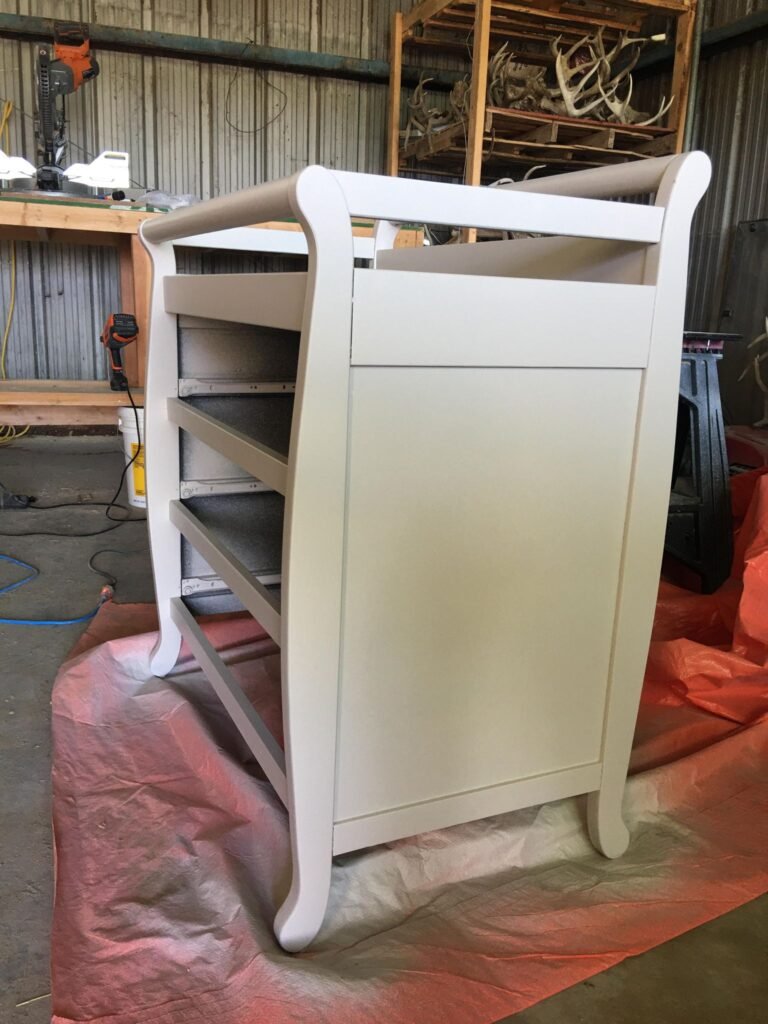
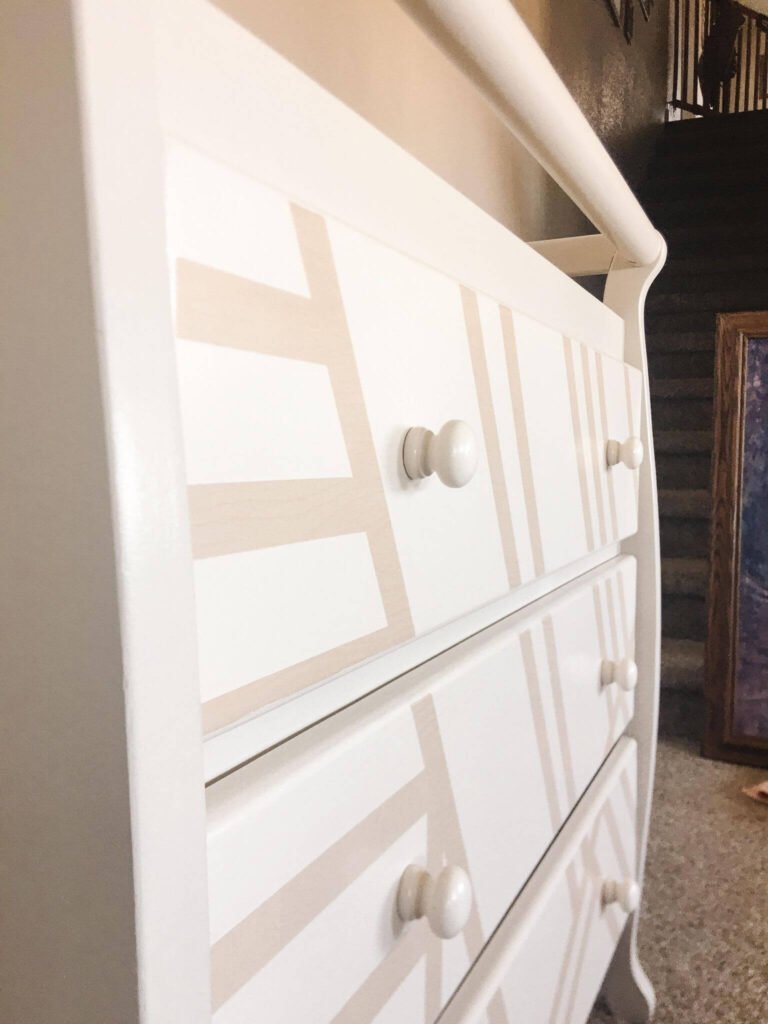
This piece of furniture was given to me by a friend (the best kind of furniture to get IMO). When I received it I had no idea what I wanted to do but after a few minutes on Pinterest, I found an inspiration picture! I primed the whole thing with Zinsser 123 and sprayed it with a beige/light tan color I got from the oops section for one whole dollar. I also used this paint color on this kitchen table too. Great find for me but unfortunately can’t link the specific paint color. Once it was completely painted I used my kitchen sponge technique to apply a topcoat all over the whole thing. Just like I did in this post about painting without any brush strokes! Check it out! Now that the majority of the changing table/dresser is done it is time for the fun part…Staining the un-stainable!
The Product To Stain The Unstainable
I used this technique just on the drawer fronts. I am going to use this same technique or very similar on another project and I am excited about that. It’ll have more contrast and I will be sure and come back and add in those pictures so be sure and sign up for my newsletter for when that happens. I promise I won’t spam you!
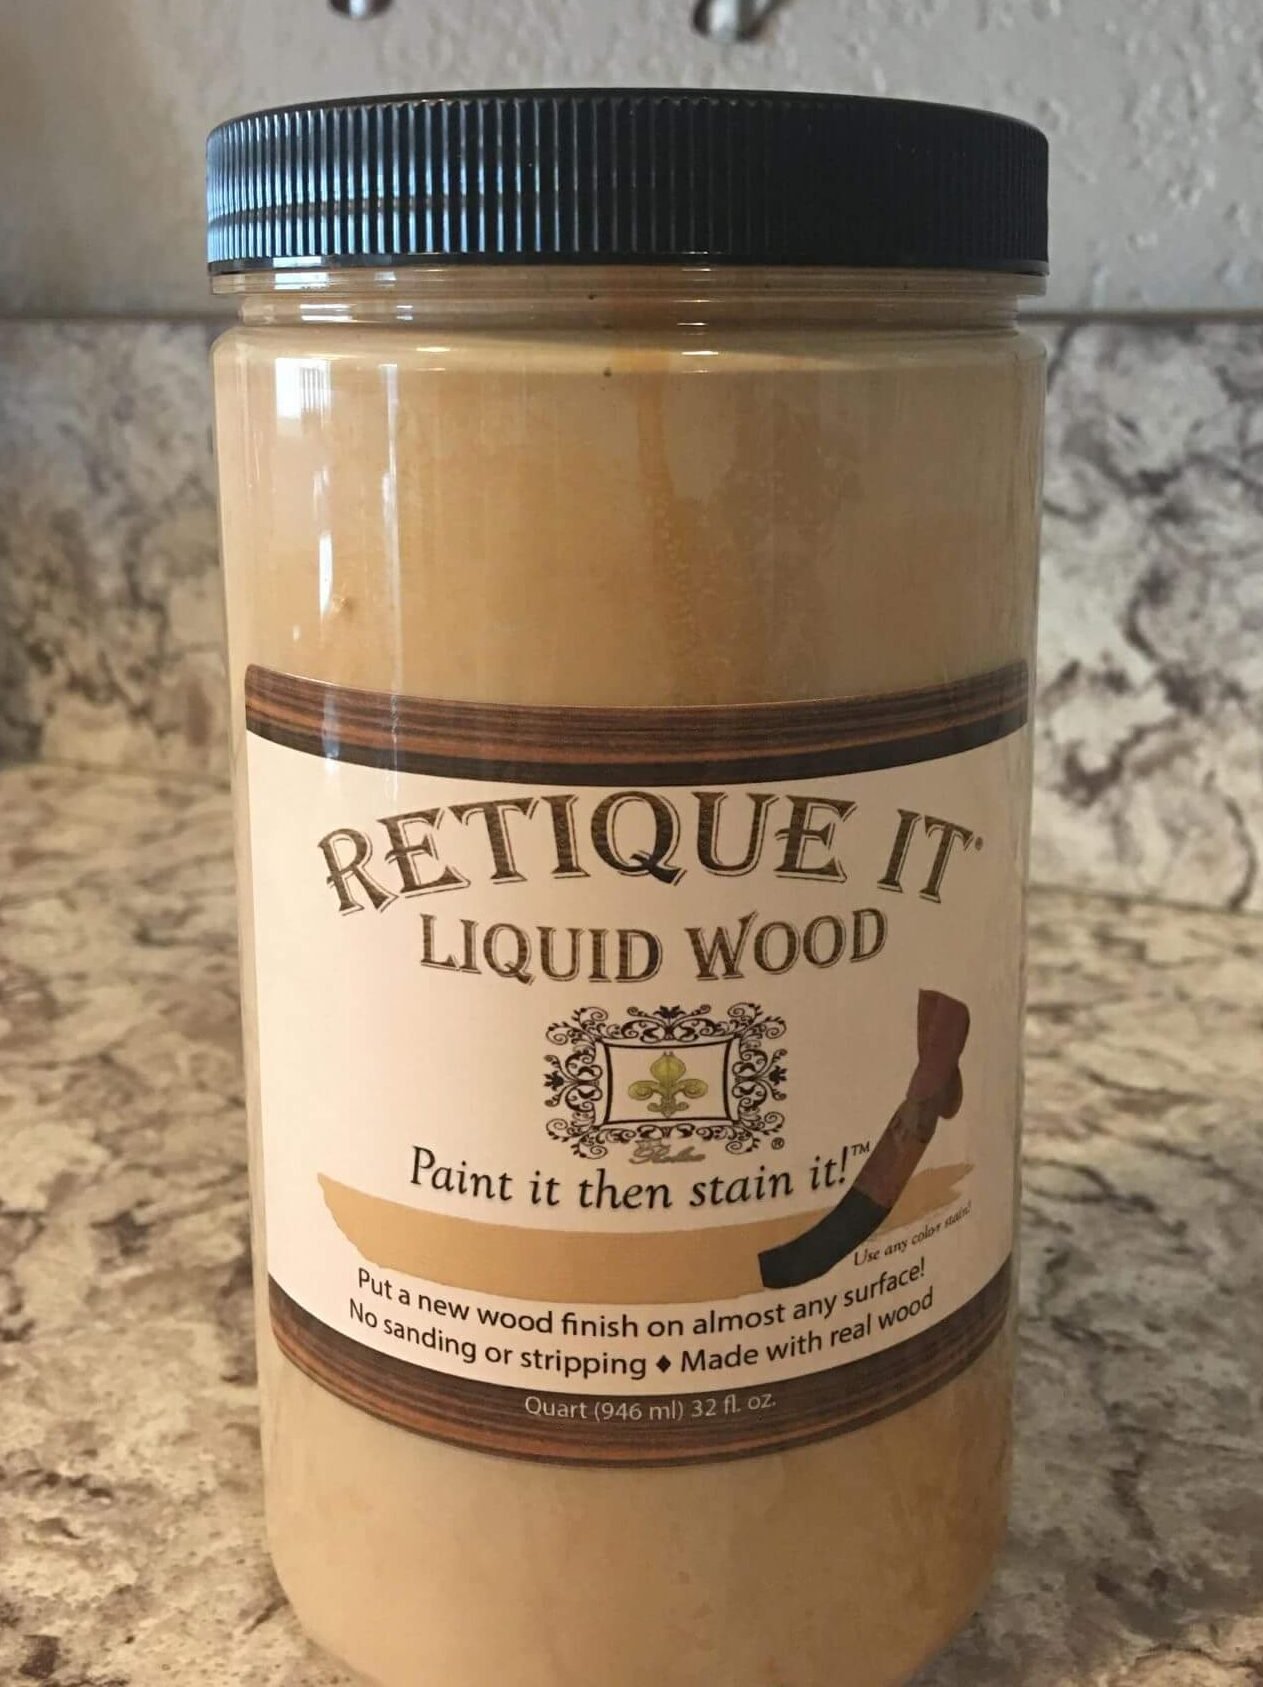
Sooo drawer fronts. I primed them along with the rest of the piece because it was just so dark. Plus, I wanting to go lighter and needed a good base for the paint and stuff to grab onto. After the drawers were primed I painted on a product called “Retique It Liquid Wood“. This stuff is what makes staining the un-stainable possible. It is a gem and a must-have in your furniture refinishing pocket! So, It’s basically a liquid wood that you paint on and allows you to be able to stain. It is so cool and really does work!
Various Wood Color Options
The company has various “wood” colors to choose from which are; light, dark, gray, golden pine, and bleached. I chose light so that I had a variety of options. I can stain it dark, keep it on the lighter end, or anywhere in between.
Technique To Stain The Unstainable
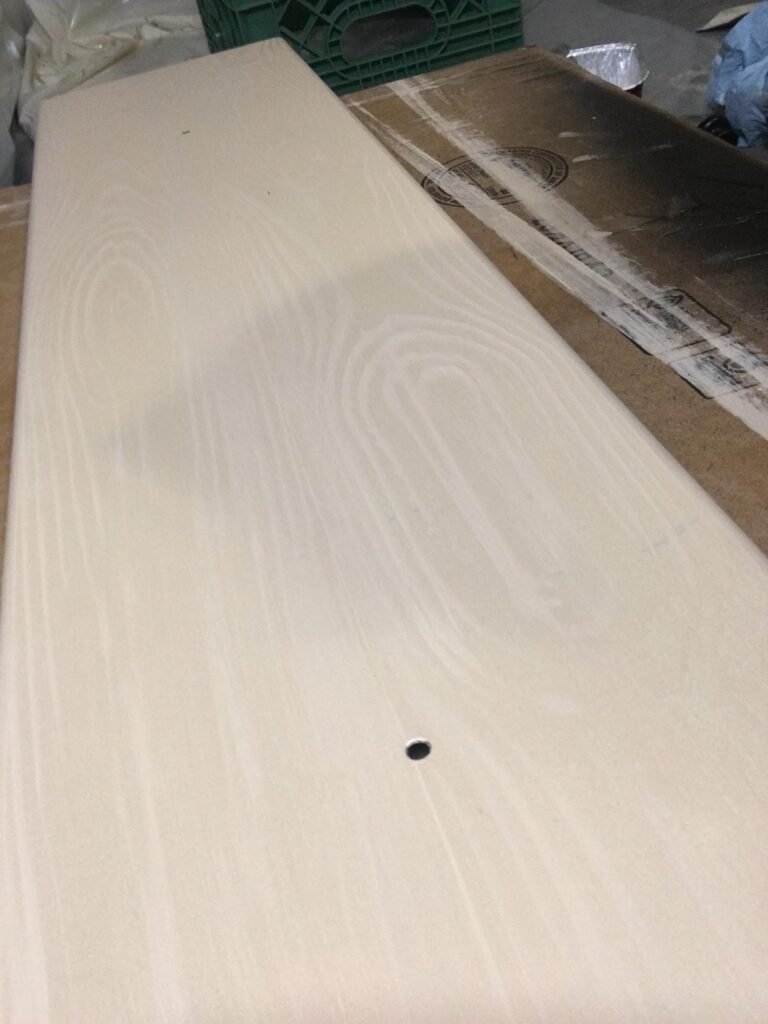
So what you do with this product is just paint it on; just like you would paint. It is very thin so you need more than one coat to get full coverage. A little goes a long way so even though you need multiple coats you aren’t burning through product either. Hopefully, after the second coat, you have great coverage. Now you can stop here and stain if you would like to but I highly suggest purchasing a graining tool and taking the extra step. I mean the wood grain is the best part about staining…right?!
I used two full coats of Retique It and on the third coat used the graining tool. Just paint on the liquid wood so that it goes in the same direction you want your wood grain to be in a section at a time. I wanted the grain to run length-wise across the front so I painted on my third coat from left to right. Each section will be determined by how wide your graining tool is. Once you have your liquid wood painted on now you use your graining tool.
In one single motion starting on one end and not lifting it till the other end. You pull it across the wet layer of liquid wood and slowly rocking it back and forth to create the faux wood grain. If you would like to see a short video showing how I did this then click here. This might take a couple of passes to get the hang of it. If you hate the way it looks try again. If you need a third try be sure and add more liquid wood on and try again. After each full swipe, wipe the graining tool with a paper towel to remove the excess product it removed. Does not have to be perfectly clean just looking to get most of it off. Continue these steps until you have wood-grained everything you want to stain.
Time To Stain Your Once Unstainable Piece
How easy is all of this?! Who knew such a thing existed and why does hardly anyone talks about it. Once you’ve done your faux wood graining and it has fully dried, it is now time to stain. This process is all just like real wood. I like using a foam brush and painting on the stain and letting it sit for a bit soaking in all the color. Then I use some kind of rag to wipe off the excess. Click here to watch a video! For this project, I used a white stain to lighten it up a tad bit. You may add a second coat if needed too! After the stain has dried properly I highly recommend adding on a clear top coat.
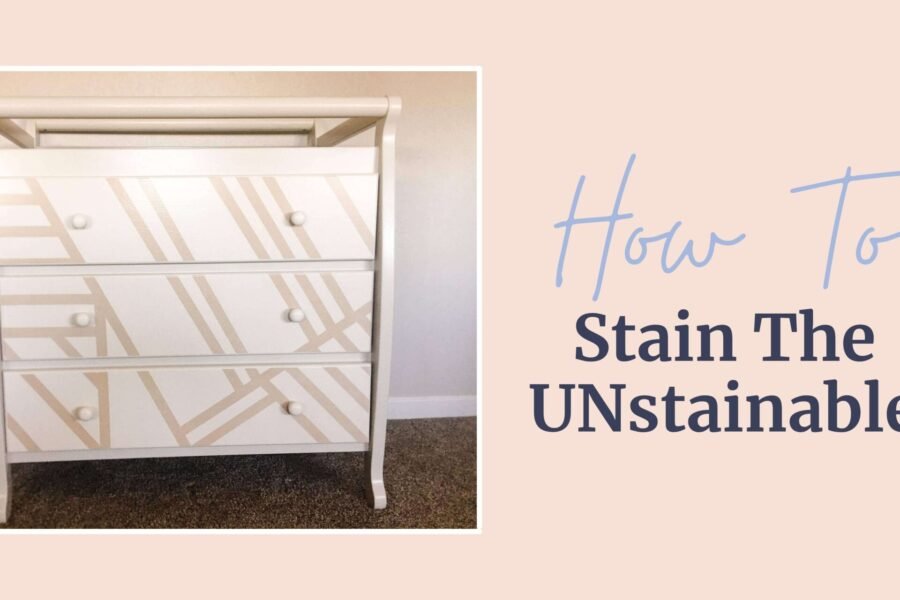
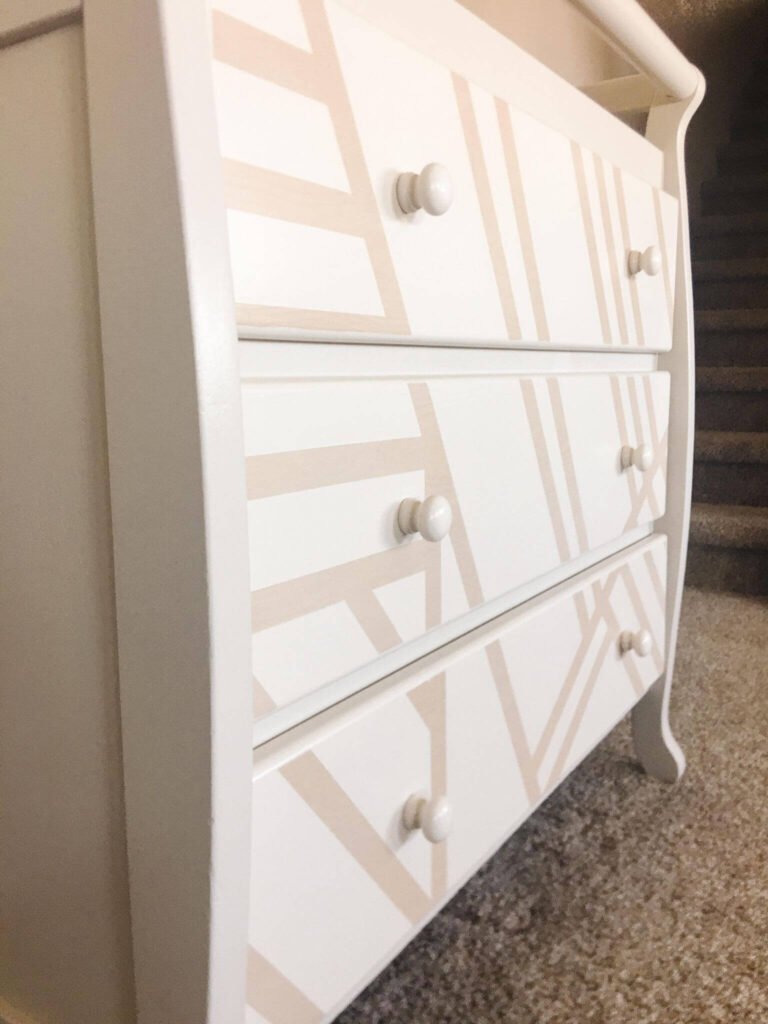
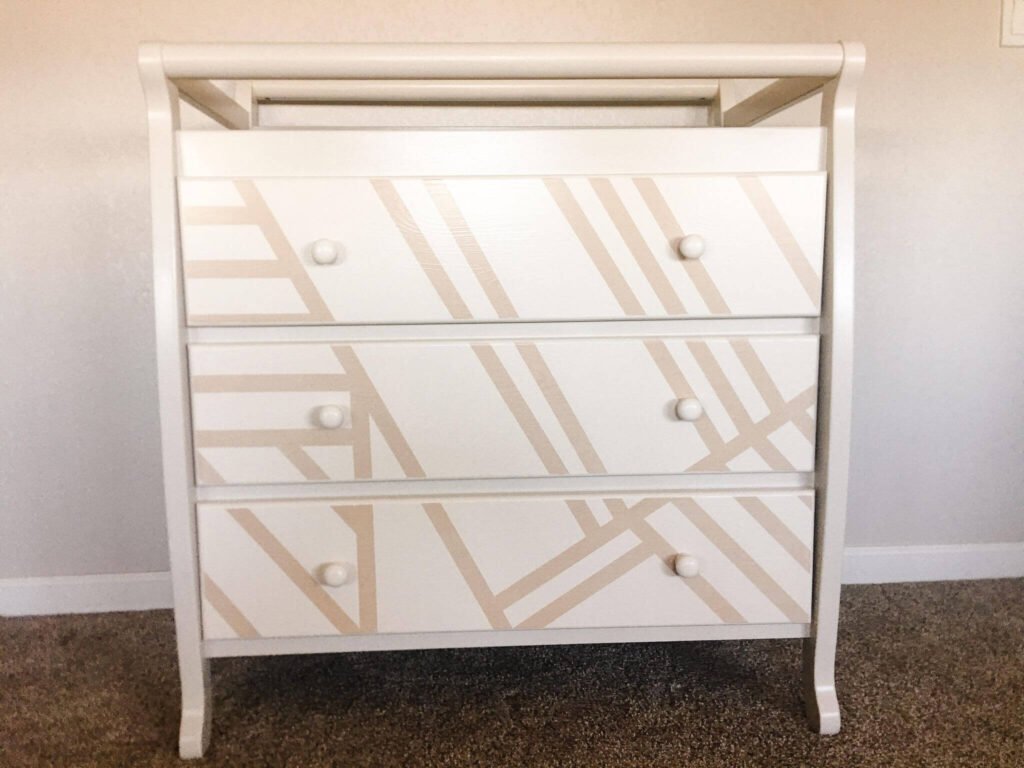
I did a painted geometric thing on this project. I did a single top coat of poly before I taped and painted. So if you are looking to do a similar idea then I suggest doing a layer of poly in between just so the tape doesn’t accidentally pull all your work off because it would be really hard to touch up! If you would like to see a quick video of the entire process then head to my Instagram. In my story highlights under “furniture,” you will find the video!
You DID It!
Check it out! You literally are able to stain the unstainable! So freakin cool! Now, how many times am I now going to use this….my guess is probably a lot! Whether it be a paintable wood and stain exactly like this one or use the graining tool and do a paint on paint wood grain. Decisions Decisions! If you have used this technique I would love to see it! Shoot me an email from my contact me page or find me on Facebook and post a picture or tag me in it on Instagram! I would love to see it!
