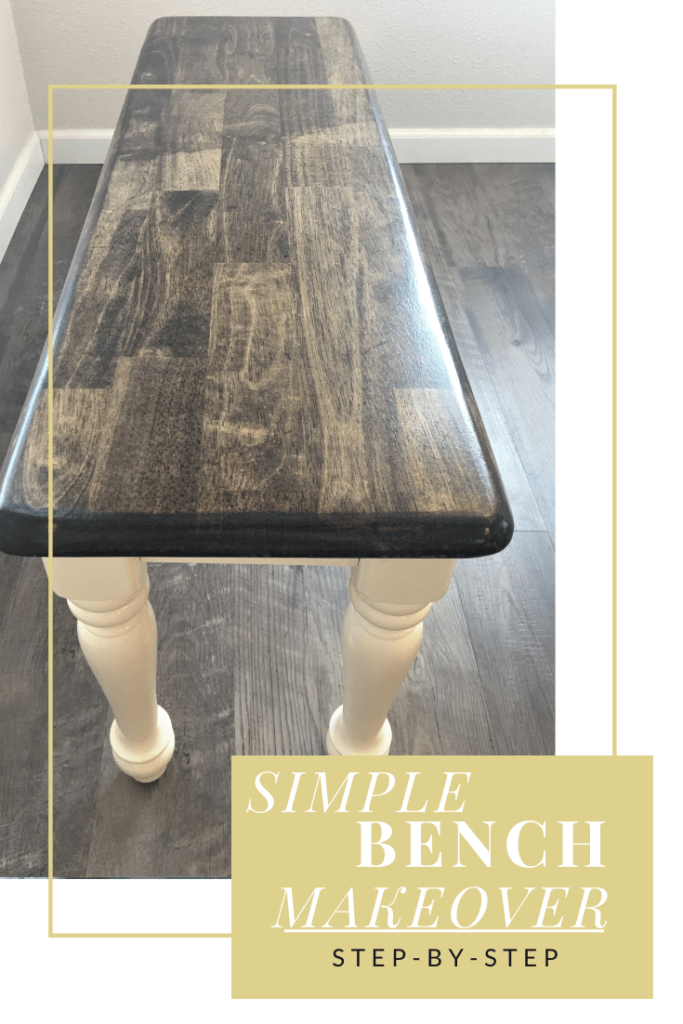
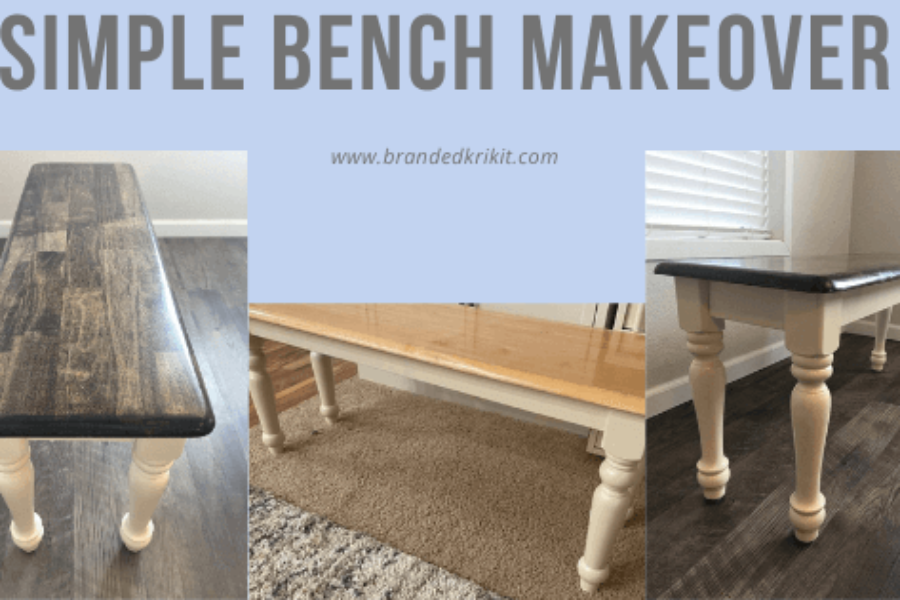
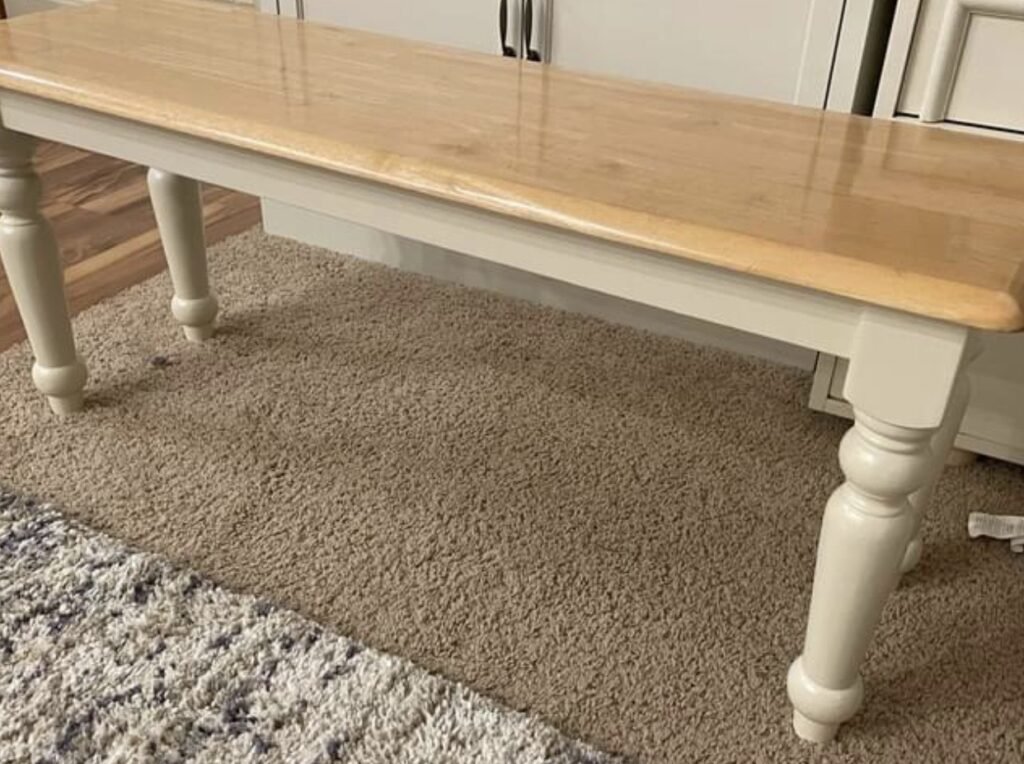
When I bought my table, it was just a table with four chairs. Click to catch up on my full table makeover. I knew from the very beginning I wanted to add a bench with it to maximize the space. Ultimately, I wanted to build one but that didn’t happen before I found one that would fit in the space, and a bench makeover is easier than building one. Plus it cost me $10 and you just cannot go wrong with that kind of price tag. Sadly I cannot find a before picture so this very, very similar one will just have to do. They were really popular when I was in Jr. High or High School…pretty sure half my friends had something similar at their homes.
This post may contain affiliate links, which means I may receive a commission, at no extra cost to you, if you make a purchase through a link. Please see my full disclosure for further information.
- Stripping Agent
- Scrapping Knife – plastic or metal
- Sander
- Foam Brush
- Stain
- Plaster Paint in Whitewash
- Clear Top Coat
First Thing First: Clean and Strip
The first thing I did for this bench makeover was clean the entire thing. It had been sitting in someone’s garage for a while and in dire need of a good cleaning. The top or sitting part of the bench I took off and stripped the existing finish off. The bench was really yellow and it was really absorbed into the wood. I did not want to get an uneven stain and that is why I opted to strip versus sand. I used Kleen Strip Premium Sprayable Stripper; the sprayer was junk and broke on me so I just poured it straight on and spread it all around with my scraping knife. The instructions said to use a plastic one. I personally used both a plastic and metal putty knife.
The stripper works when it is wet so do not let it dry. Read the instructions for the stripper you buy to see how long it should stay on the wood before you scrape it off. If you want the details and pro tips head on over to this post. The stuff I used said to wait 15 minutes; however, that was not enough time for me so I let it sit a while longer; probably 30-45 minutes total. Then I just started scraping it off in the direction with the wood grain with the same putty knife I used to spread the stripper around with. Once it was all nice and stripped clean of the awful yellow color I did a quick run over with the sander to smooth everything out!
Staining the Bench
Then it was time to stain! Since I wanted it to match my kitchen table I used the Minwax Dark Walnut stain again. I personally prefer to use a cheap foam brush to apply the stain. I dip my foam brush in and just start smearing it everywhere. Re-apply stain to your brush as you need it…just like painting but with way less finesse. Cover the entire piece wait a minute or two, let the stain absorb into the wood, then wipe it completely off with an old sock, shirt, or any cloth you don’t mind trashing. After the allotted wait time between coats, I reapplied a second coat, waited, wiped it off, and allowed it fully dry. If you do end up getting stain on your hands and realize it does not wash off with soap and water. You can use my foolproof method to remove it HERE.
Painting the Bench
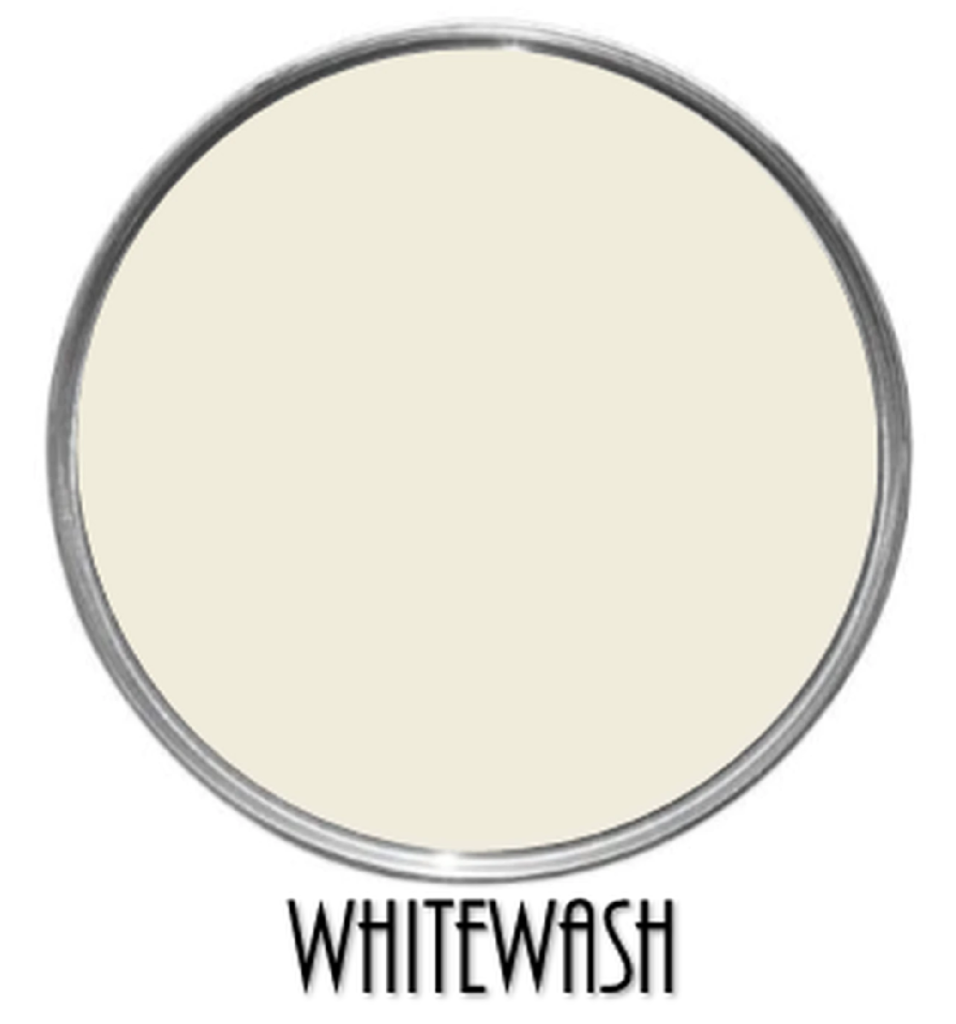
After I stained the top of it I started painting the legs and the boards that screw the legs into place. I was starting with white paint and so I did not prime. I used the color “whitewash” from Plaster Paint (her website is down for maintenance just shoot her a message and she will hook you up!) since I of course want everything to match! This paint is a one-step paint so technically no sanding, priming, or topcoat is needed.
I did not adhere to that when I did my kitchen table for multiple reasons; you can read about that makeover HERE! This time around with Plaster Paint I wanted to use it more in its intended form to get a better idea of why it is so popular.
To paint I used a small one-inch foam brush and dabbed the paint over all of the existing white paint. I dabbed the entire thing…TWICE! Dabbing doesn’t leave streaks that up/down or side-to-side motion will and gives a slightly thicker application so I only needed to do two coats to get the perfect color. Want a quick and fool-proof way to paint with zero brush marks? Head to this post to see my tips!
Top Coat
I know, I know I was going to go full-blown Plaster Paint style…but I couldn’t not put on a topcoat for three reasons. One, I did on the table so the sheen would have been different and that would have driven me crazy. Two, a nice glossy sheen makes it easier to clean and that is always a good idea with kids around! And three I had to use a topcoat on the stained top so I just did the whole thing! I just did one coat though on the painted areas, dabbing it on just like I did the paint. I did two coats with a roller on the very top. For this, I used Varathane Polyurethane.
Last Thing To Do
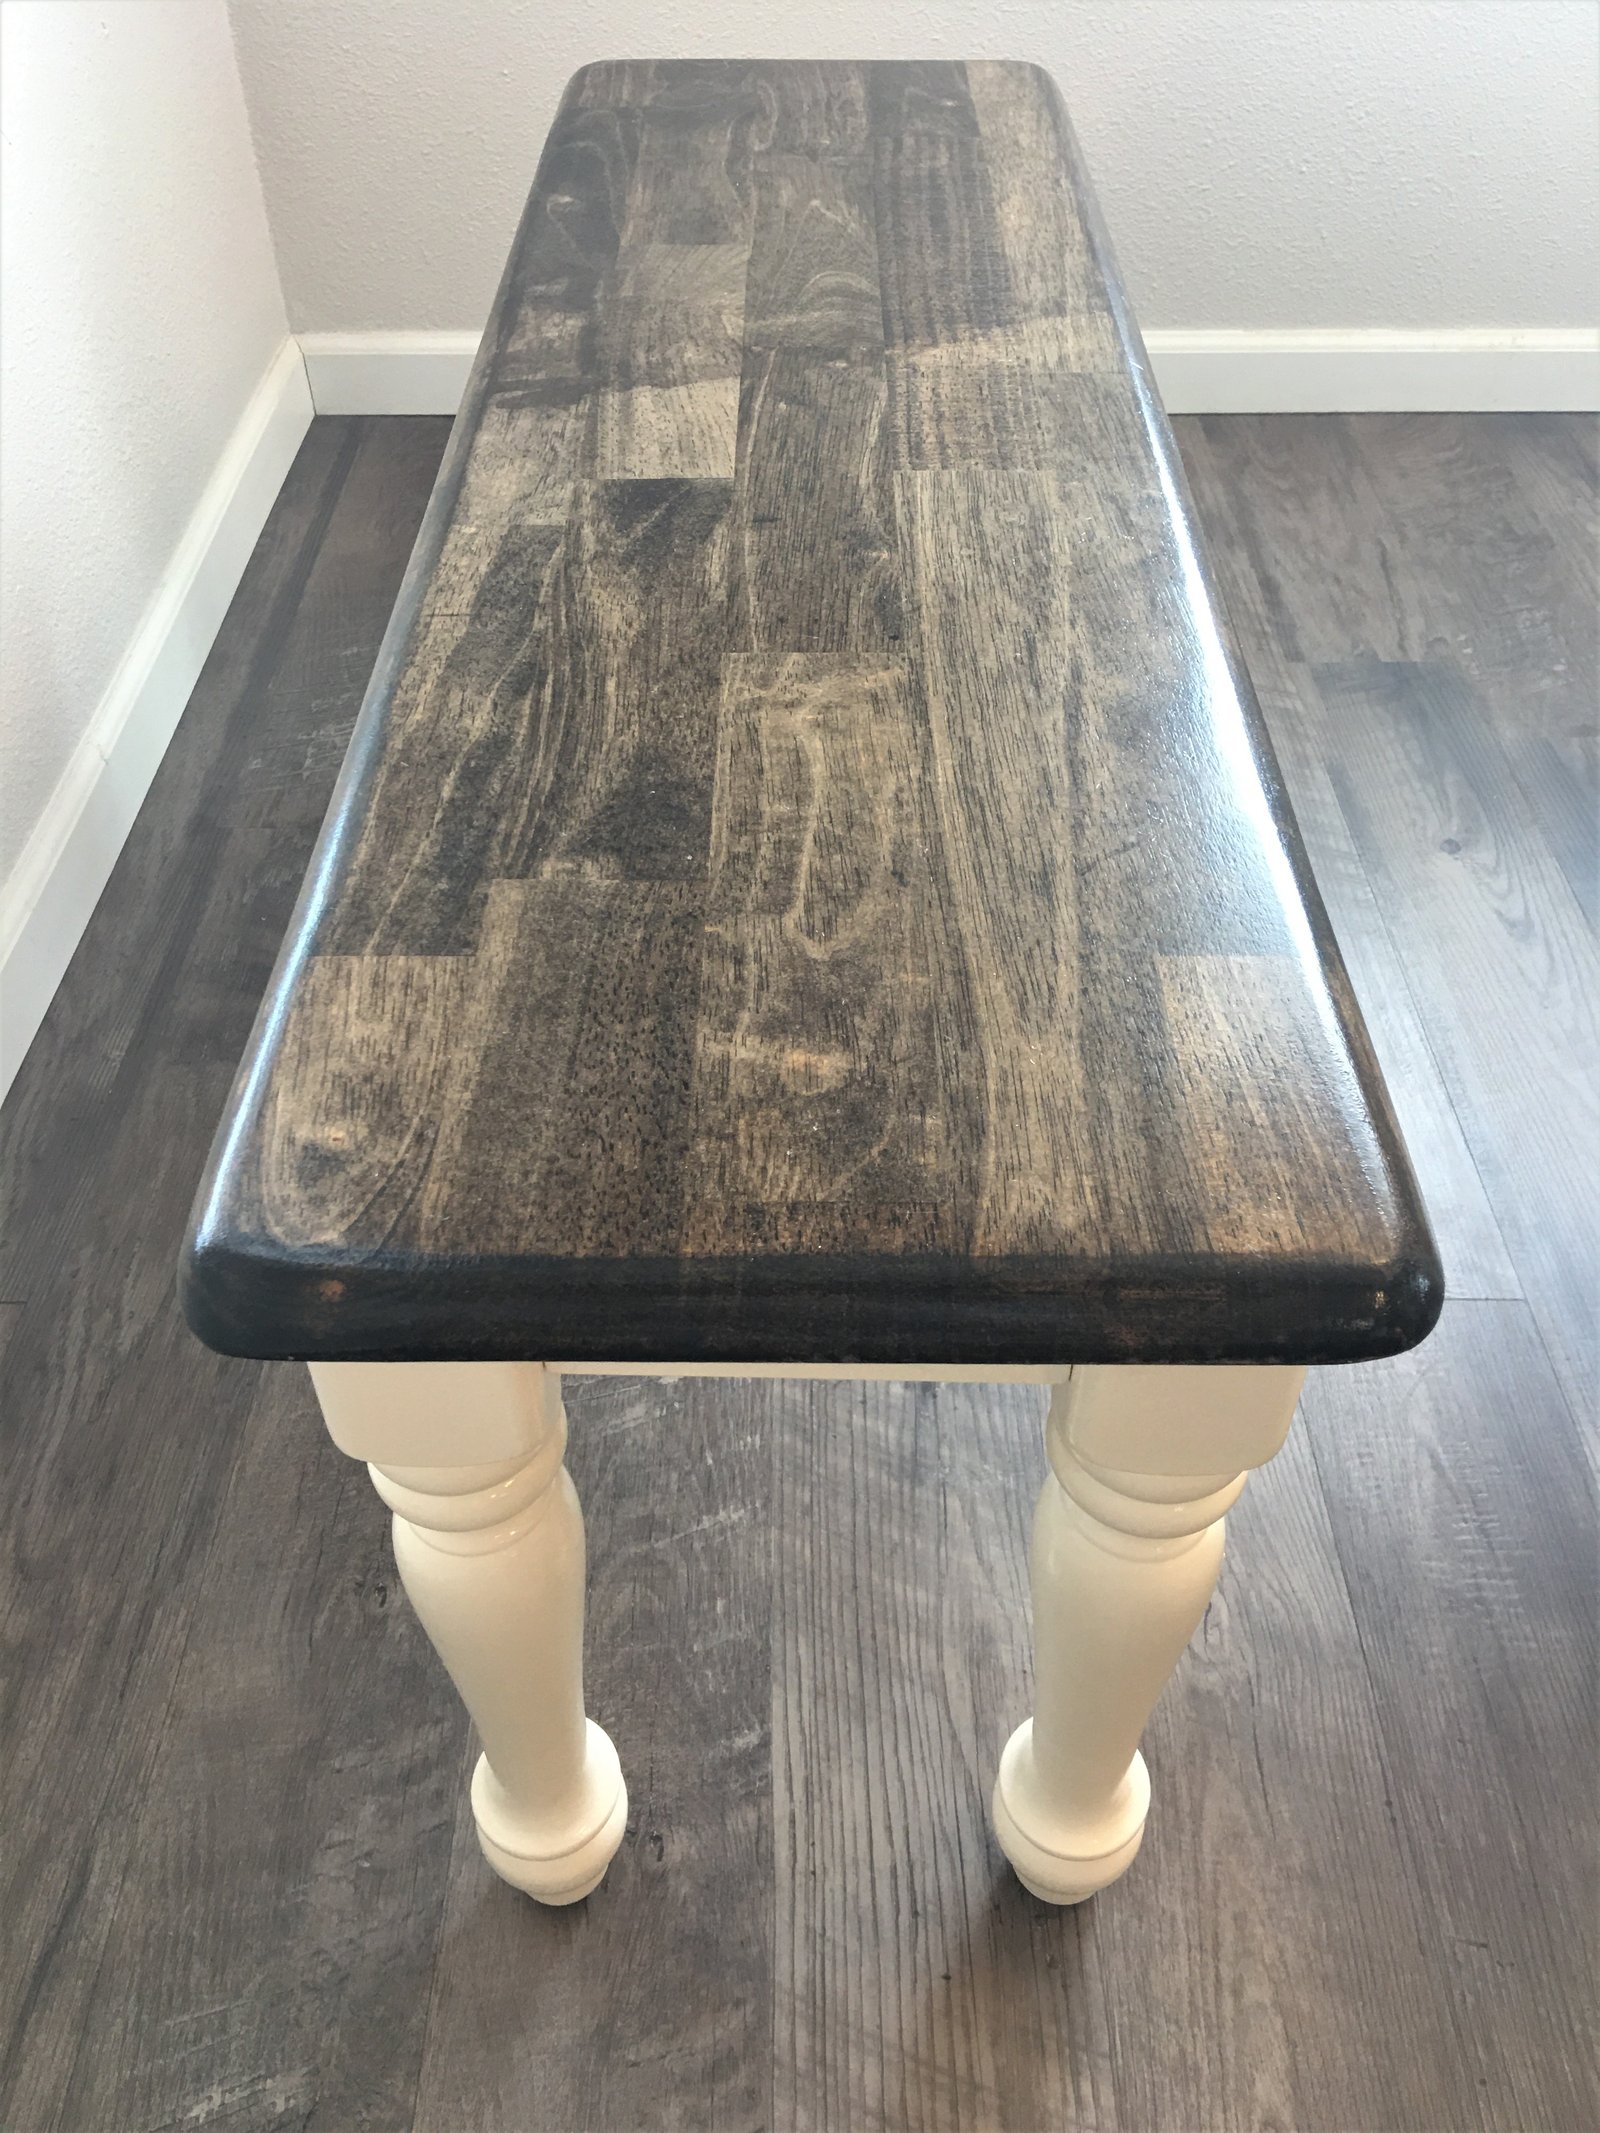
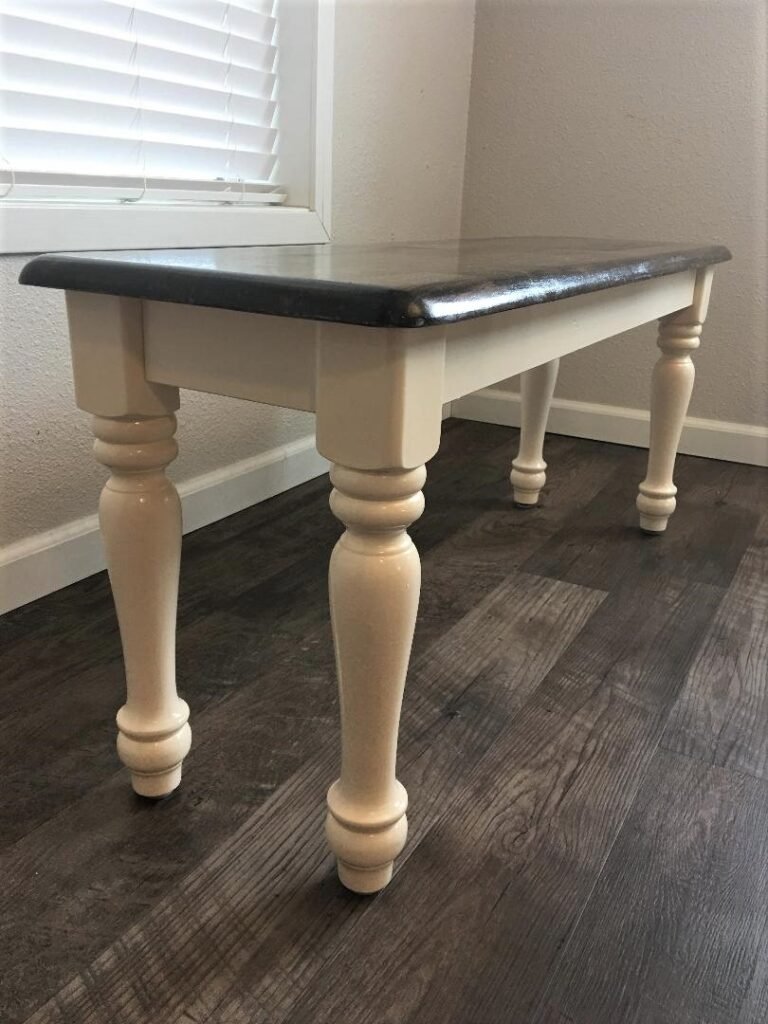
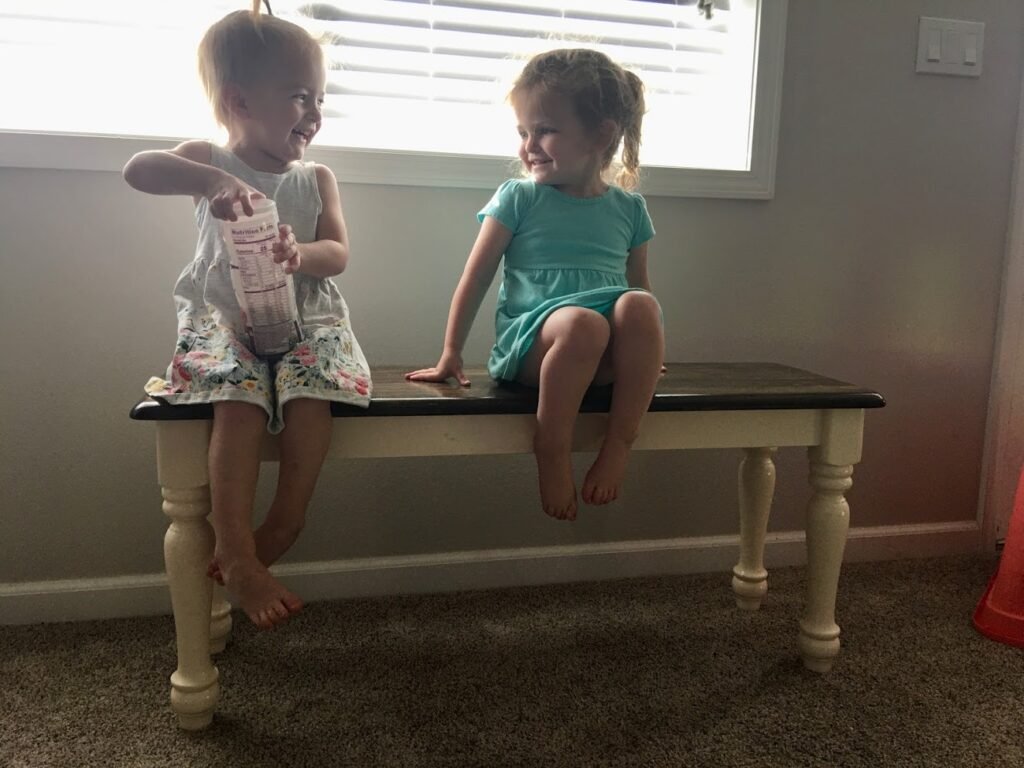
The very last thing I had to do for this bench makeover was to re-assemble it and add some scratch-resistant pads on the bottom of the legs. I love having a bench with our table now and how easy it is with kids! No back to get dirty fingers all over. I finished this bench right before Thanksgiving when we had family come for the holiday so at the time of writing this it has been about two months and it has held up great! The paint has done really well and I give Plaster Paint a solid thumbs up! If you are looking for a simple paint for your own DIY project I recommend looking into it.
Completed Bench Makeover
This bench makeover was a lot of fun. Having a quick and simple project is fun when oftentimes some DIY projects can feel never-ending out can run into snags along the way. If you have a bench or chair you have been thinking of re-doing I recommend getting after it! Share your before and after pictures in the comments below or in my Facebook group! I would love to see them.
Krikit
