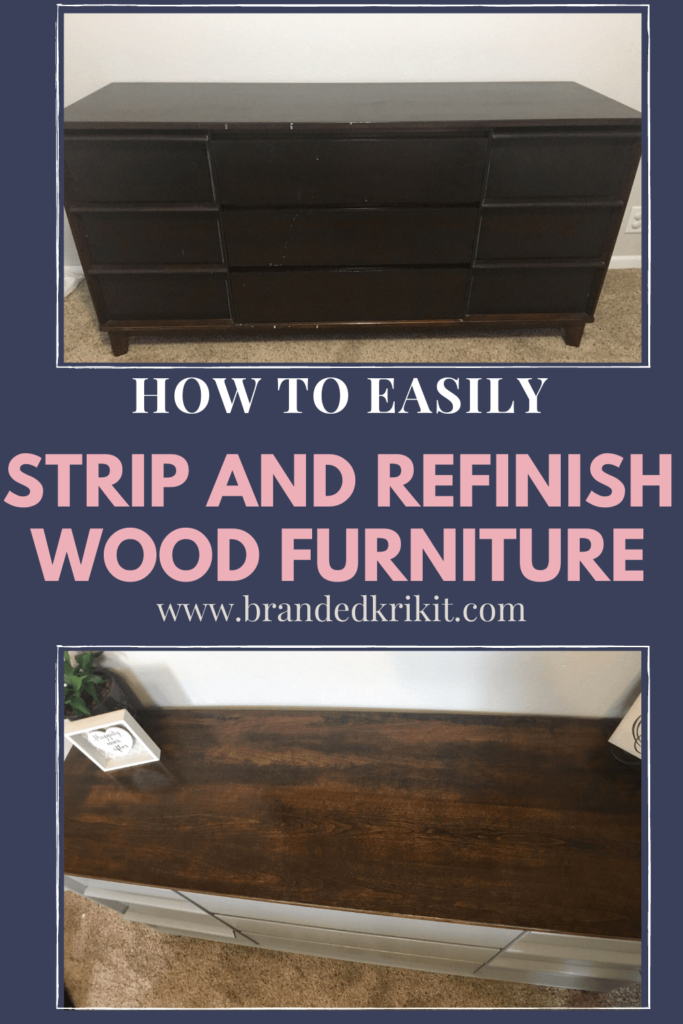
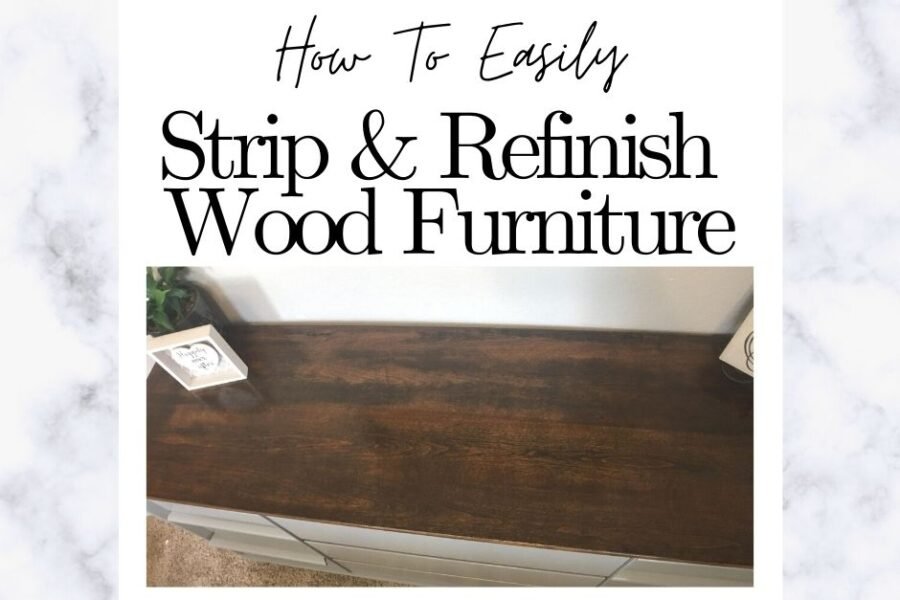
I bought this dresser off Marketplace years ago and was one of the very first pieces I ever redid. It has seen many moves since then which is the cause for the white scratches. Needless to say, it was desperate for a new makeover. My plan was to strip and refinish the wood on the top and paint the rest. All the furniture in our bedroom is getting redone and we’re adding a couple of new pieces!

When I originally refinished this dresser I used a stain plus polyurethane (all in one). Knowing what I previously used I opted to strip off the existing finish. I was only going to re-stain the top of the dresser so that was all that I needed to strip. You only have to strip or sand down to bare wood if you are going to stain.
If you are going to paint you just need to scuff sand or use a deglosser. I painted over the rest of this dresser in grey paint and I tell you all about how I did that with no sanding and no priming in this blog post.
This post may contain affiliate links, which means I may receive a commission, at no extra cost to you, if you make a purchase through a link. Please see my full disclosure for further information.
Items Needed to Strip and Refinish Your Wood Furniture
- Tarp
- Bucket
- Gloves
- Stripper
- Plastic Scraper
- Mineral Spirits
- Electric Sander (optional)
- Stain
- Foam Brush
- Rags
- Clear Top Coat
- Paintbrush
Prep The Work Space
Since this is my personal dresser I did all the work right in my bedroom practically where it lives day to day. I did not want to haul it to my workspace just to haul it right back to my room. My husband and I moved it about 8-12 inches from the wall and put a tarp underneath. I highly recommend having a tarp or drop cloth you reserve for projects. This way it stays free of dirt and leaves and everything else tarps get clogged with. You can read all about my favorite and practical, must-have items for refinishing furniture here. If you are nervous about splatter place some command hooks on your wall and hook the tarp grommets to those to prevent splatter.
Applying the Stripping Agent
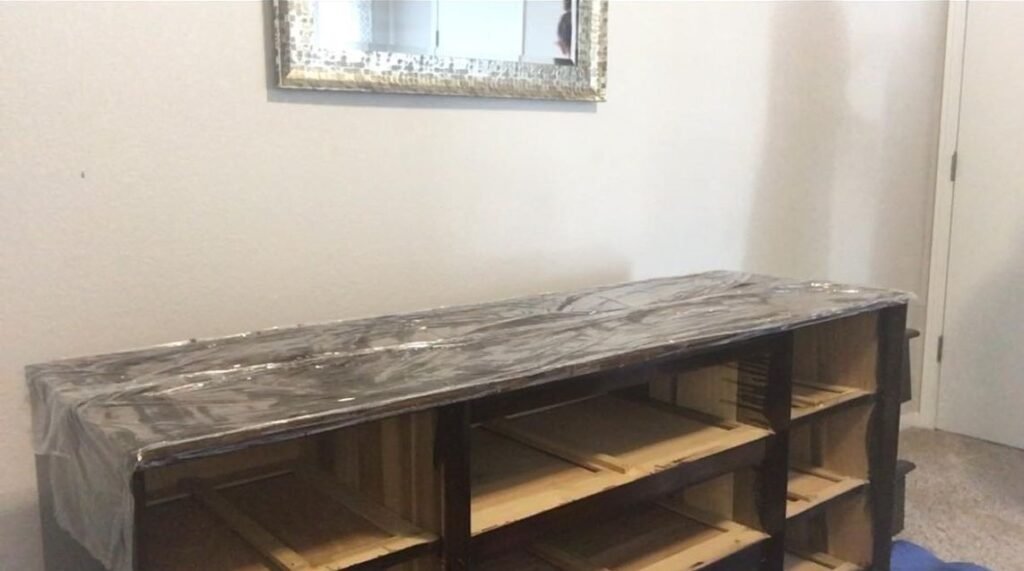
Since the top is being re-stained I only applied the stripping agent to the top. The direction for the stripper is to allow it to stay on for 15 minutes. In the past, I have used this to strip and refinish a wood desk and my kitchen table bench and it needed more than 15 minutes for both projects. So I knew I was going to need it to stay on for at least 30 minutes. The paint stripper only works while it is wet. The best way to keep it from drying out is by putting plastic wrap over the top of it.
Wearing gloves, I poured the stripper directly onto the surface and smeared (or you can use a chip brush) it to cover the entire surface with a fairly thick covering. I then rolled the plastic wrap over the top by sticking my mineral spirits container on one end over the plastic wrap so it wouldn’t move while I was unrolling to reach the other side. For this dresser, I needed two strips of plastic wrap to adequately cover the stripping agent. I did this all right before lunch so I was away for more than 30 minutes but that is okay! When I came back it was all perfectly gooey and ready to be scrapped off.
Removing the Stripping Agent

In my post for my kitchen table bench, I used mainly a metal scrapper with no issues. The container for the stripper recommends a plastic one and that was essential for my dresser. The wood on my dresser is must softer which would have caused scratches if using a metal scraper. I used this plastic scraper and it did a great job!
You want to scrape in the same direction as the grain of the wood. When scraping in sections overlapping each pass so nothing gets missed. When you scrape the stripping agent off you end up with a bunch of gooey paint/stain. I leave all that in a line at the end of the section I am working on. When that section is complete I scrape all the gooey stuff off into the bucket. Repeating this process till everything has been effectively scraped off.
If the finish is not removed to our preference you can do another round of stripping and scraping. If the wood is splotchy before you stain it will be splotchy after you stain. Personally for this project, I was staining dark and liked the varying colors showing through. On my kitchen bench, I wanted nothing to show through and have a uniform single color so I stripped twice. Since this is a flat surface I did not have any intricate details I needed to workaround. If your furniture does then a toothbrush or steel wool can be effective in working the products out of those small areas.
Remove Stripping Agent Residue
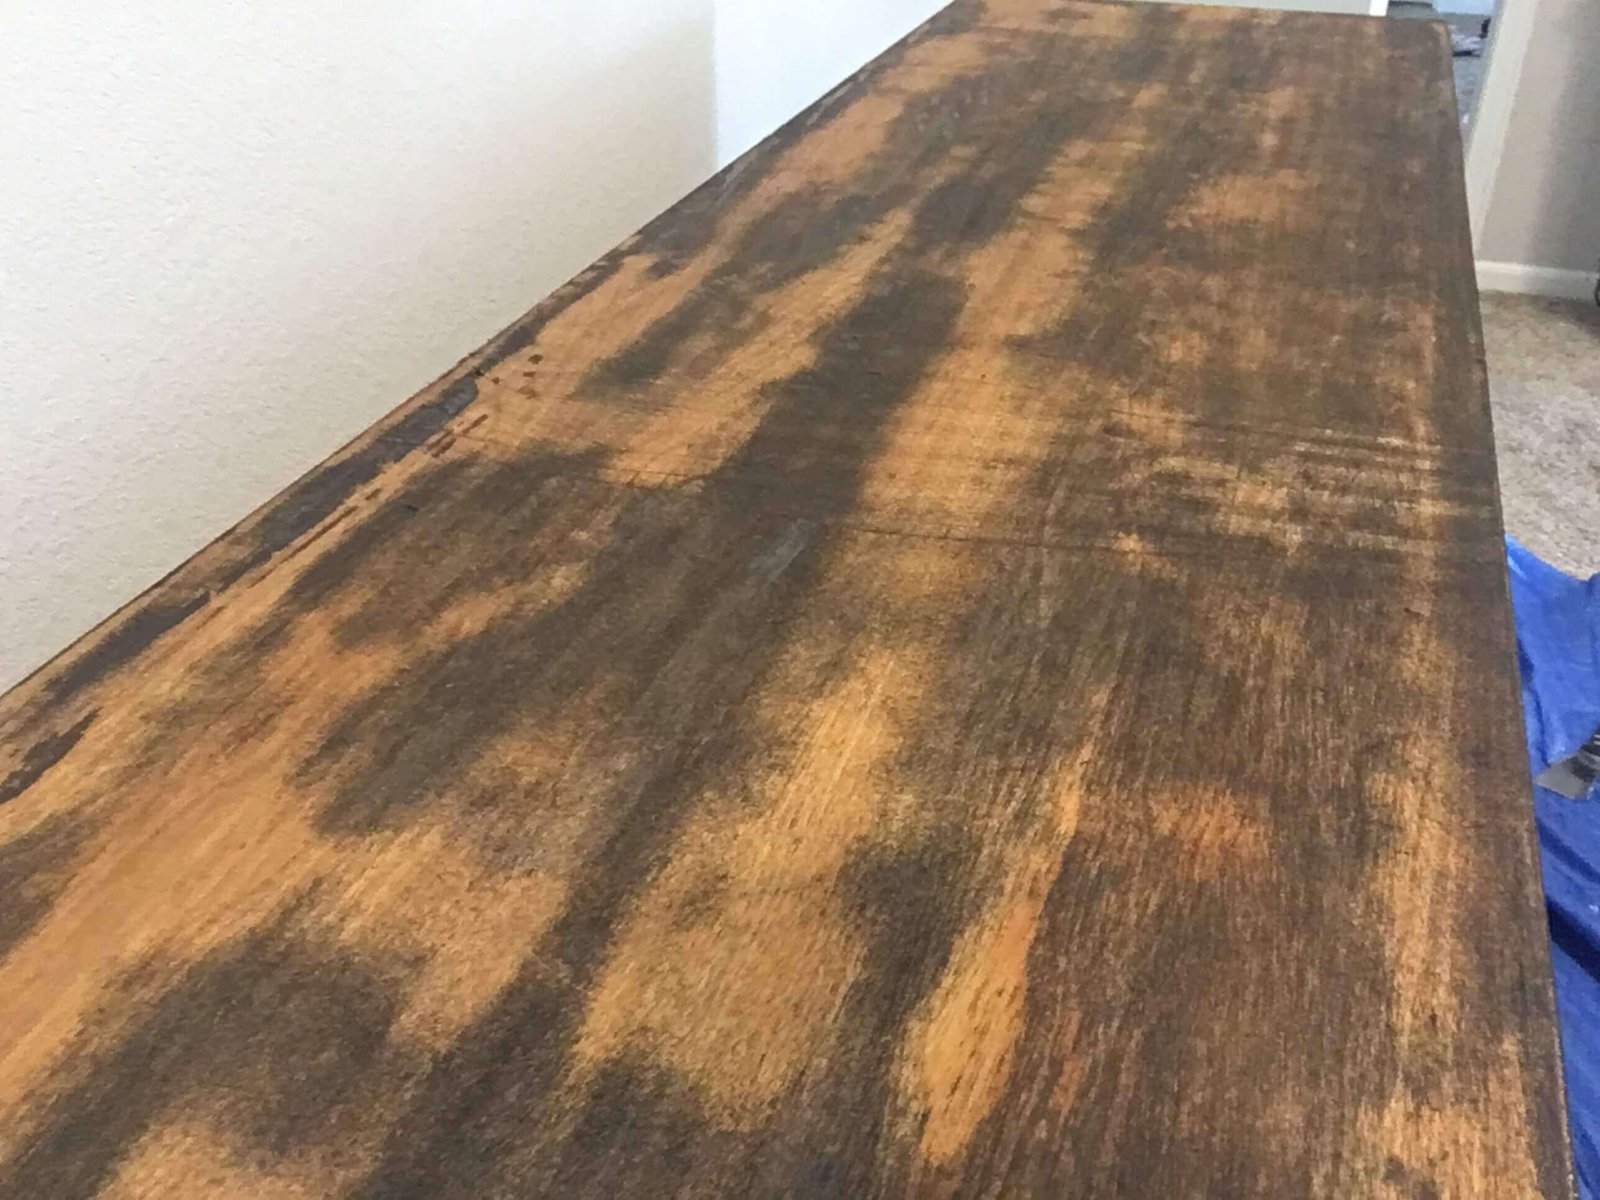
After scraping off all the gooey mess we need to chemically remove any residue leftover from the stripping agent. I use low odor mineral spirits, pour some on a rag, and wipe all over the surface. Just like your cleaning your table after toddlers ate their dinner.
Now, this next part is completely optional but I do a quick sanding and I recommend you do it too! Yall, I do a quick sanding over the top just to make sure everything is smooth and perfect. I know people hate sanding so if that is you skip this step and move along! I also want to make something very clear. All the dark spots are leftover stains from my existing finish. If I were to stain this lighter it would be glaringly obvious. Yes, it is noticeable in the final look but I was okay with that. If I were refinishing this to sell I would fully remove all the dark brown areas and make it all look like the light color areas.

Staining!
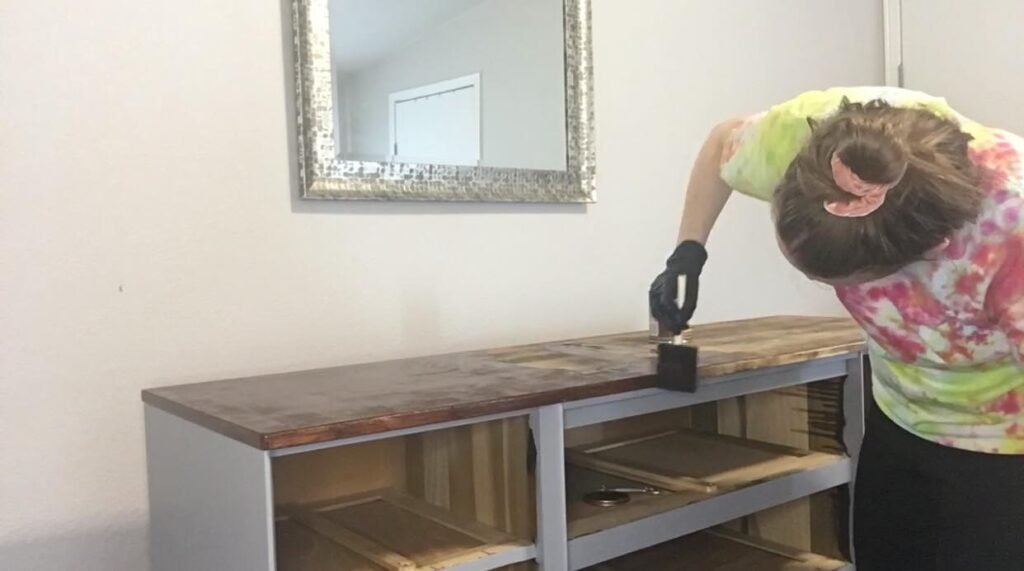
I picked out this walnut gel stain that is a rich, warm brown but not overly dark. Gel stain is exactly what it sounds like it is a gel texture and very thick and totally opposite from regular stains. Gel stain is a lot like paint. It does not have to wiped off and you do not even have to strip or sand the existing furniture completely off. I hope to do a full post on gel stain one day. If this is something you would be interested in let me know.
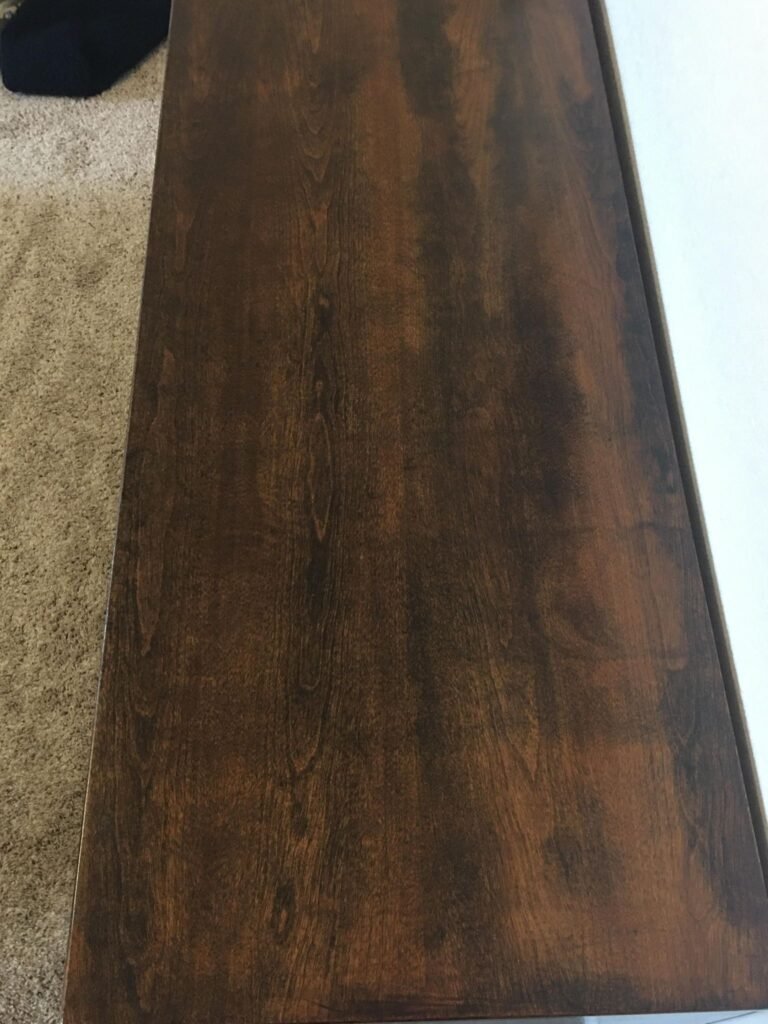
Using a foam brush I applied this stain everywhere, gave it a few minutes to absorb, and then wiped it off. After allowing it to dry I noticed it was pulling a slight red tone and that was not what I envisioned. This could be for reasons outside of the product itself. So instead of doing a second coat with the gel stain, I used a regular brown stain to remove the red tint and give it the richness I was wanting from a second coat.
Seal With a Top Coat
After letting it dry I sealed it with Minwax Polycrylic. I love foam rollers but this is a product you DO NOT want to use a roller on. I may or may not know from experience that this stuff will bubble and dry with a rough, bubbled texture. Use a paintbrush and save yourself a headache! I personally like the small Wooster paintbrush (it is one of my must-have items!) but whatever you have and are comfortable with will most likely work! Please do not use a cheap chip brush. You will be digging brush hairs out of your topcoat and driving yourself crazy. Lightly apply a coat all over making sure to smooth out any drips or uneven strokes. Let it dry and apply one more coat!
This method works very well but I have since learned a new way to apply a top coat and I like it much better than a paintbrush. Read all about how I paint without any brush strokes.
Completed Strip and Refinish Wood Project
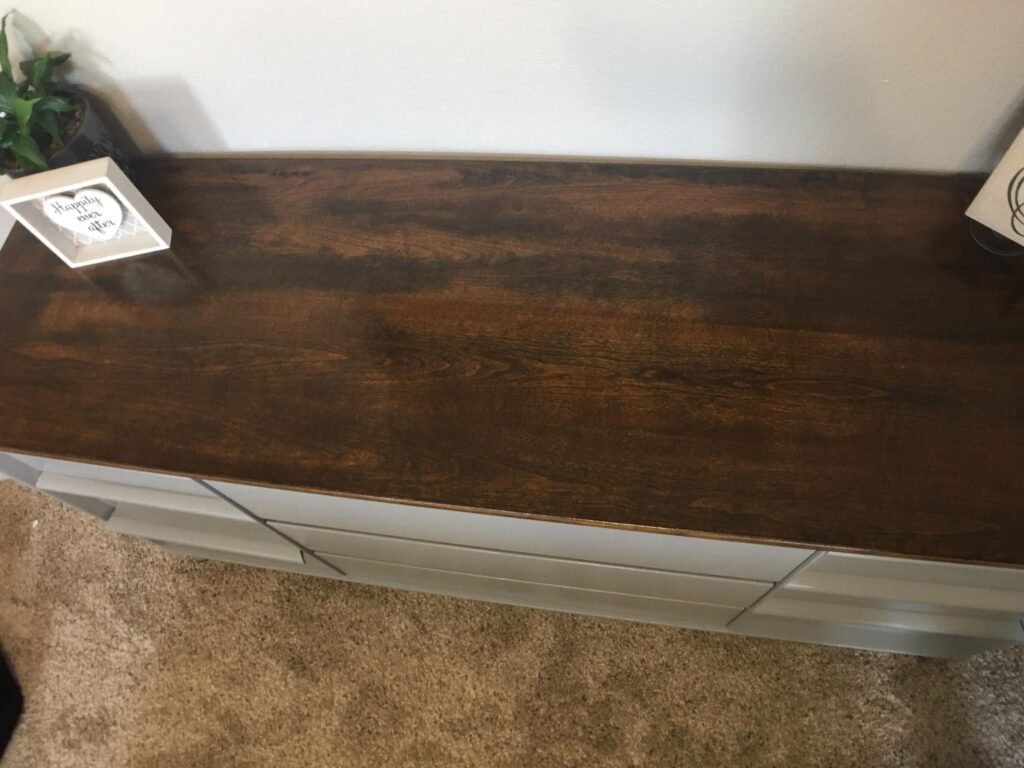
The process to strip and refinish wood furniture is an easy one and makes a great statement. Isn’t a newly finished project the best feeling?! I love it. It is all clean and sparkly from being brand new. You can just sit back and admire your fresh, beautiful project that YOU did all by YOURSELF! If you are wanting to redo a project but need some advice or a little guidance reach out! I would love to help out! If you refinish a piece share it! I would love to see it!
-Krikit
