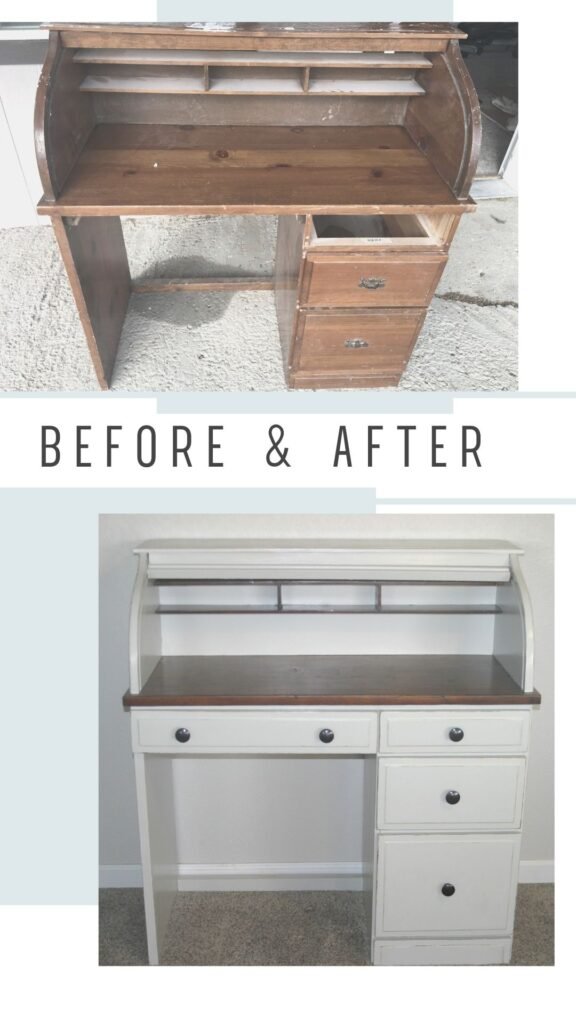


I bet if you are here you are wanting to refinish a roll-top desk! I broke this full refinish a roll-top desk makeover into three parts to make it more concise and an easier read! The other two parts you can read are: how to paint a roll-top desk and how to fix a roll-top desk tambour! This part will cover staining!
This post may contain affiliate links, which means I may receive a commission, at no extra cost to you, if you make a purchase through a link. Please see my full disclosure for further information.
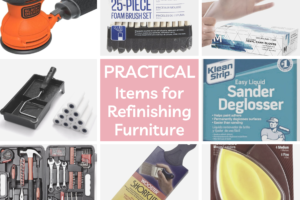
Products Used
Stripping
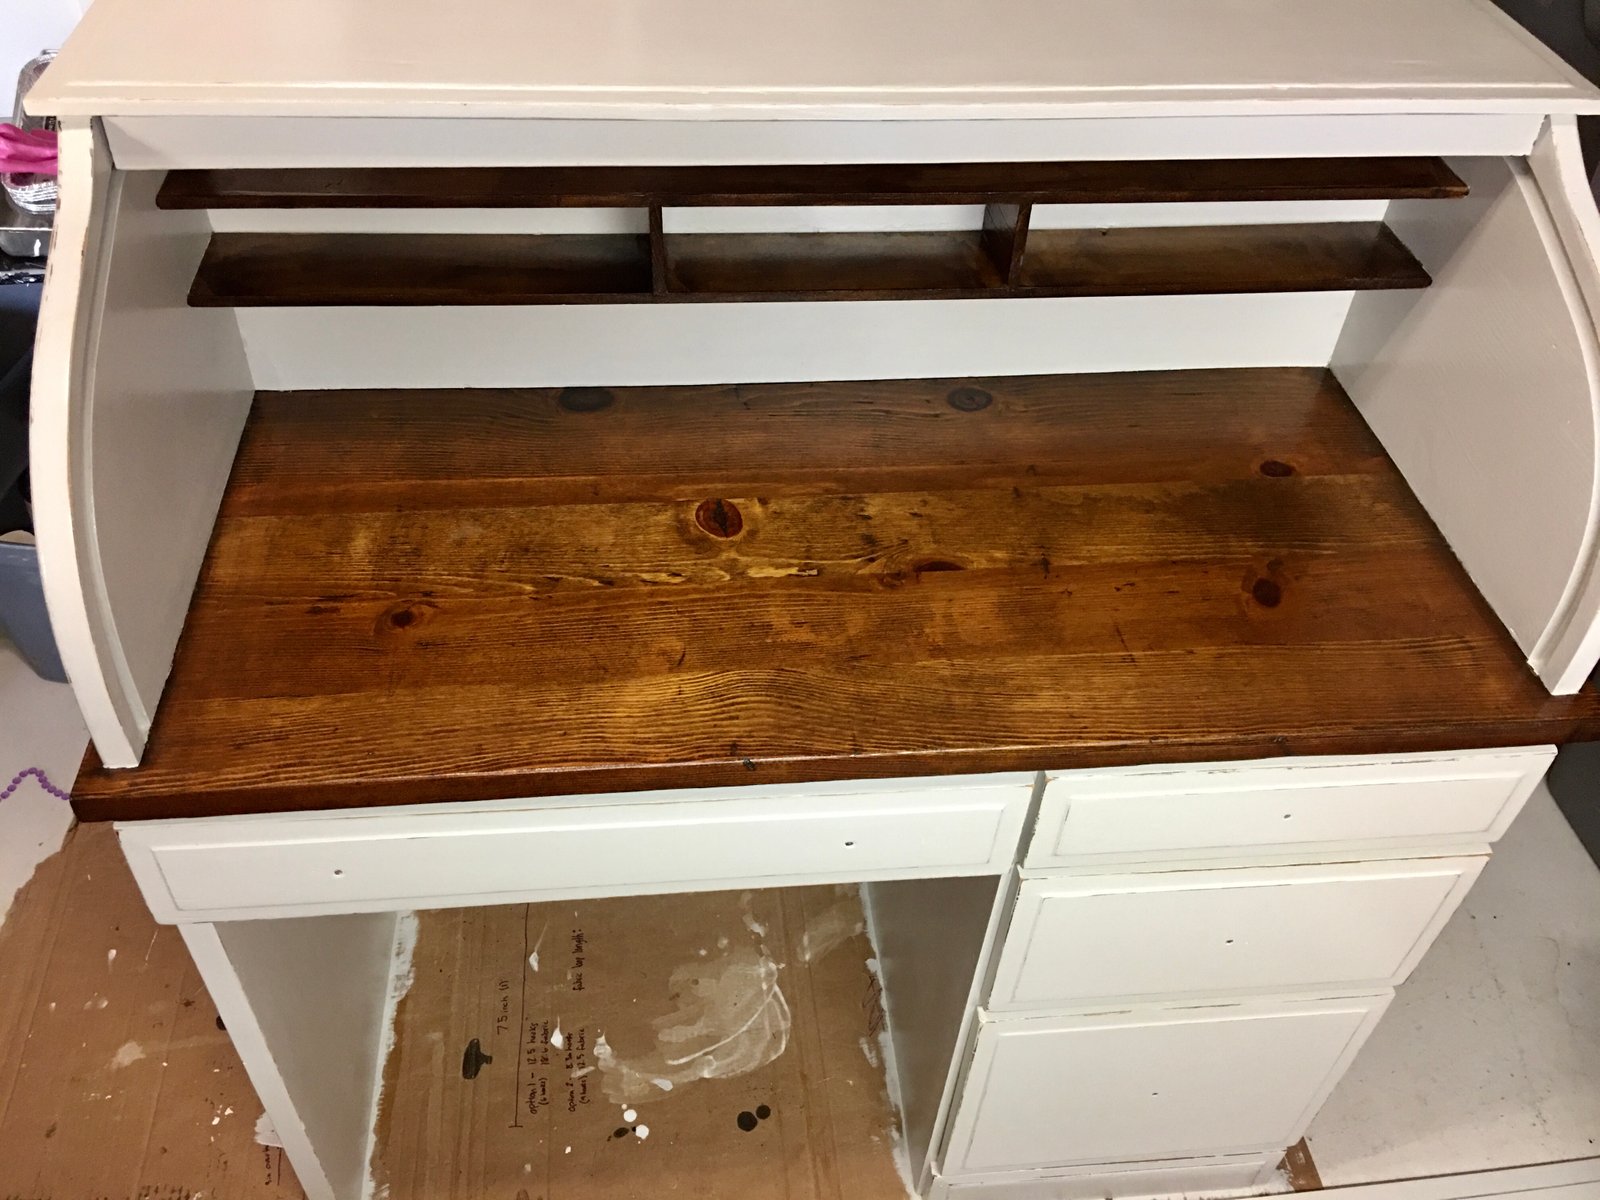
The first thing I had to do was strip the old finish off the areas I wanted to stain! I also stripped off the very top; even though I was going to paint it; because it had some dried, thick, white stuff on it that I knew was gonna be a beast to sand down. Know that if you do not want to strip you do not have to. You can absolutely just sand straight down to bare wood without using a stripping agent.
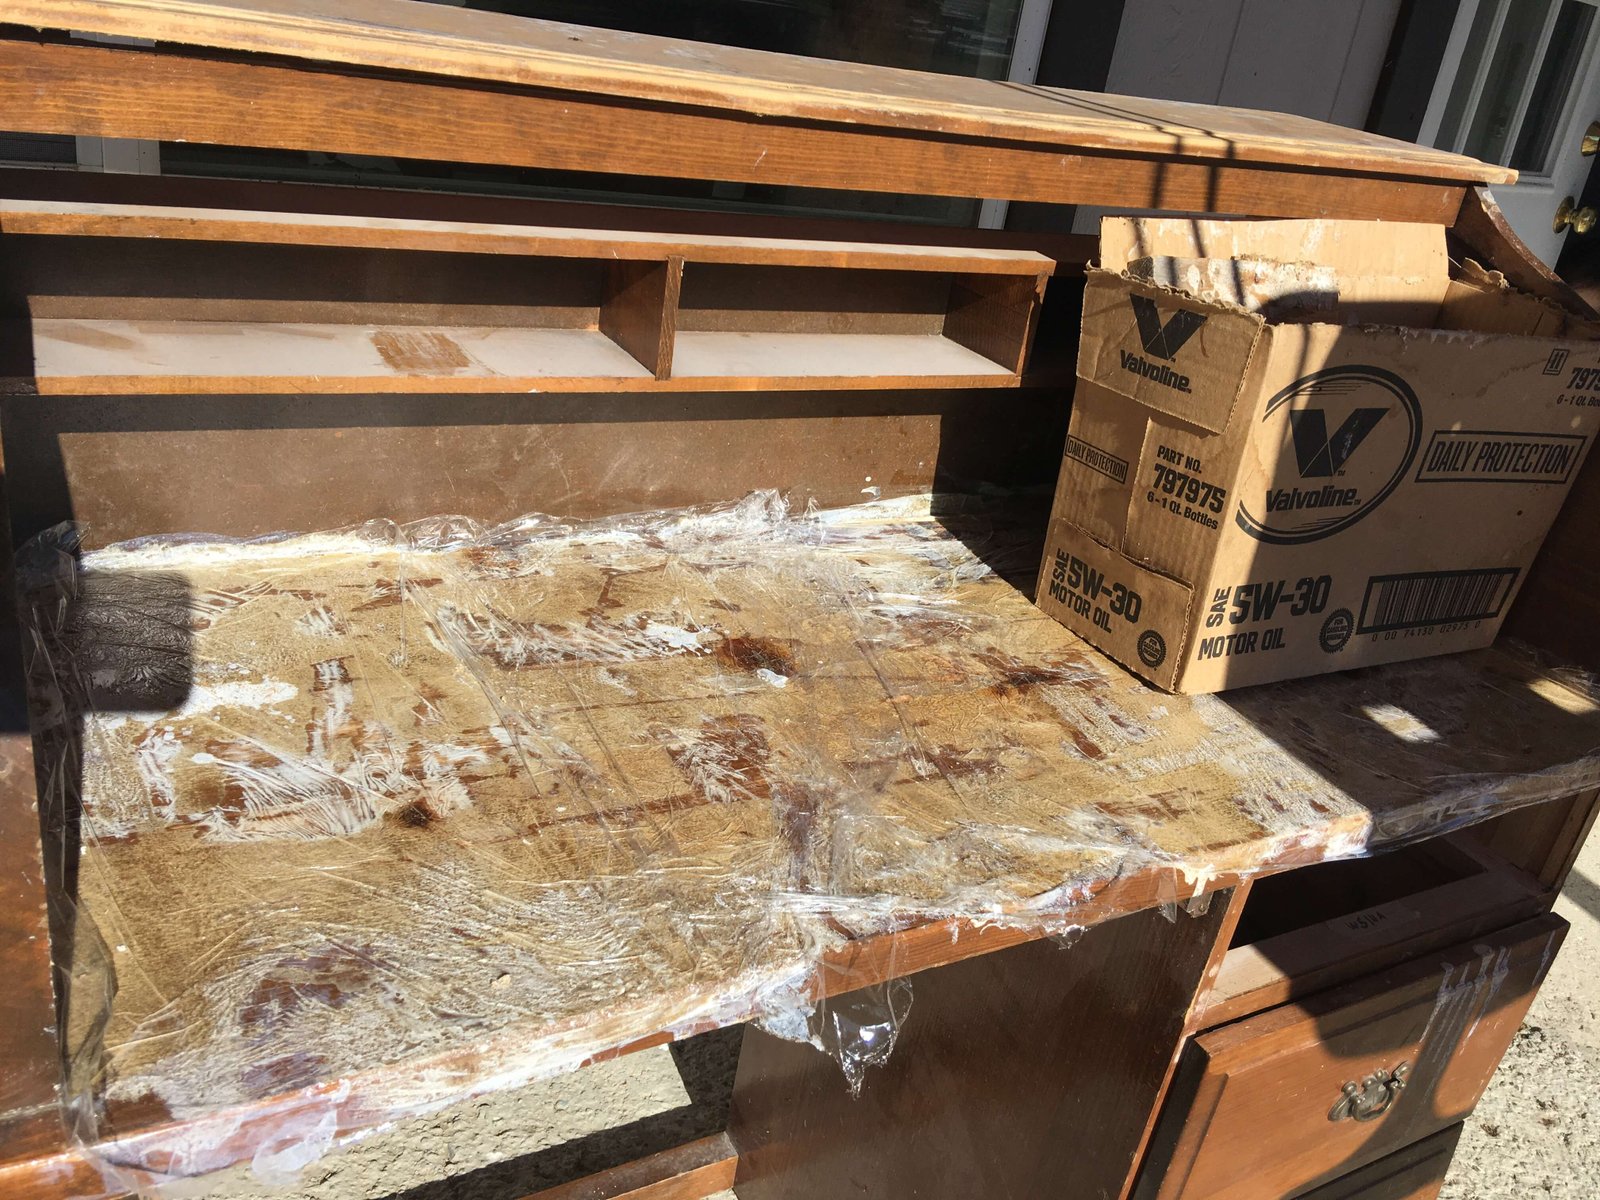
First, I poured the stripping agent onto the area and then spread it around using the scraper making sure every part had a thick layer of the product on it. The stripper I use on everything usually takes about 15-30 minutes but after about 20 minutes I check and it was not ready. So, I wrapped it in plastic wrap and left it overnight. This is a very common trick when stripping; you can learn more about stripping and refinishing wood furniture here!
The next morning I check it and it was ready! Pulling the plastic wrap back just enough to work on a small section I started scraping. The instructions advise using a plastic scraper so as not to damage the actual wood. Scraping in sections I would dump the gooey-ness off into a bucket. I continued scraping in sections until the desk was down to bare wood.
Just A Tiny Bit Of Sanding
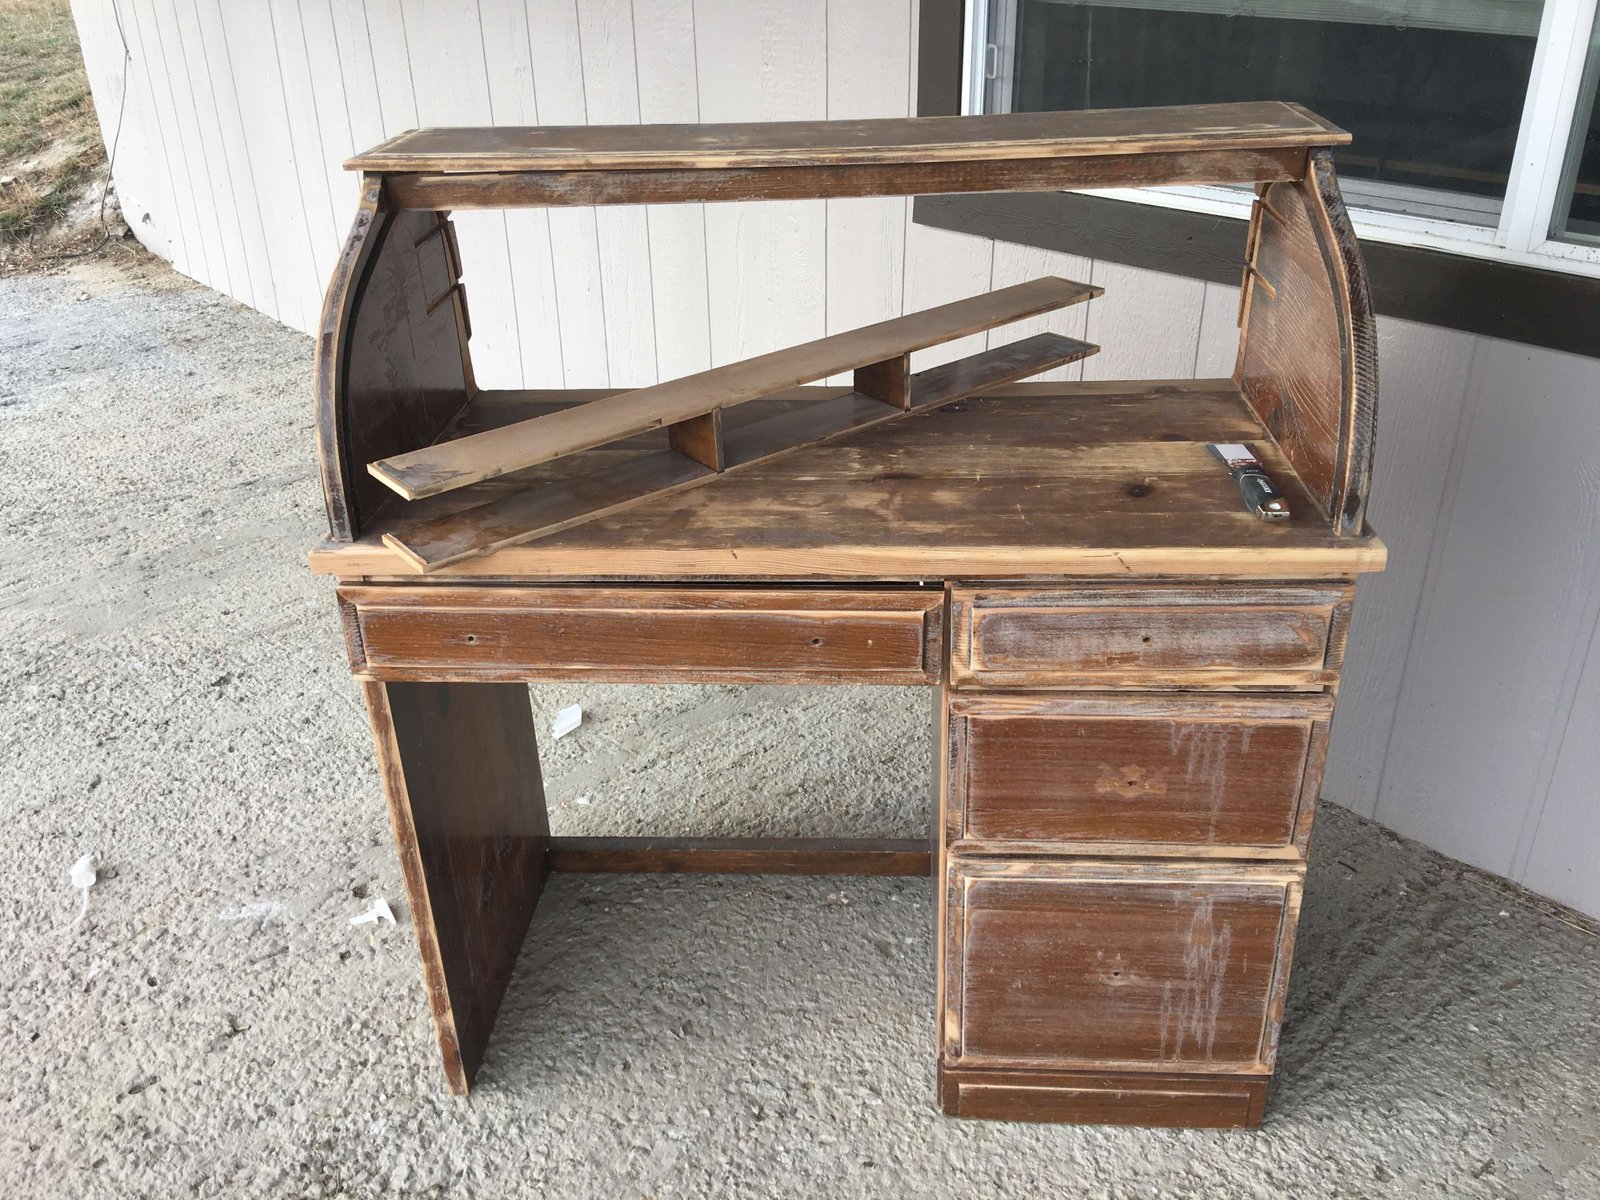
After stripping I wiped with mineral spirits to remove any residue that was leftover. As a result, this allows the sanding process to be much smoother and not allow tiny leftover product build-up on the sanding pads. I almost always do a light sanding after stripping to give it a smooth finish. I also had to sand down the entire desk to prep for paint that you can read about in this post!
Staining
Using painter’s tape I marked off the areas so the stain would not get on. Using Minwax Special Walnut stain I applied two coats to the desktop and to the shelves using a sponge brush. After it sat for a minute I wiped the stain off with an old sock or t-shirt. After the stain was fully dried I sealed it with two coats of Varathane Top Coat in satin using a paintbrush!
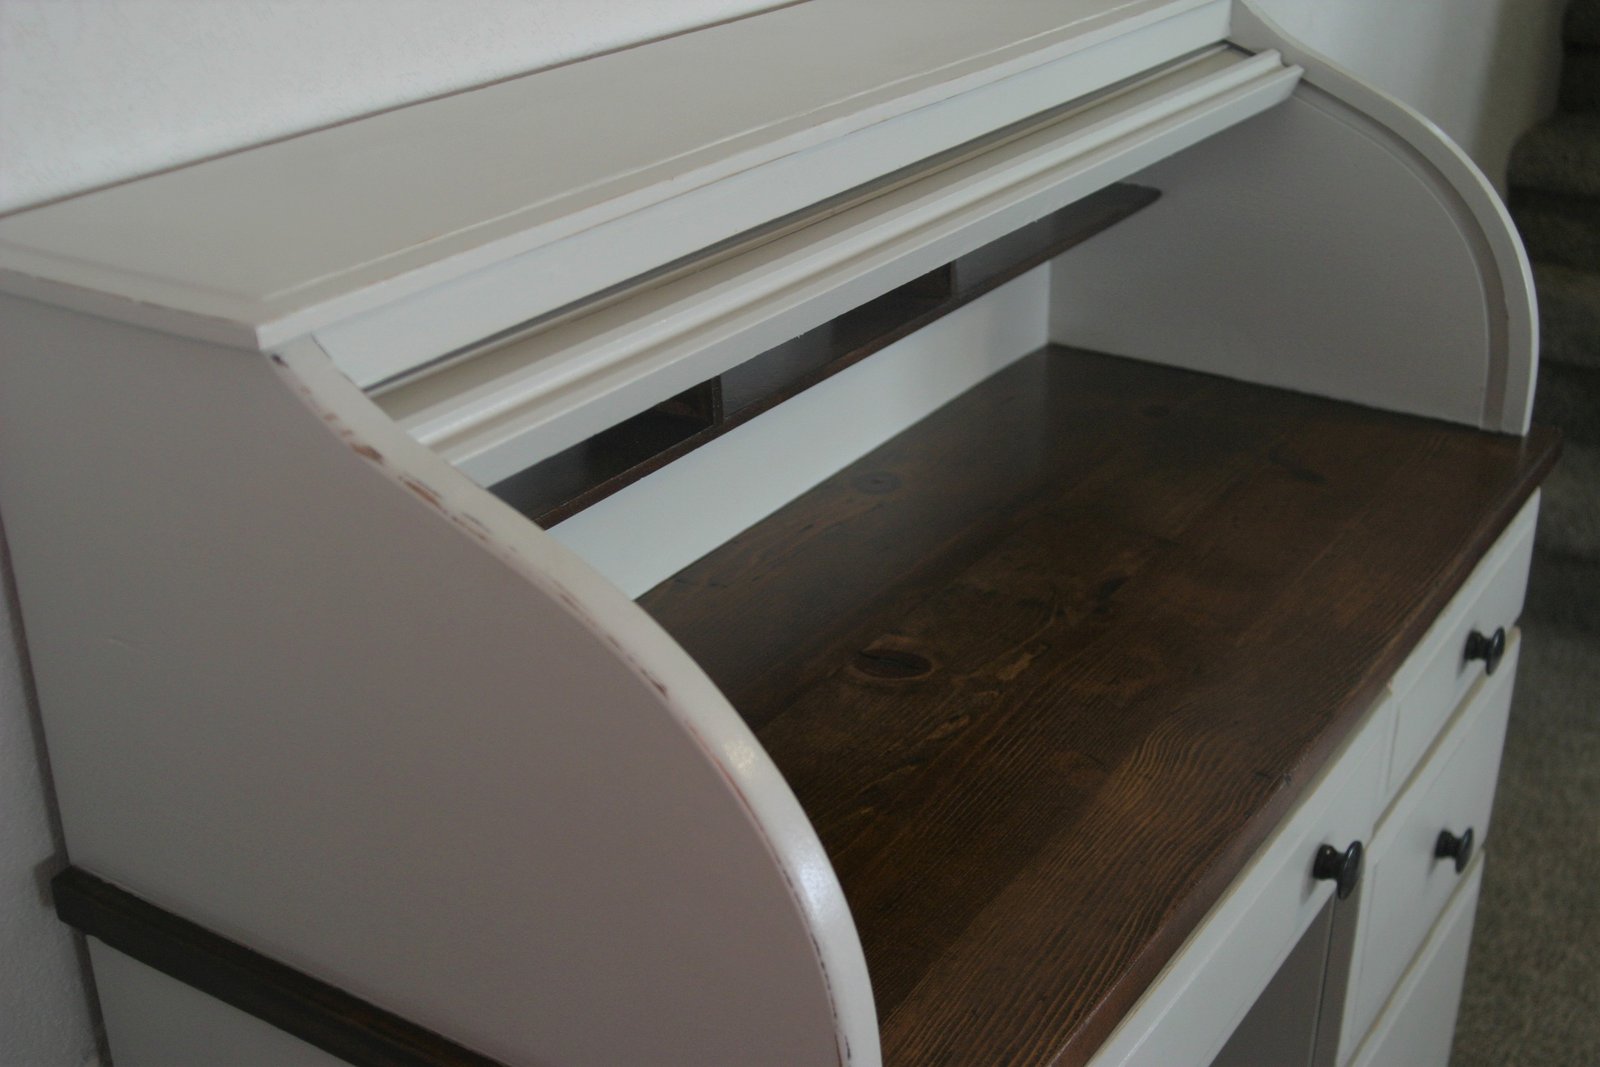
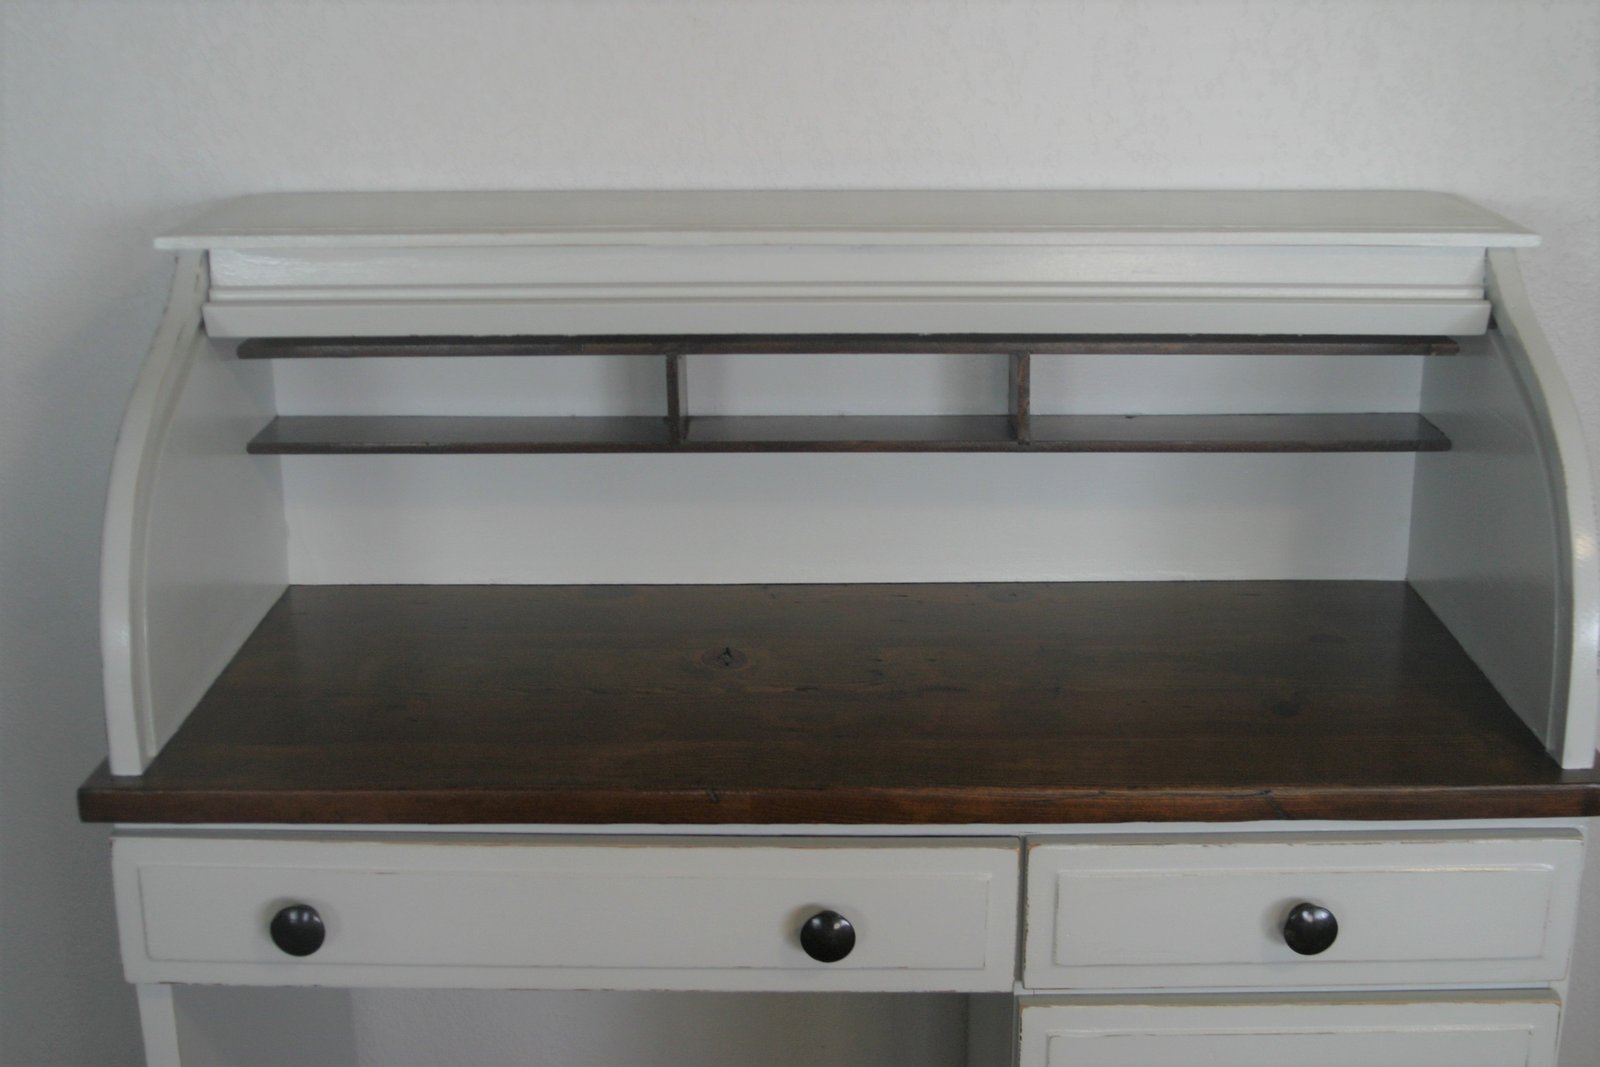
Refinished Roll Top Desk
I really enjoyed the refinishing process of this roll-top desk so be sure and check out my other two posts about this full roll-top desk makeover! Painting and tambour fixing
-Krikit