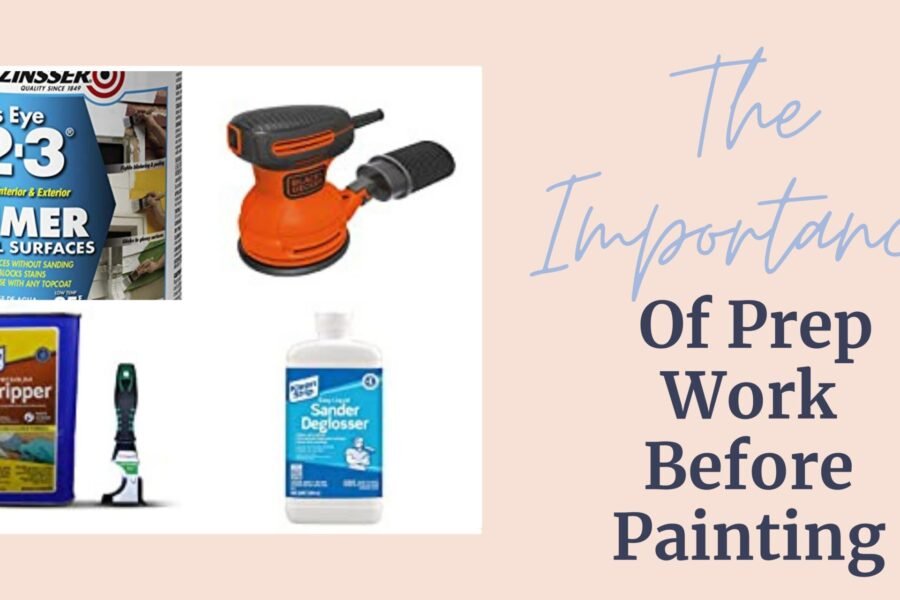
Everyone wants to avoid prep work like the plague but the importance of prep work before painting is huge. It is literally what holds the paint onto your furniture. Prep work encompasses multiple things…it is basically anything that comes before actually painting your furniture. Yall are all dying thinking priming or the ever-dreaded sanding. But did you know that those steps and other steps taken before applying the actual paint are all part of the prep and is all vital to how your project turns out and lasts?
I know there are paints out there that are one and done. They are extremely popular but are they as great as they are cracked out to be…I don’t know maybe. I’ve used a few and none have been so incredible that I have ditched my latex paint and especially my oops latex paint. Personally, I have no problem using them just not my first choice mainly because of cost.
Think of it this way. There are 2in1 shampoo+conditioners but how many of yall are out there using that? When shopping for a shampoo and conditioner are yall bombarded with an all-in-one option? Definitely not cause guess what they aren’t that great. Your hair turns out so much better when you wash and then condition separately… giving each step the opportunity to do what it does best. Same thing with paint! Do each step properly and you won’t regret it later. Also, know that prep work doesn’t have to include ALL the prep work things. You do not have to clean, sand, and prime just to paint. You for sure can and some do but you do not have to. Here are some various prep work options.
This post may contain affiliate links, which means I may receive a commission, at no extra cost to you, if you make a purchase through a link. Please see my full disclosure for further information.
Cleaning
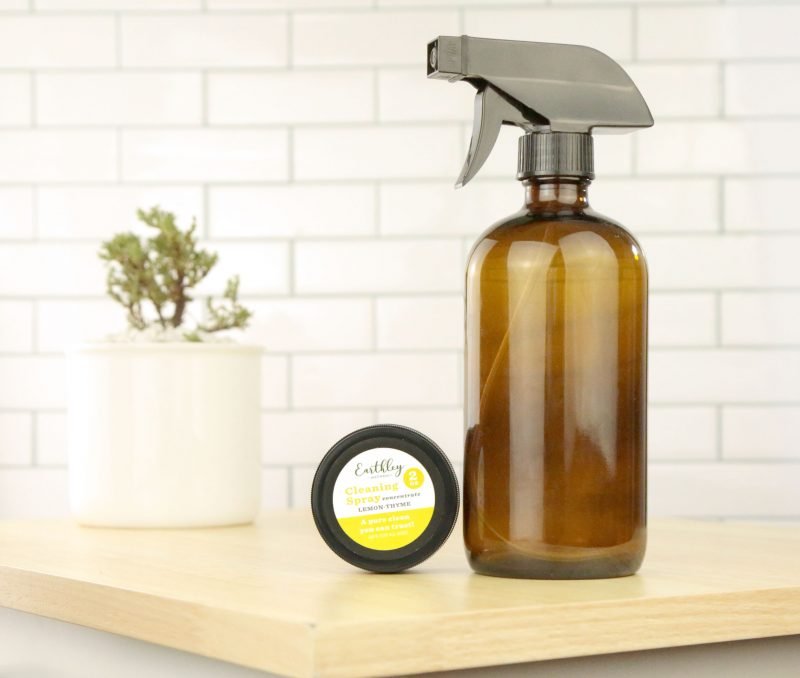
Okay, this is a given but it counts as prep work. You need to be cleaning your pieces to get all the gunk off of it or paint really isn’t going to want to stick. Really it’s the first thing you should be doing. I use any all-purpose cleaner I have on hand. I have been known to make my own but I recently just started using Earthley’s cleaning spray concentrate and I love it. It works amazing, is budget-friendly, and smells divine. It’s a concentrate so you get a little jar of it and then add 1tsp of the concentrate to 16oz of hot water and let it melt/dissolve. You can make 12 full bottles from one jar! Seriously check it out!
During the cleaning process make sure you are getting off everything. Old furniture can have a variety of built-up wonders and you want to wipe (or scrub) that off along with all general dirt and dust.
Wood Filler
Okay, this one I always forget about but it is so important. Filling in those pesky holes, divots, and cracks. If you are working with used and word furniture and a almost guarantee you are then you are for sure going to have areas that need to be filled. I highly suggest doing this after you clean but before anything else.
If you are going to stain then proceed with extreme caution. Wood filler and stain are not very compatible even if the package says “stainable”. It is what it is but you will notice where you put in a filler. Options can be to mix the stain color with the wood filler. Or mix sanding dust, a little wood glue, and a little stain and use that to fill in the hole. Another option is to fill the hole and paint on a bit of Retique It and try to add in a bit of a grain texture. None of this is going to work great for big areas though. So if you are staining and need to fill a big area it might be better to paint it or go with a full Retique It option. You can read more about the amazing powers of Retqiue It here!
However, wood filler works great under paint! So any cracks and holes need to be filled. Painting over open cracks and holes will basically paint a neon light around it. It will become even more glaringly obvious and drive you nuts. Fill the holes and you will thank yourself later! Just as a note. I have used various brands of wood filler. All are obnoxious to use so just be aware. If you have a wood filler you like and feel like it is easy to work with PLEASE send me an email and tell me what it is cause I would love to know and give it a try!
Sanding
When people think of prep work they immediately think sanding. Everyone is so quick to fear the sanding but let’s not completely hate on sanding. When it comes to prep work this option is really easy and simple to do and the most budget-friendly option. It not only gives your paint a place to hold onto; but also removes any imperfections in the wood or previous finish. Yes, it takes effort and yes it gets dust everywhere. Did you know that; in general; when sanding is being discussed as prep work for furniture we’re talking about scuff sanding. Not the kind of sanding that takes forever to get down to bare wood. It takes a handful of minutes to scuff sand to paint. DO NOT FEAR THE SANDING STEP! Here’s the difference between the two.
Scuff Sanding
Scuff sanding you are wanting to just scuff up the surface of the original finish enough that paint (or primer) can grab ahold of it. That is literally it. Often times you may not even really be able to tell you did any sanding but your paint will be able to tell. If using a hand sander it will be a little more work but far less work than sanding to bare wood by hand. Just use a low grit sandpaper like 60 or 80 and scuff it along the entire piece. You can move left to right or up and down or in circles. In my opinion, it really doesn’t matter since you aren’t touching the wood grain.
If using an electric sander then quickly go over the entire surface area making one or two passes. Depending on the size this should take a handful of minutes. Whether hand sanding or using an electric sander do not forget to sand in the tight and hard-to-reach areas too. Once you have scuffed up the entire surface using a vacuum and/or a tack cloth to wipe it down to get rid of the sanding dust.
Sanding To Bare Wood
I only sand down to bare wood if I am going to stain OR the previous finish is cracking/peeling. You do not want to paint over cracking/peeling paint. The new paint will highlight all the imperfections and it will look terrible. When sanding down to bare wood it’s exactly what it sounds like. You are going to sand and sand until the fresh, bare wood is fully exposed. If you’re sanding veneer then be careful you don’t want to over sand and expose the wood underneath but if you do then I got you covered!
From my experience, the amount of time sanding will heavily depend on the previous finish. Some come off quick and others you swear will never come off. During this process be sure and flick your sandpaper off every once in a while; if anything builds up on it then it won’t work well. Also do not be afraid to change out the pads if they just don’t feel like they are doing anything anymore.
Priming
Priming can accomplish many different goals with prep work. You can use a primer to help with the adhesion of your paint like I do with laminate furniture but that is not all it does. If you are going from dark to light then a primer will help get to a lighter color, faster. It can help block out stains and smells. Primer also can help block out tannins so you do not get bleed through. Tannins can bleed through your paint finish (especially lighter colors) and leave a tan/brown/cream discolor on your finished product. Now, this doesn’t always happen and so knowing when to prime or not can be tricky. Primer can also block out wood knots, smells, and stains.
There are more reasons you may need a primer for like rust, mildew, etc but for the purpose of this blog, these are the main reasons I felt necessary to address! It is important to know that not all primers are created equal. Not all primers can or will help with adhesion, or block out odors, or prevent bleed through. You need to use the right primer for the job. Here are some primers to look into for your priming needs!
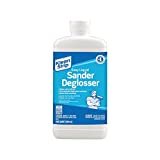
Deglosser/Liquid SandPaper
My personal favorite! So easy to use plus it is a quick way to get an effective “prep”. What a deglosser does is it basically scuff sands your piece with a chemical instead of using actual sandpaper. You can use a primer after this step or go straight to painting. That is up to you and depends on your piece and your end goal. The deglosser I use is also a degreaser so it helps clean your piece as you degloss saving you a step in the process.
If your piece has a lot of dust or dirt on it that it wouldn’t hurt to vacuum it or do a separate wipe down before you start deglossing. I almost always wear a glove when I do this step. I also either use an old, microfiber rag or the scrubby part of a sponge to apply the deglosser. It will most likely leave a white residue on your piece and that is just fine; you can paint right over the top of that. If you would like to read a post all about using a deglosser from start to finish then check out this post: How To Paint Furniture Without Sanding In Two Simple Steps.
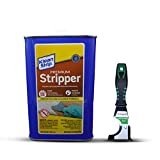
Stripping
Another prep option that involves a chemical but can be very effective. A stripping agent will basically eat through the existing finish so that you can scrape that finish completely off. You would need to strip off a finish if you are wanting to get down to bare wood so that you can stain. Or if the finish is chipping and/or peeling and you don’t want to sand those areas down. Stripping can be labor intensive but so can sanding so it really comes down to which would you rather do….sand or scrape. Depending on the type of wood you are working with I would highly suggest getting a plastic scrapper too. Soft woods can be damaged by a metal scraper.
Once you have scraped off the existing finish you may need to do another round to fully get it all off. Regardless of how many coats it takes to remove the finish, you will then need to wipe it down with mineral spirits (or similar) and then give it a quick sanding. You probably don’t HAVE to but I like to and think it helps! You can read my step-by-step process and a few tricks and tips for stripping and staining right here!
Wrapping Up The Importance Of Prep Work Before Painting Furniture
There you have it! Prep work can be as easy or as hard as you make it. You can do a combination of steps or pick just one and continue on. It really is up to you. I choose my prep work almost exclusively to how I want the finished project to look like at the end! The importance of prep work before painting is huge but it does not need to be blown out of proportion. Hopefully, through this you know that prep work does not have to be a huge undertaking and can solve a lot of problems you may encounter.
Have a question on any of the steps? Have something that I might have missed? Shoot me an email I would love to hear from you!
