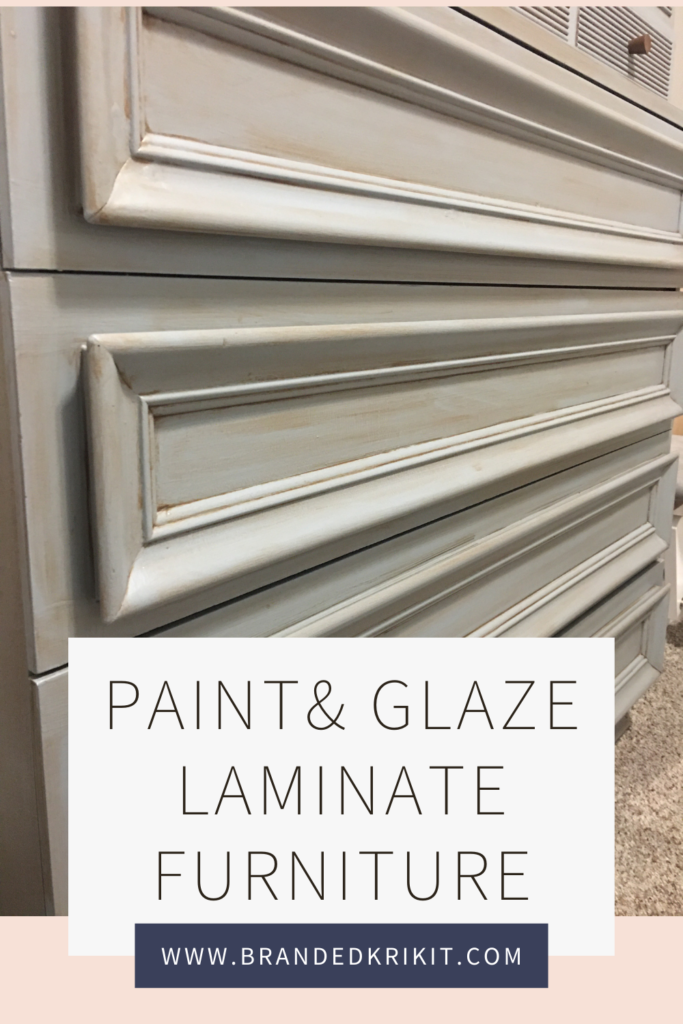
I love DIY and repurposing furniture and have done a fair handful over the years. Refinishing furniture gives drab furniture a brand-new life plus it’s a fun, creative, and budget-conscious way to change the vibe of any room. The best part of doing your own DIY makeovers is that it is 100% customizable to anything you could want. When I was pregnant with our third baby and our first boy I knew I wanted a vintage, mountain adventure feel to his room. For his dresser, I wanted to paint it and use a glaze to give it a rustic feel! This is why I decided to paint and glaze this laminate dresser to give it the feel I wanted! I looked through tons of ideas and decided to paint the dresser a blue/grey color with a bronze antiquing glaze over top.
This dresser was FREE and I was just so excited to get started! Although the dresser was in incredible shape the outside was laminate. This can often scare people away but it really is no big deal. If you aren’t sure if you are working with laminate, veneer, or solid wood I suggest you check out this post! I opted out of sanding and used a well-rounded primer. This dresser also is not going to be in a high traffic area (think kitchen table, cabinets or coffee table) and so I am taking it easier on the prep work!

This post may contain affiliate links, which means I may receive a commission, at no extra cost to you, if you make a purchase through a link. Please see my full disclosure for further information.
Materials Needed To Paint and Glaze Your Laminate Furniture
- Foam Roller
- Foam Brush
- Paint Brush
- Primer
- Paint
- Glaze:
- Blue Shop Towels
- Color for glaze
Clean It Up & Prime
Before paint or glaze can be applied to the laminate you have to clean it; getting the dust, dirt, and grime off. I normally just use a basic all-purpose cleaner but if you are re-purposing something with a lot of grime and/or grease look into TSP. For this I just used my standard kitchen counter cleaner and gave it a good wipe down.
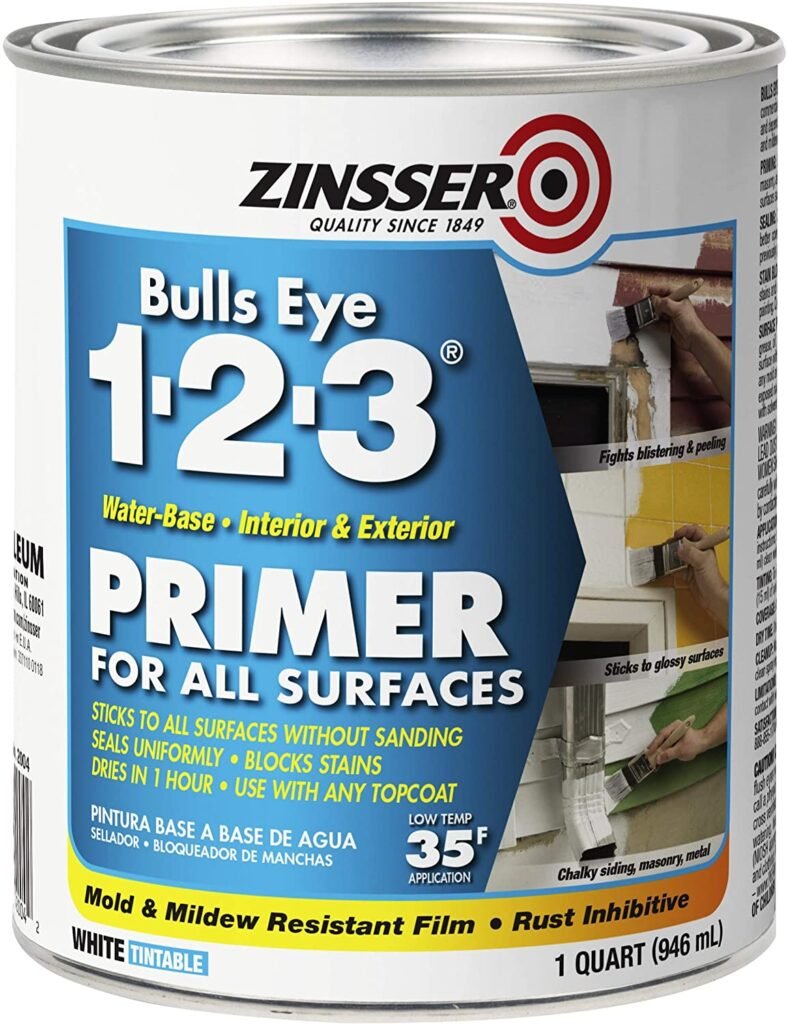
I frequently use Zinsser Bullseye 123 Primer. It’s water-based and formulated for both indoor and outdoor use, as well as most surfaces plus it dries quickly. I used it on my Dining Table Makeover! Most often you can get away with just one coat which is nice! Using a 4-inch foam roller and a 1-inch foam brush I applied just one coat to the entire dresser. Using the foam brush for the smaller areas that the roller doesn’t fit.
Why prime? Sometimes you can omit sanding or priming depending on the project. I tend to prime on top of a light sanding because it all helps your paint adhere properly meaning more durable. Depending on the color change, primer can help you paint fewer coats to get an even, full coverage look that you want. Some primers can be tinted just like your paint helping you get that transition of color easier and faster. Yes, you can buy paint and primer in one. Although the idea is great and ideal in certain circumstances it is not an end-all to a good primer. Think of shampoo plus conditioner…it may be a great idea. Great for some people but overall is not what is best. Check out this post all about the importance of prep work!
Now Lets Paint

I wanted a blue/gray paint for the overall color and decided on “French Colony” by Behr in a satin finish. To begin I used a foam brush to apply color in the areas that aren’t roller accessible. I dab it to give it a more uniform application instead of streaky like it can be when applying in the back and forth manner you do with a paintbrush. Find out how I paint without any brush strokes here. Normally these areas just need one round of foam brush dabbing since they usually aren’t in a highly visible area. So, if they aren’t perfect no one is going to notice! If you do notice then give it a second coat! Next, I used the same roller and applied 2 coats of paint. (Check your paint can for all the proper recommendations for dry and recoat times) Two coats almost always gives me the coverage I want and with this color it was perfect!
Time For The Glaze

Lastly the glaze! I was so overwhelmed with all the glaze options on the market and opted for Valspar Clear Mixing Glaze. It is a clear base and I did not want to commit to a whole container of a single color. (At the time of writing this it seems that this glaze is no longer an option so I linked two other products at the top that are very similar! However, I am able to find it in-store at my local Lowe’s) Premixed glaze colors were not what I was wanting so a clear base was perfect! I wasn’t going to use a ton; a little goes a long way and wanted to be able to use the leftovers for other projects in different colors.
The point of a glaze is that it essentially extends the drying time of the paint giving you time to paint it on and wipe it off without it being smudgy and gross like straight paint does. The longer you leave it on the more color you are going to get.
Tinting the Glaze Base
For the actual glaze color, I was going to tint the clear base with a bronze color; not brown…bronze. The paint color I wanted was not available so I just made my own from what I had at home. Like I said I wanted bronze which to me has more dimension to it than just a flat brown. At home, I had THIS brown metallic color. On its own, it was far too glittery than I wanted for a boys’ room so I added THIS straight brown and I liked it so much better! I poured about 2-3 ounces of the clear mixing glaze into a plastic cup then added a couple squirts of each brown color I had and stirred it all together.
Applying The Glaze
I took a 2-inch paintbrush and just started painting it on the dresser. I started on the sides and top of the dresser so I could get a feel for how this was all going to work and look. Plus, if I hated it, repainting the sides is a whole lot easier than re-painting the drawers. After I had the whole of one side painted I immediately started wiping it off from the place I first started painting. I wiped the glaze off using blue shop towels and didn’t get as much color deposit as I was wanting so I added another coat and wiped it off. I painted the other side, left it on for a minute or two longer, and started wiping off. This worked much better than immediately starting to wipe it off. I did the same for the top.
Then I did the dresser drawers. On the first drawer, I applied the tinted glaze and waited just a couple of minutes, and started wiping from where I first started painting. The crevices of the drawers held the glaze really well and ultimately more than I envisioned. On the remaining drawers, I painted them and started wiping the crevices immediately first. Doing so helped not make it so heavy and then proceeded to wipe down the smooth areas of the drawers after. I finished up the rest of the drawers and was happy with how they turned out!
Nervous to Try Something New
If you are nervous to try a new technique or not sure about the paint color you chose then try it out on the very back. I don’t paint the back for obvious reasons but when I try new techniques I always try it first on the back. I can experiment without having to re-do it all and no one is going to see it.
Does It Need a Top Coat?
Once the glaze is finished and properly dried there is the option to add a clear, protective topcoat if you would like. If you would like to use a top coat then check out one of these projects I did that I used a topcoat on with: Dining Table, Bench, Dresser. I opted out on this project and after about a year it is holding up great! Plus, as I mentioned earlier this isn’t in a high traffic area so I am not too worried about it. Keep in mind though with a clear topcoat; beyond its protective layering; is the clean-ability. A higher shine will ultimately be easier to clean so if you expect your piece to get dirty easily then a 1-2 topcoat layer might not be a bad idea.
Now that I have applied paint and glaze to this laminate dresser just the way I want it I (and my husband) moved it into my son’s room and decorated it just for him! I love his dresser! It fits his room and the vibe perfectly. I love that my older kids haven’t been able to open the drawers and there is yet to be a single scratch on it! WIN!!!
Have you used paint or glaze on laminate or any kind of furniture? If not try it out and let me know how it goes! Drop a picture of your results or ask some questions! I am here to help!

Dresser After 
Glaze on Drawers
-Krikit


