Are you wanting to paint a piece of furniture and so dreading the idea of sanding…I bet that is why it has been on the “to do” list for a month or 6 or 12. Well, I have some really great news for you! It is so easy to paint furniture without sanding that you can do it in two easy steps! No, I am not going to try and sell you on a specific paint because in reality there are so many options out there and you can decide which paint you want to use based on budget and color preferences! These steps will work for any paint you choose!
Being tied down to a specific set of color options from brand A or brand B is not my thing. I want ALL the color options for whatever I am working on. Browsing through the hardware stores (or Pinterest) color wall is something I enjoy doing. Just to find the perfect shade of color and not settle! Personally, I love to try new things and have tried multiple different brands and so far nothing has impressed me enough to give my sole allegiance to.
This post may contain affiliate links, which means I may receive a commission, at no extra cost to you, if you make a purchase through a link. Please see my full disclosure for further information.
Products I Use to Paint Furniture Without Sanding
- Tarp
- Liquid Sandpaper/Deglosser
- Rags
- Paint
- Foam Roller and/or Paintbrush
- Top Coat (optional)
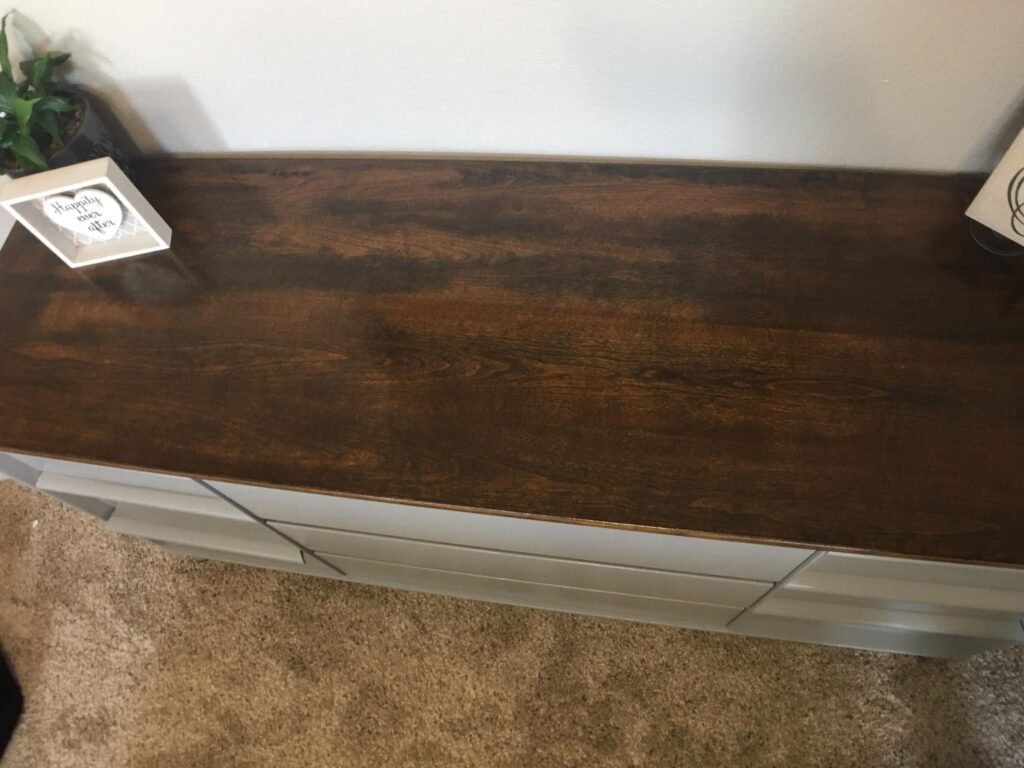
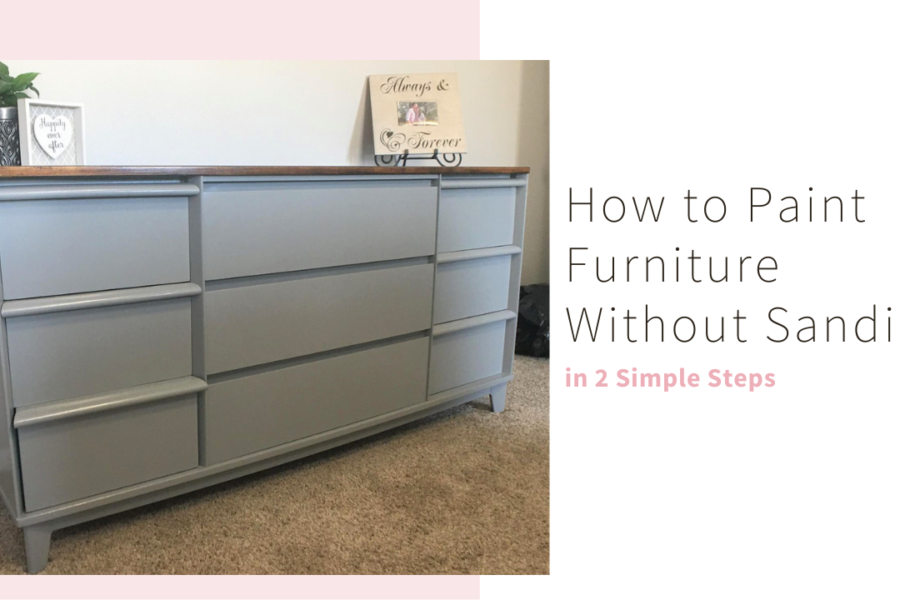
Remember my dresser I stripped and refinished the top of. Well, I painted the rest of it and never used a sander! I decided to try out Heirloom Traditions All-In-One Paint in the color Cobblestone. It is a mid-tone gray and I love the color. Heirloom Traditions advertises their paint as an All-In-One; no priming, no, sanding, and no topcoat. They do instruct you to clean and degloss with their deglosser. You can buy theirs or you can this deglosser it will still work. I personally already had a deglosser on hand so that is what I used!
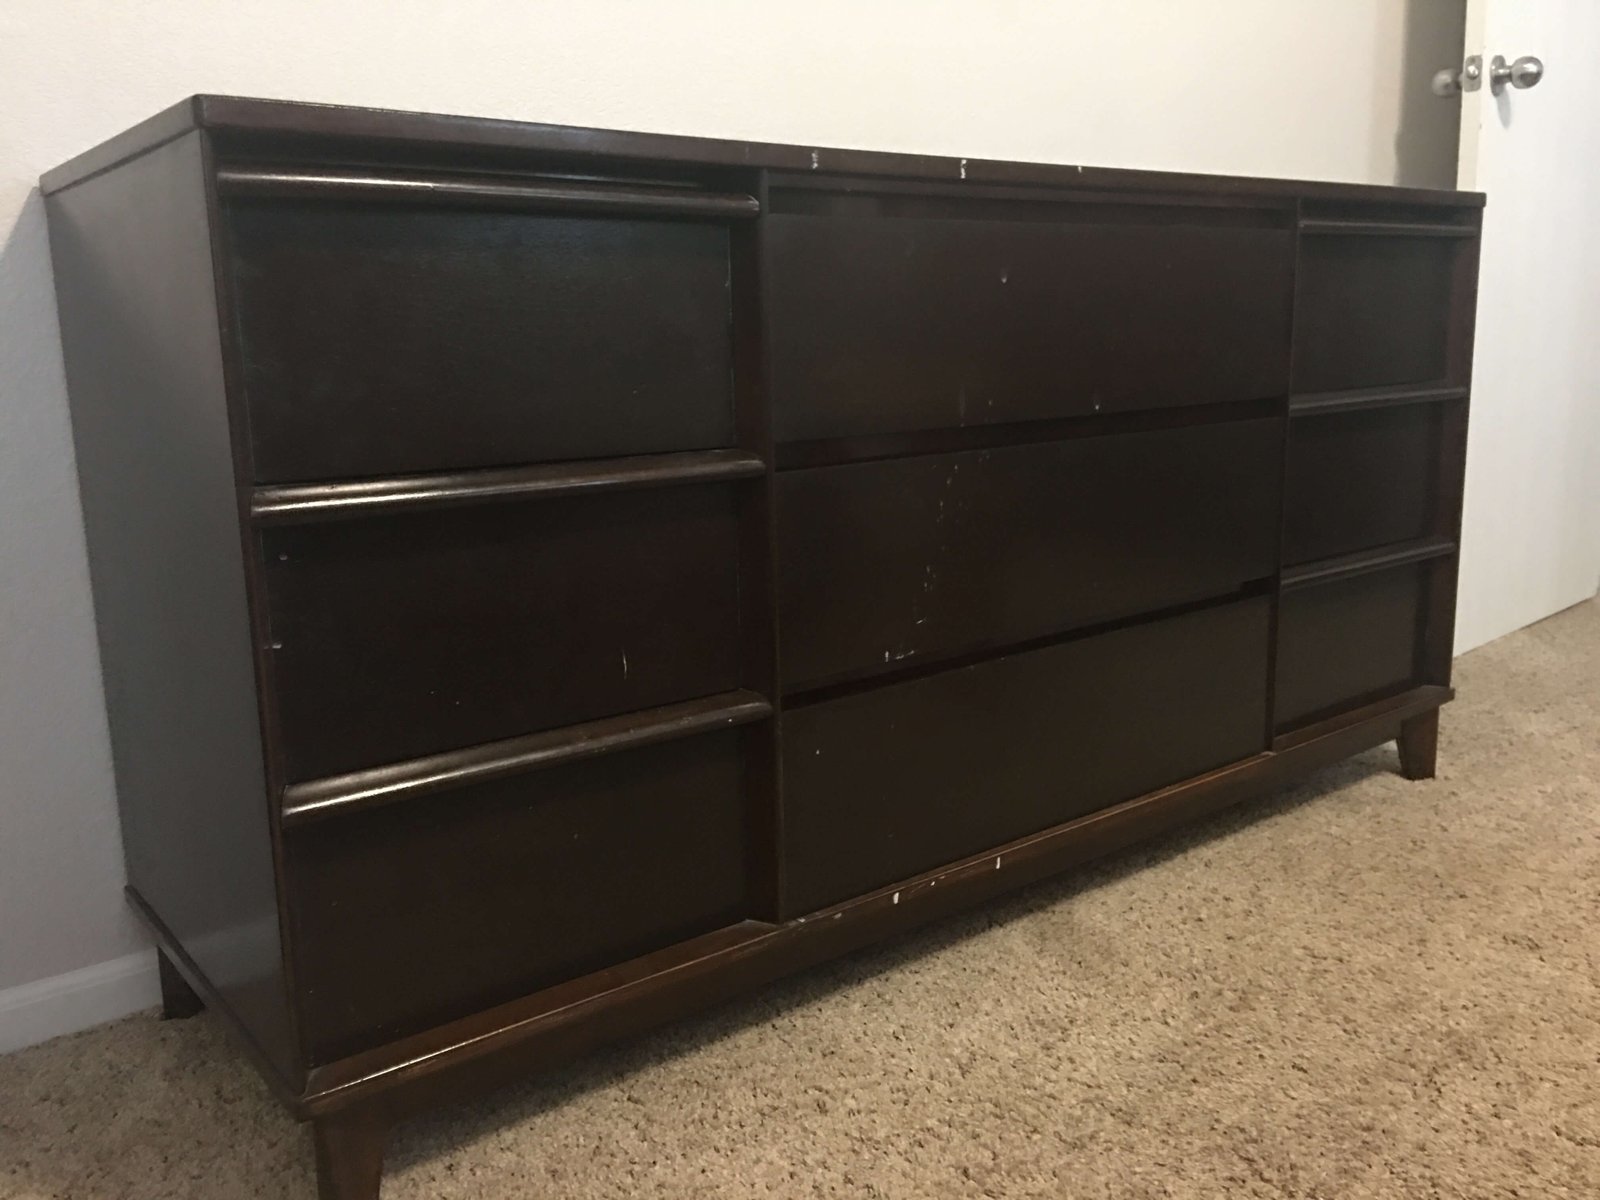
REMEMBER just because I am using an “all-in-one” paint does not mean that these steps are exclusive to this paint. You can use it with any paint. I use it with regular latex paint ALL the time and it works wonderfully!
Step 1 – Deglossing
Starting with a clean piece of furniture take your liquid sander/deglosser while wearing gloves pour a little bit on your rag, and start rubbing it over your piece of furniture in circles. Sometimes I forget the circles and just scrub it all over. As you work and are adding more deglosser onto your rag be sure and move it to new areas so you aren’t using the same section of cloth the entire time. Do this to every part of your furniture that you plan on painting. If it is a small piece and applied it quickly then make sure and give it 10 minutes or so to dry before moving onto the next step! It may or may not leave a white residue…don’t worry about that you can paint over it.
Step 2 – Painting
Next, take the paint color that you chose and apply it all over your furniture. I personally prefer a foam roller regardless of the paint choice. Heirloom Traditions has a self-leveling paint to reduce brush strokes but I tried it that way on a different piece and did not find that to be true. Maybe it was weather conditions mixed with poor technique but it once again reaffirmed my love for a roller!
I use my roller on as much of the surface as I can. However, I often need a 1-inch foam brush to dab into small and/or tight areas. If you would like more detail on how I paint with a roller, foam brush, and a kitchen sponge to get zero brush strokes then I suggest you check out this post. This method works really well for me and I am confident it will work well for you too! I did two coats of paint to get the full coverage look I wanted. After that has dried guess what…YOU ARE DONE! Seriously that is it. You can easily do this in a single day. If you have 3 young children running (or scooting) around AND it’s hay-feeding-season it might take you two+ days but who’s counting because it certainly is not me.

OPTIONAL Step 3
If you want or need to you can add a clear topcoat for added durability, sheen, or an easier clean. I did use a topcoat on this piece of furniture solely for the fact that I stained the top and needed to use a top coat over the stain. So naturally, I wanted the sheen of the top and body to match. You can simply add the topcoat to the stained part if that is your preference. If this was a fully painted dresser I would not have added a topcoat. For this project, I used Minwax Polycrylic. I highly advise using a paintbrush to apply…or check out this post to see my new favorite way to apply poly. As earlier mentioned this is not my favorite way but rolling is a disaster waiting to happen. It’s tragic…just don’t use a foam roller or you will be sanding to fix the damage done. Using a paintbrush I applied two coats to the entire dresser and called it complete.
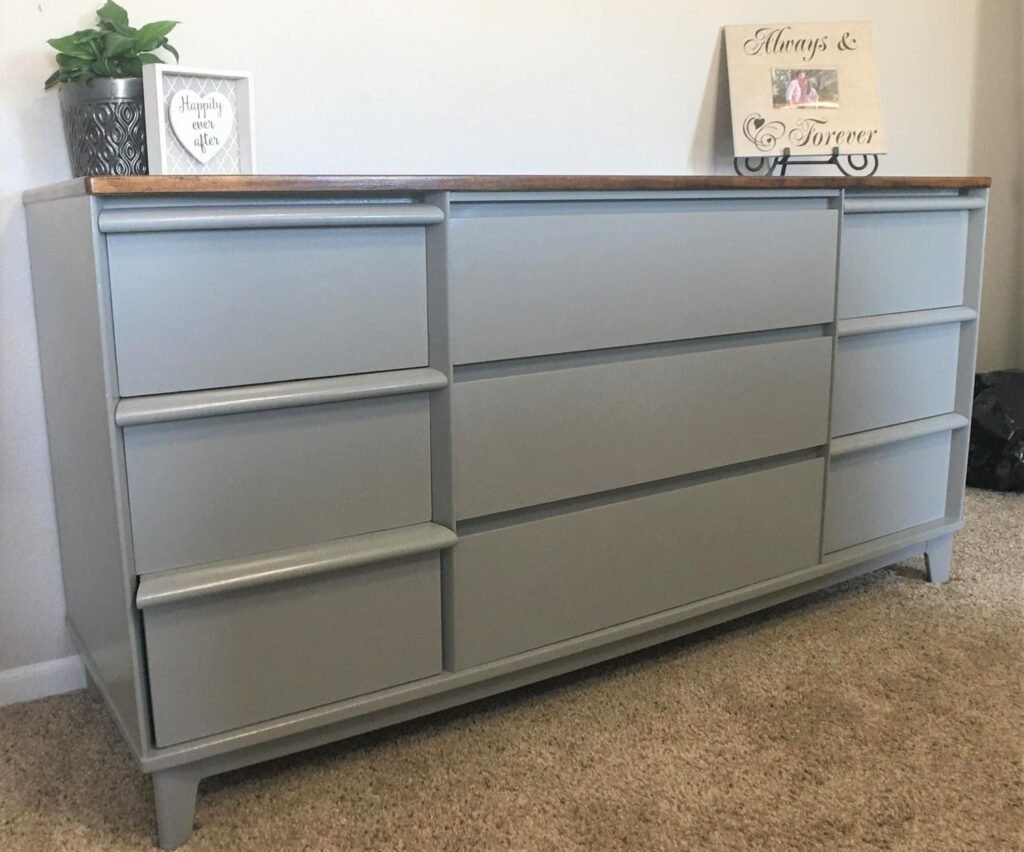
You have now successfully painted a piece of furniture without sanding it! Let me know how this method worked for you. Please share your before and after pictures, I would love to see them!
-Krikit


