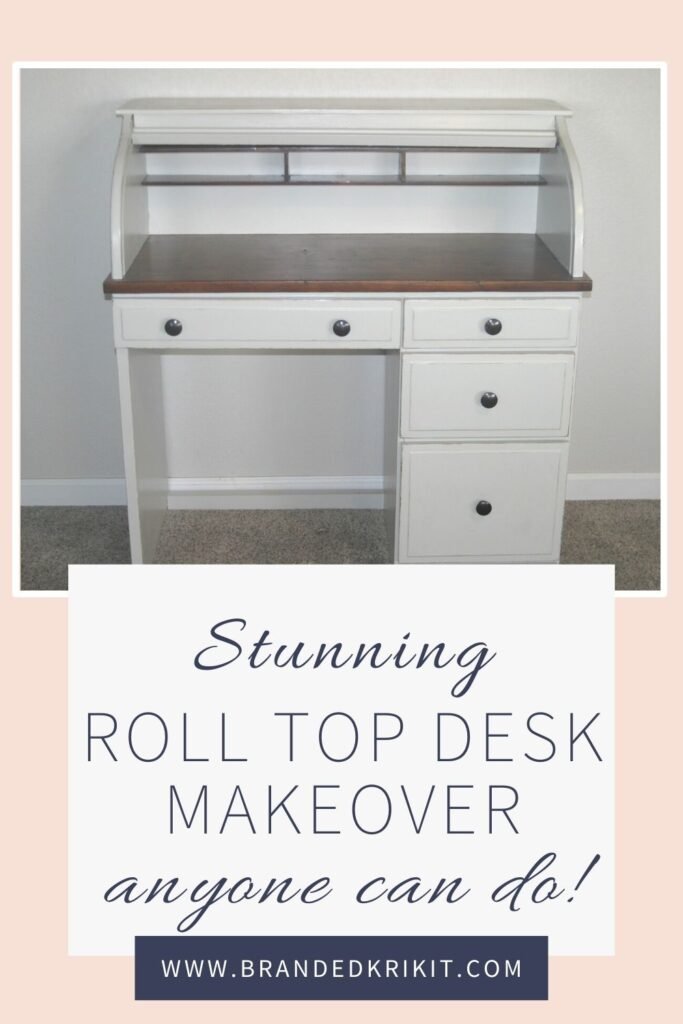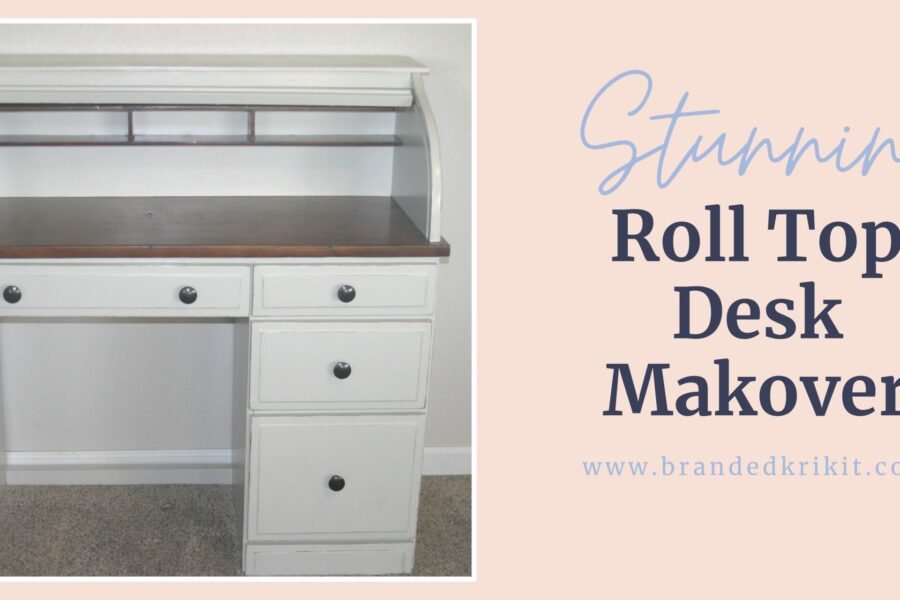
When I bought this roll top desk it was in really rough shape! The tambour didn’t slide open, 3 of the 4 drawers sat crooked. It desperately needed a lot of work but I loved it the second it scrolled across my screen. Naturally, I bought it and got to work to paint this roll-top desk.
This roll-top desk project was one that I worked on when I had spare time here and there. Between starting this blog, beading, and other furniture projects it all just came together when I needed a break from everything else. The desk required repairs that I needed my husband’s help for which happened in the evenings; after the kids were in bed and horses had been ridden.
This post may contain affiliate links, which means I may receive a commission, at no extra cost to you, if you make a purchase through a link. Please see my full disclosure for further information.
Supplies I used to Paint this Roll Top Desk
- sander
- foam roller
- paint tray
- foam brushes
- painters tape
- paint of your choosing – I used Repose Gray from S.W.
- hand sander with 220 grit sandpaper
- Varathane top coat
- paintbrush
- Bronze spray paint
First Things First – Disassemble
I often try and take apart a piece as much as I can. It makes the process so much easier when you are not having to fight tight areas. The tambour was sealed shut and took a lot of pulling to get it out. It had a flimsy cardboard backing that I removed, which then allowed me to pull out the little shelves. I also removed all the hardware and threw it away. I do not normally trash hardware but instead, clean and re-paint or save for a different project.
Prep for Paint – Sanding
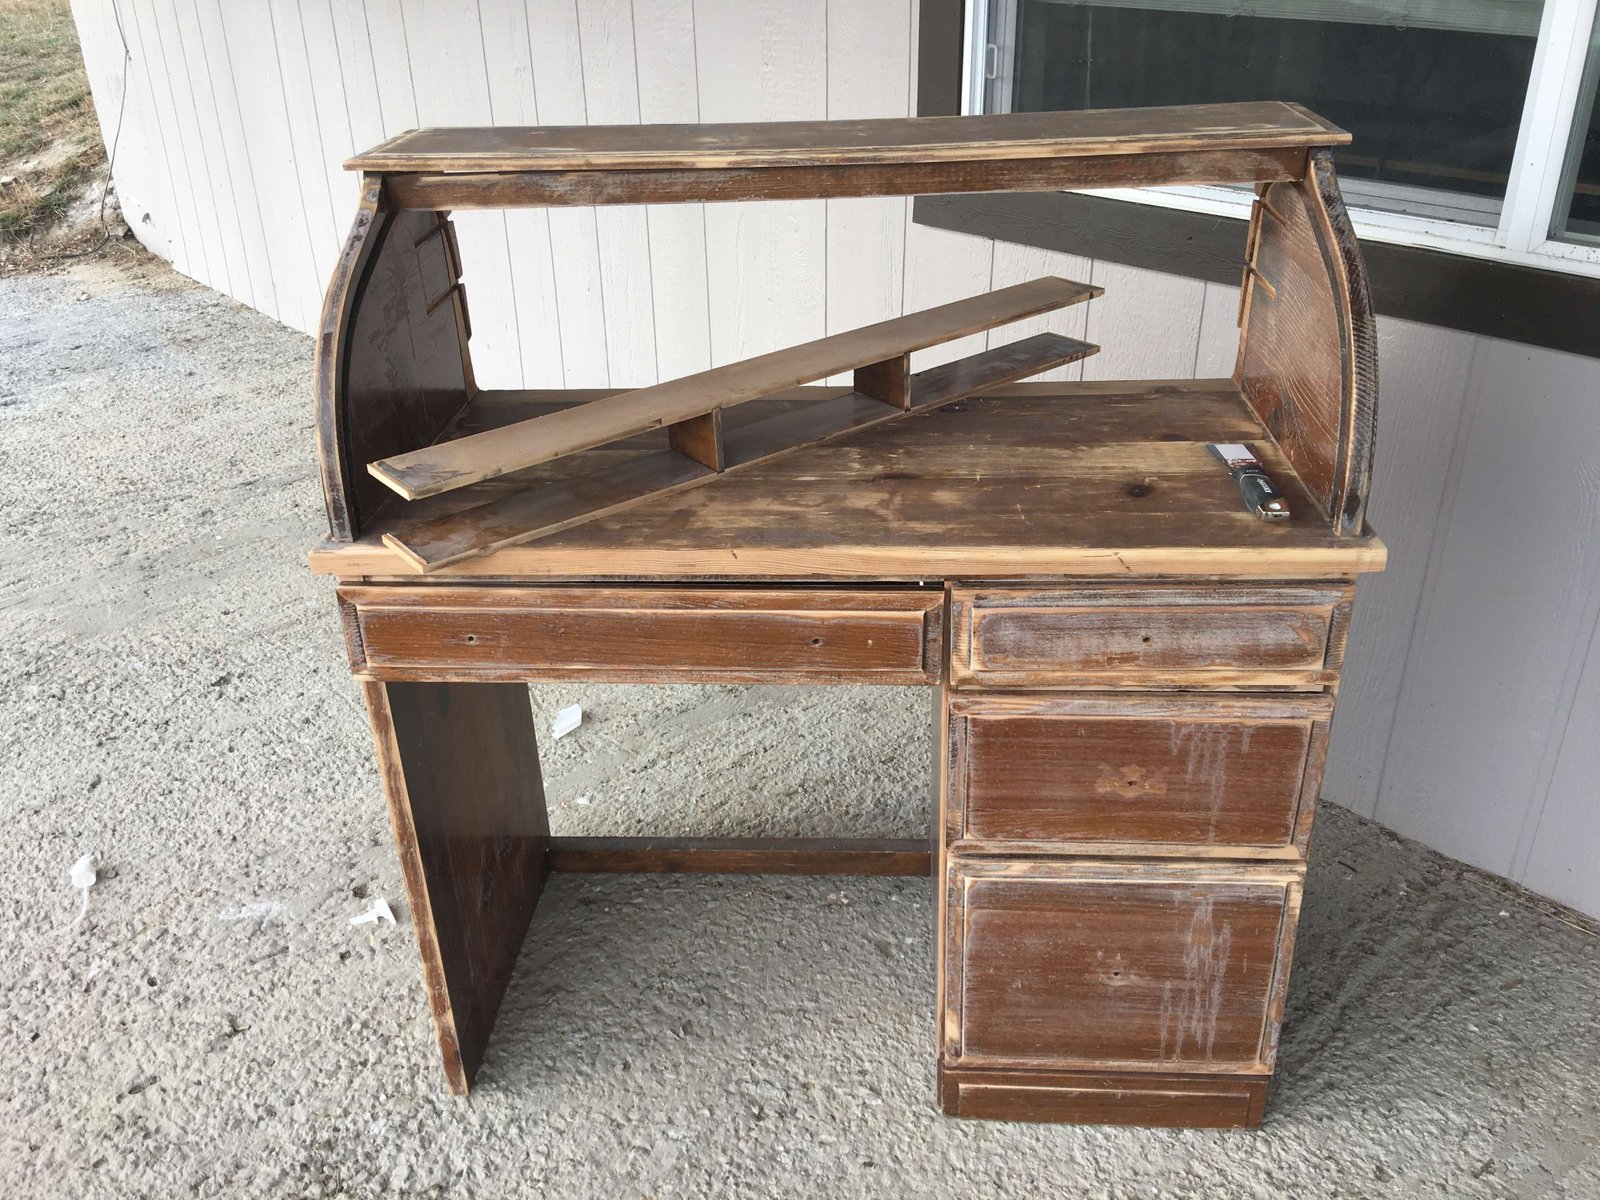
Using my electric sander I went over everything because the existing finish was very old and flakey. It needed to be smooth or it would show through the paint and that is not a cute look. I lightly hand sanded each wood slat for the tambour as well: 1 to give the paint somewhere to stick and 2 to remove any flakes.
Paint the Roll Top Desk
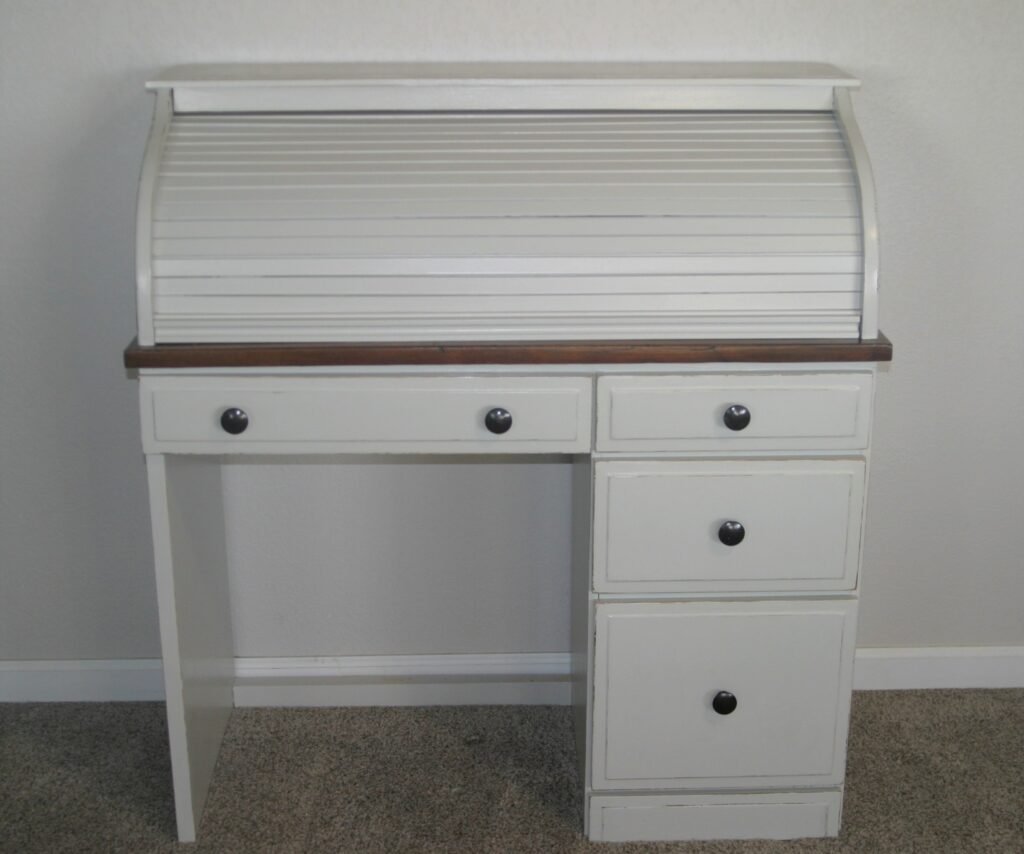
Technically I stained everything first before I used paint on this roll-top desk; if you would like to read about how that process went then you can read about that HERE! I put tape on the newly stained parts so that I did not get paint there. I wanted a neutral look and had a sample of Repose Gray paint from Sherwin Williams. In case you did not know you can easily get this same color from any hardware store and do not have to go to Sherwin Williams.
Using a foam roller I applied paint everywhere that was not stained; which from the picture was basically the whole thing! Once rolled I then used a foam brush to dab paint into the smaller/tighter areas that my roller did not reach. Read all about how I paint without any brush strokes here. After that first coat was properly dried I did a second coat the same exact way. I painted the tambour slats along with the rest of the desk. I used my roller exclusively along the entire length of each individual wooden slat. You can read all about how I reassembled the tambour to work as it should HERE!
I wanted to give this painted roll top desk a distressed look. Once everything had completely dried I took my hand sander and 220 grit sandpaper and started sanding on corners and edges where it would naturally be distressed.
Drawer Knobs
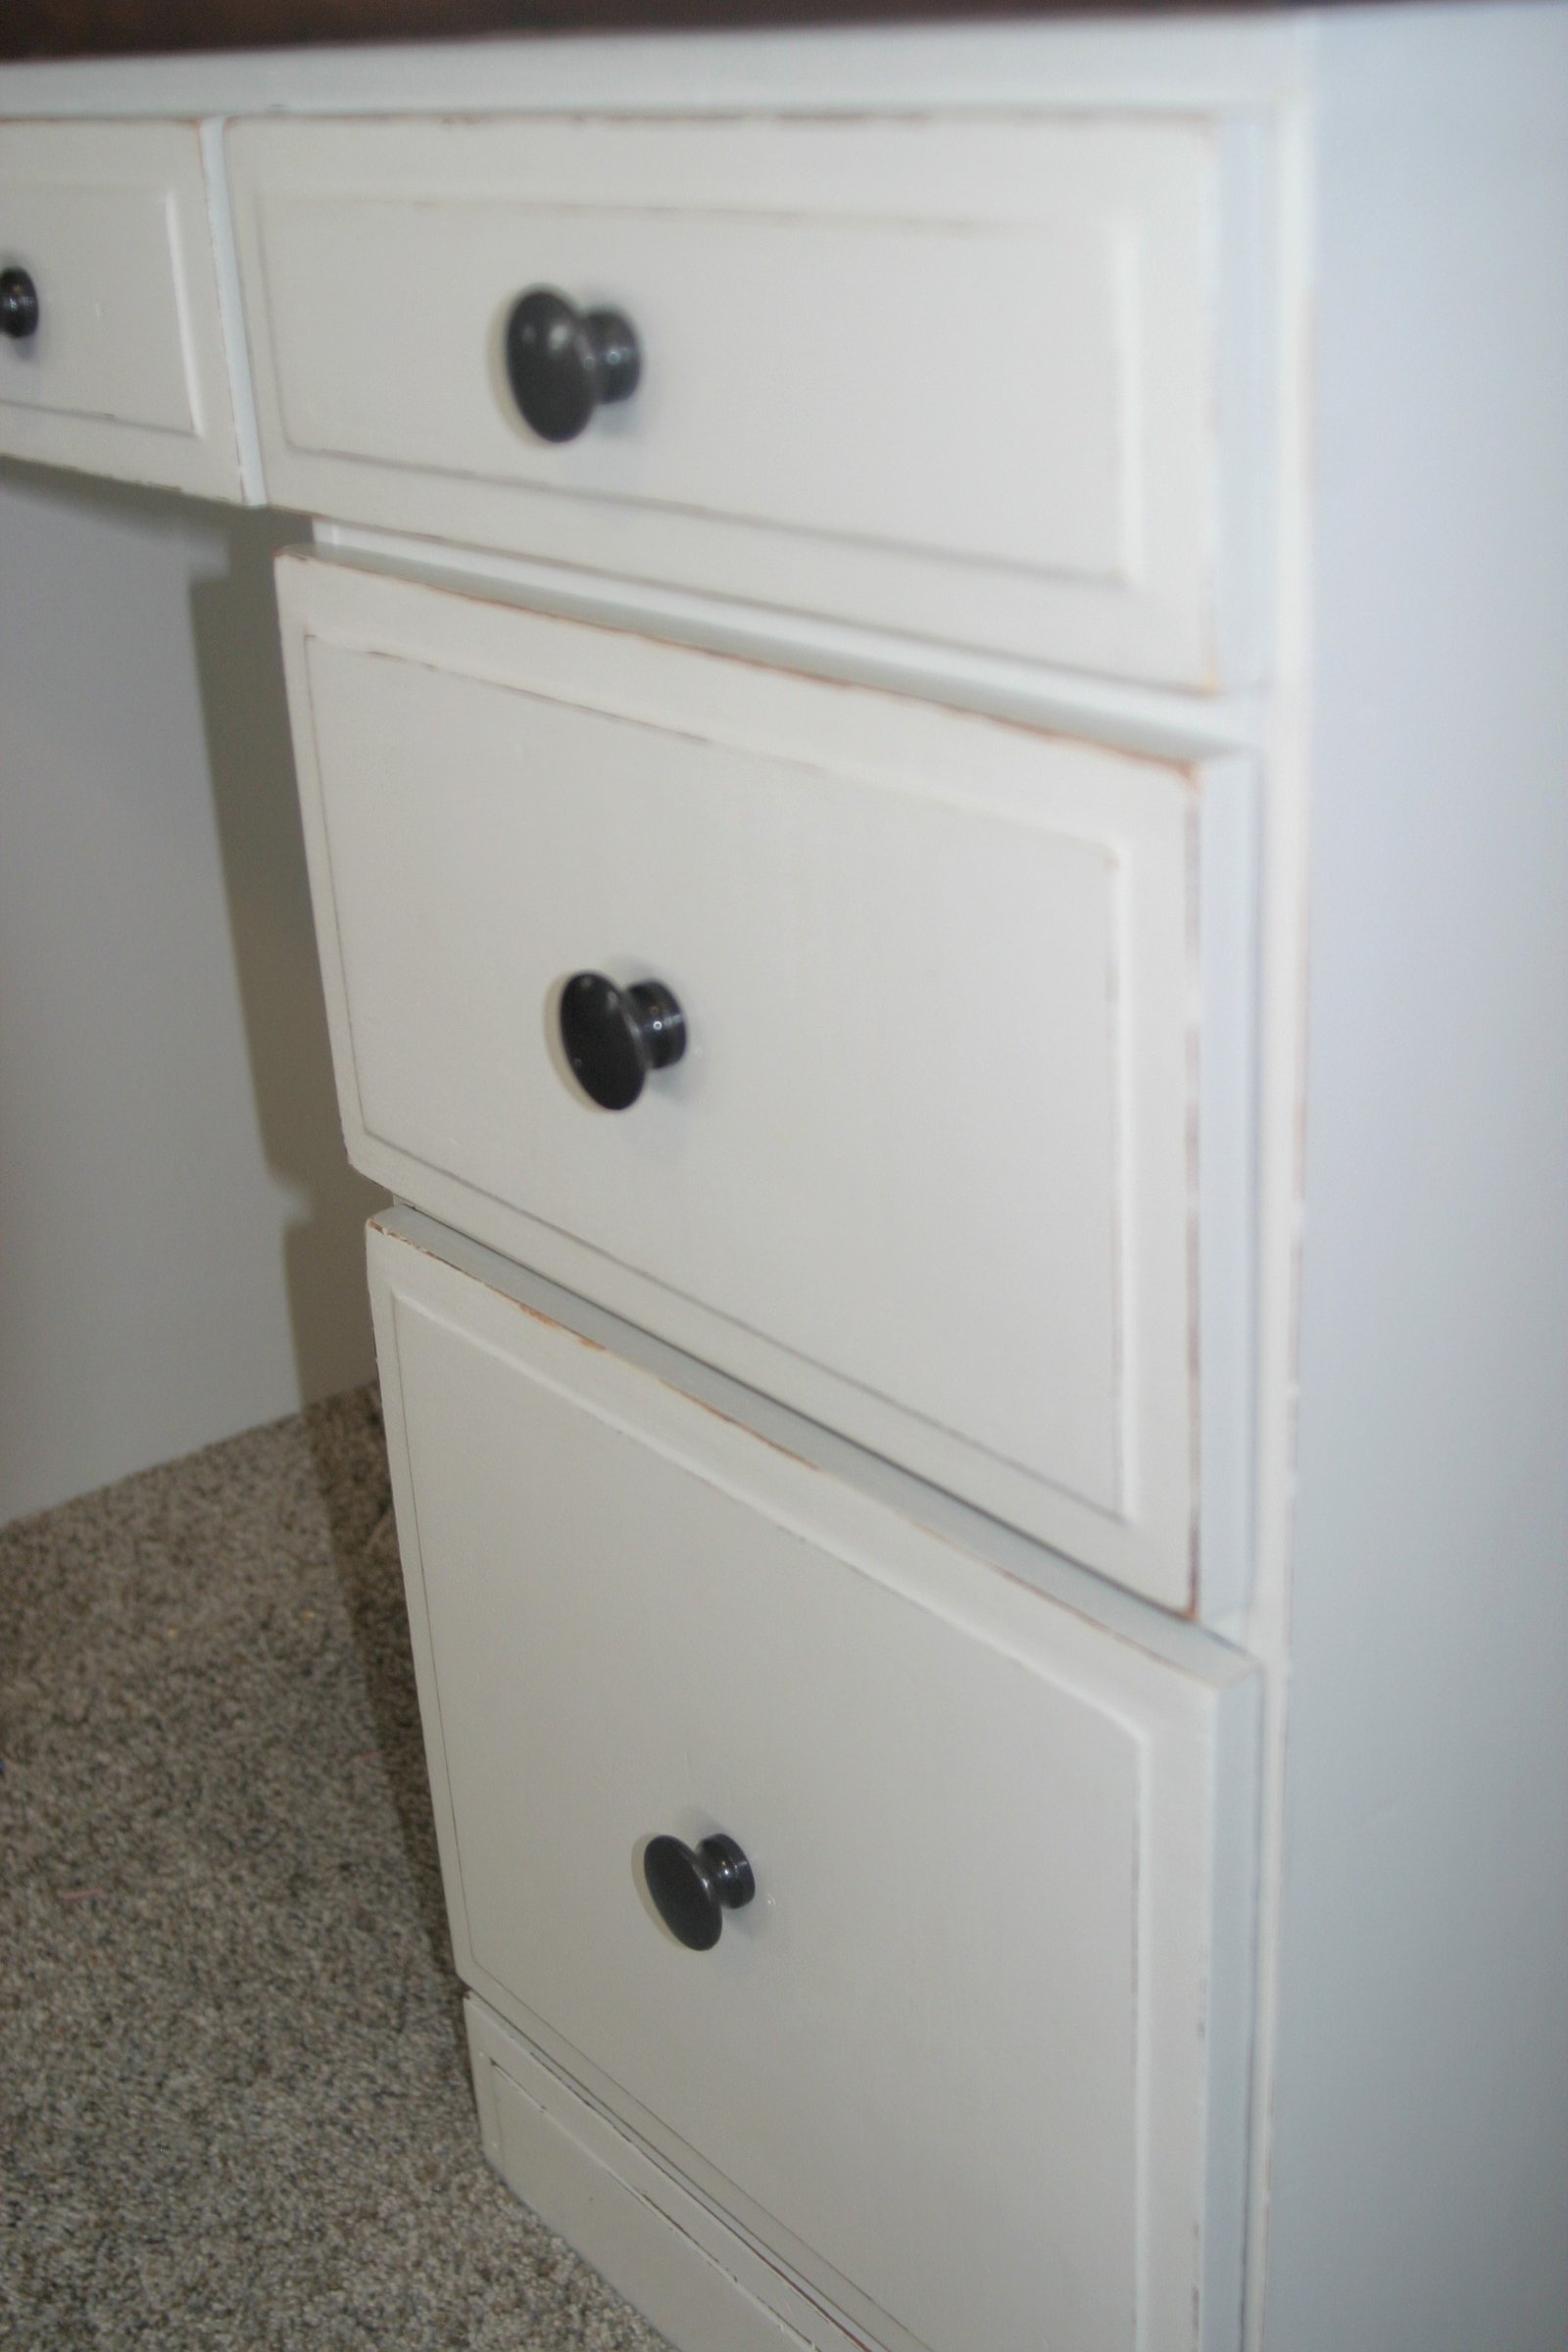
The original hardware was ugly and in really bad condition so replacing them was a must. A while back I re-painted my daughters’ dresser and replaced the knobs with some cute flower ones. I saved the original ones knowing one day I would have a use for them and that time has arrived! The knobs originally were a standard oak color which I spray painted with two coats of oil-rubbed bronze. Then did two clear topcoats as well! My hands were covered in spray paint from not wearing gloves luckily I have a really great and easy way to wash spray paint off your skin! If you forget gloves or just don’t want to purchase some then use my super easy hand washing technique that will actually get your hands clean!
Seal With A Top Coat
Since the stained wood needed to be sealed I sealed the entire piece. The plan from the beginning was to sell this piece and I never know what the person who buys it will use it as so I often seal it regardless. Using Varathane Clear Top Coat in satin and applied two coats. I recommend using a paintbrush to avoid bubbles or you can read about my new favorite way to apply poly with a kitchen sponge here. This can often happen with topcoats and foam rollers.
Finished Painted Roll Top Desk Makeover
After everything was painted, stained, sealed I had to re-assemble the desk and attach the knobs! Even though this roll top desk took me a couple of months to completely finish I only had a few hours into it. I would paint and leave it for a few days and then paint again and so forth. You could absolutely do a project like this in a couple of days. I love a good roll-top desk and think they are so classically beautiful. I love the makeover of this desk and hope its new owners love it too!

Have you ever done a roll-top desk makeover? Or are wanting to? If you are contemplating it I say GO FOR IT! They are such a classic and many need some work which makes it that much more fun to do!
-Krikit
