Searching for the Perfect Table
We had a tiny table that felt so cramped for our family of four. I had been searching for a dining table to paint and stain for a while. Our dining area is more like a breakfast nook and I wanted a table to optimize the space the best we could. I wanted a rectangular table that could fit 6 people around it comfortably ALL with a super low price tag! We all know how Marketplace works, it isn’t easy or convenient to buy/sell when you live as far out as I do. Eventually, I found a table that I thought would work. The pictures were awful which is a gamble on my part but often leaves other buyers uninterested. It was rectangular with 4 chairs meaning a bench could easily be built or bought to go on one side and make it more efficient. The lady was willing to hold it for me till the next day…WIN!
This post may contain affiliate links, which means I may receive a commission, at no extra cost to you, if you make a purchase through a link. Please see my full disclosure for further information.
- Sander
- Microfiber towels
- Paintbrush
- Small Paintbrush
- Plaster Paint in Whitewash
- Stain
- Foam Brush
- Gloves– I normally use ones like this but with Covid gloves are expensive right now so these would work too!
- Clear Top Coat
- Felt pads to prevent scratching floors
SCORE!!
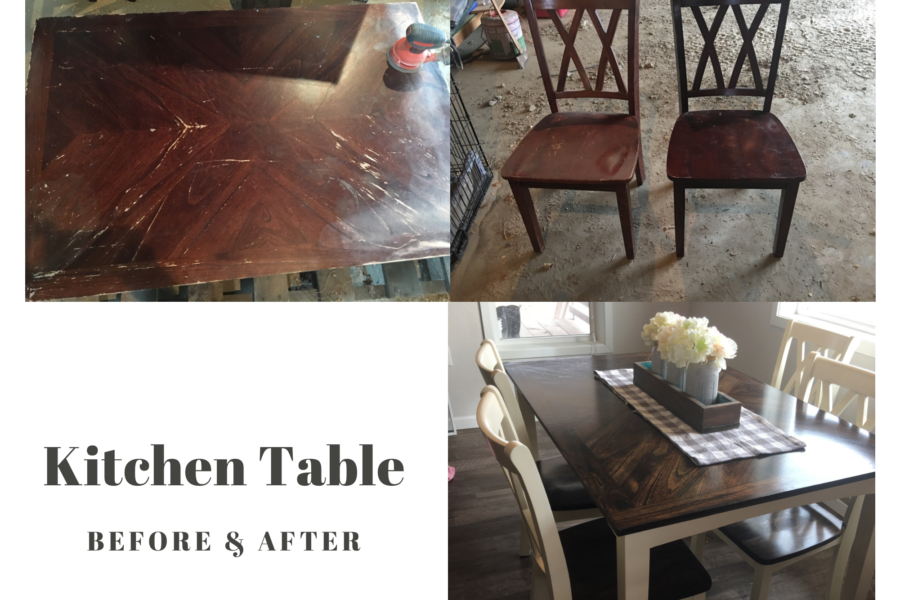
With a price tag of $30, I scored this table with 4 matching chairs AND it matched my criteria! I knew I would be able to paint AND stain this table. You may be able to paint almost anything but staining is a different story. I loved the simplicity of it and the “X’s” along the back of the chairs. It was in rough shape but hey the whole idea was to buy it cheap, fix it up and give it a new life…right?! I wanted to give it a traditional farmhouse feel with white paint and a darker stain on the tabletop and the sitting part of the chairs. So, I got to work!
Sanding to Prep for Stain

I disassembled the dining table and chairs which makes things SO MUCH easier when you are wanting to paint and stain. Since I was going to stain I had to completely sand off the existing finish, down to bare wood; of the tabletop and the chairs. Luckily most of it could be done with a sander. If you don’t own an electric sander I highly recommend investing in one if you have any plans on repurposing furniture. I also created a list of 10 Practical Must-Have Items for Refinishing Furniture.
The finish on this table was super thick and took a while to completely remove but totally worth it. The seats of the chairs aren’t flat, there are some grooves for your bum, so I did have to do some hand sanding for those. This is what the tabletop looked like when I was done. Look at that wood grain! You can see a couple of spots where I sanded through the veneer. It happens and is not a good thing. I rolled with it and stained it anyways since it is my personal table. However, if I were going to sell this table there is no way I would leave it like that. Check out this post to see how to properly address veneer that has been sanded through.

Sanding to Prep for Paint
Even though I was not going to be staining the rest of the table I still lightly sanded it all. 1) it helps remove the grime and dirt from the previous owner making it easier to clean 2) it smoothed out flaky and rugged surfaces from being a used table 3) sanding is never going to be a bad idea. Sanding is not always necessary but it’s not going to hurt and will help the paint adhere better. If in doubt I recommend sanding or at the very least using a deglosser/liquid sandpaper! When sanding to paint you are looking to rough up the surface not remove the surface. A lot of beginners think you have to sand most; if not all; of the existing finish off to paint. That is simply not true. You can read more on that here. Run the sander across it once or twice and you are golden!
Time to Clean and Prime

After I was done sanding I took the dining table inside to clean it up and start the paint and stain process. To clean I used a microfiber towel and just an all-purpose spray I use everywhere in my house. If your project is super greasy look into TSP.
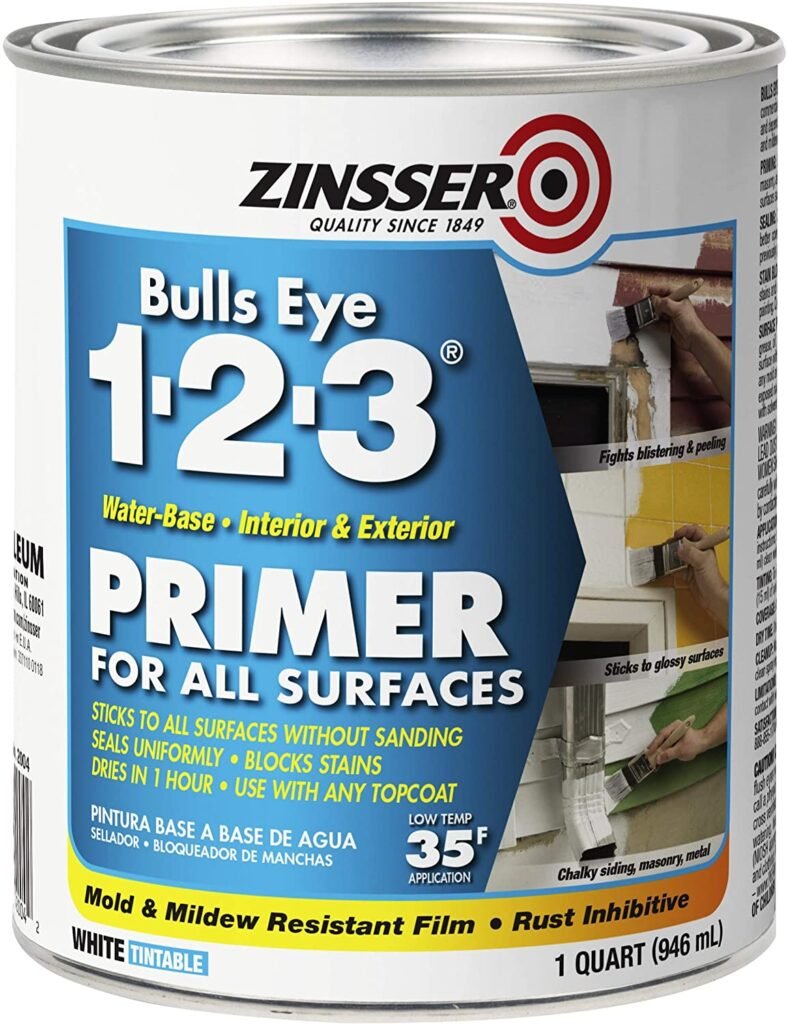
Next, I started painting. I used a primer for this project for multiple reasons. 1) the original color was so dark and my intention was to go almost white and 2) this is my kitchen table, it is going in a high traffic area, used often, and will take a lot of abuse. I used 2 coats of Zinsser Bulls Eye 123 Primer I wanted it to look almost white before adding the paint. This primer worked well for me on this project however looking back using Zinsser BIN probably would have been a better option for me. Here you can read more about primers and their different strengths and uses.
Typically I would use a foam roller but for this, but instead, I used an actual paintbrush since so many of the pieces were so small with tight areas. I could have done both a roller and paintbrush but they do leave different textures behind. If you plan on redoing a table I would recommend getting a sprayer you can get a cheap one off amazon or invest in a nicer one of varying prices. This one is an ultimate dream sprayer for me. It will save you a lot of time on painting chairs. It is not necessary but very helpful.
Plaster Paint
I really enjoy trying new things so I used an all-in-one paint that a friend of mine uses. She is a vendor for them and re-finishes a ton of stuff and by a ton, I really do mean a ton! The company is called Plaster Paint and you can find all the colors and products they offer here (her website is down for maintenance just send her a DM on facebook and she will get you taken care of). Plaster Paint has a One-Step no sealant needed paint and that is what I used.
If you have been reading this far then you know I did not take the one-step approach at all. I was a bit leery and did not want to re-do everything so I just did it how I know how to do it. After this paint and stain project for this dining table, I did end up adding a bench that I bought off the marketplace as well. I took a far less strict approach and you can read about that HERE with the same exact paint!
Painting the Table
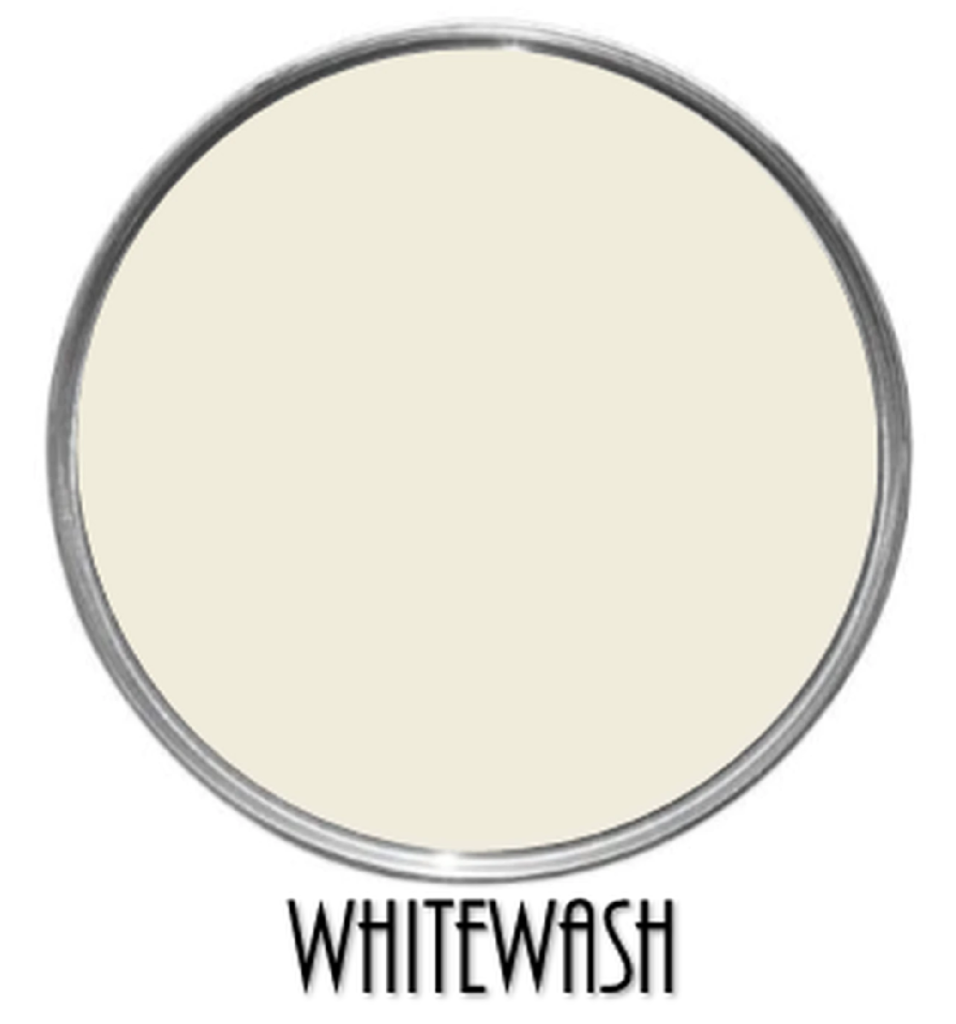
With her help, I decided on the color whitewash. At first in my mind, I was wanting a fairly true white and whitewash isn’t that, it is creamier color and softer than a stark white. After I got the first full coat on I was super happy with it! In reality, I hate the white, white trend going on. If it’s white here or there cool I can get on board with that. But this completely white kitchen or house trend makes me feel sterile and in a movie that I don’t want to be in. Luckily, I trusted her and her expertise worked out better than I had in mind! I used the same small paintbrushes for painting that I used for the primer. Painting something white is not a quick process so even with 2 coats of primer I still did 3 coats of the whitewash color paint to get the look I was wanting.
My Little Helpers

How cute are my little helpers! In the background are the chair backs; that is what they looked like with 2 coats of primer. The chair legs that the girls are “painting” have 1-2 coats of paint on them!
Staining the Table
While the coats of paint dry I started working on the staining parts. Staining; in my opinion; is easier than painting. It takes more prep work but the actual staining part is hard to mess up. If you did your prep work correctly then you’ll get a nice even color, adding another coat to get a richer color. I wanted a darker top that still highlighted the grain of the wood so I choose Minwax Dark Walnut.
Cleaning up stain-covered supplies is a pain so I buy the cheap foam brushes or use a scrap piece of fabric. Often, I wear gloves too since soap and water do not clean stain off your hands. I do have a foolproof way to remove stain and oil-based products from your skin that you can read about HERE!
I dip my foam brush in the stain and just start smearing it everywhere. Re-apply as you need it…just like painting but with way less finesse. Cover the entire piece in stain then wait a few minutes and let the stain absorb into the wood. You do not want the excess stain to “dry” so don’t leave it on the wood. Wipe it completely off. If you love the color then allow it to fully dry but if you want it a little darker or a richer color then re-apply the stain the same way you did the first layer. Just check your stain can to see how long you should wait before you apply a second coat. Toss the items you used to apply the stain and wait for the stain to completely dry.
Clear Protective Top Coat
After 2 coats of primer, 3 coats of paint, and 2 coats of stain I still wanted to do a polyurethane topcoat for added protection and an easier clean-up. Three kids y’all and all very close in age. A dining experience is not without messes and often more than one. Fingers are the biggest culprits, they smear stuff all over the place, especially the backs of the chairs and I wanted anything that would help make the clean-up process easier! Keep in mind the higher the gloss the easier to clean. So, I used semi-gloss because I wanted an easy cleanup. I used Varathane water-based polyurethane in the semi-gloss finish. I painted on 2 coats with the same paintbrushes and used a roller for the top of the table! Using a roller can be hit or miss depending on the water based poly. This post goes over how to get a flawless finish without a single brush stroke.
The last to do was re-assemble everything, add felt pads on the bottoms of the chairs because again…kids, and decorate!! Look at how beautifully that wood grain shows through!
Completed Dining Table

So what do yall think of the paint and stain job of my dining table? Not too shabby for a $30 table is it!
As I mentioned I LOVE to try new products! Are there any products you have been eyeing and would like me to try out and review for y’all? Leave ideas in the comments!
-Krikit


