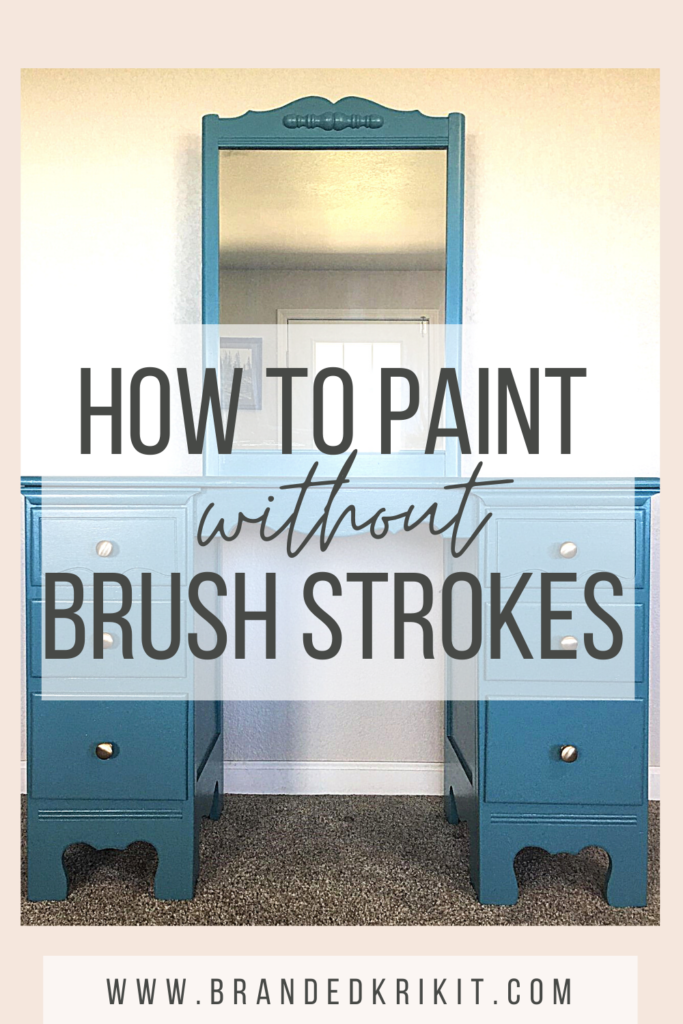
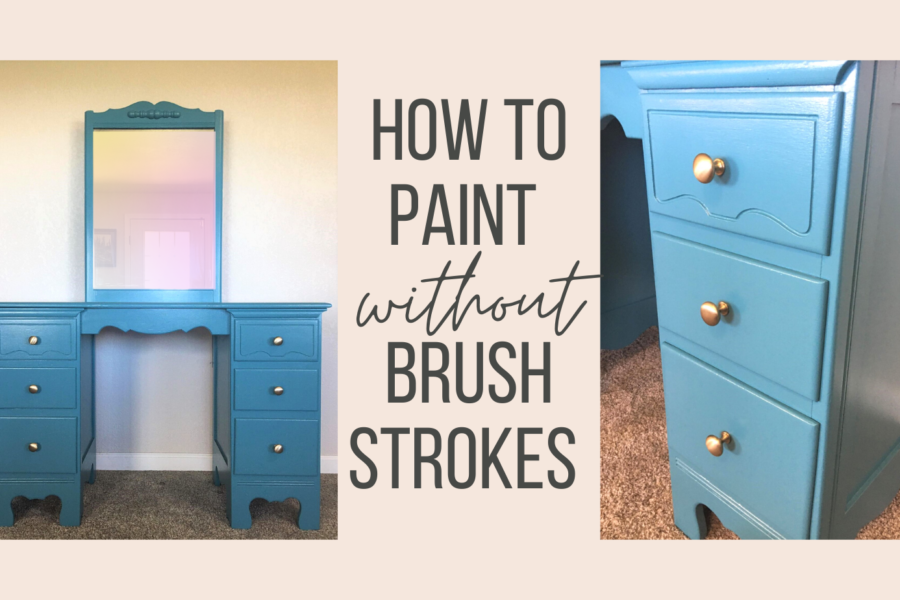
The age-old question of how in the world can I paint WITHOUT brush strokes? Wanna know the secret…stop using brushes. I know shocker right! Ditch the overpriced paintbrushes and use basic and budget-friendly options that give far better results in less time! I am going to show you how to paint without brush strokes on this gorgeous painted vanity.
I love a good painted vanity makeover. They are fun to do and allow more out-of-the-box creativity without feeling like you will be missing a sale because of a bold color choice. I was torn between doing a metallic paint or a bold color. I left it up to Facebook and Instagram and they voted for a bold color. Go join and be a part of the decision-making process I really enjoy seeing everyone’s opinion! So I choose teal for this glow up and I am a little obsessed with the final results!
This post may contain affiliate links, which means I may receive a commission, at no extra cost to you, if you make a purchase through a link. Please see my full disclosure for further information.
Items Needed To Paint Without Brush Strokes
- Screw Driver
- Deglosser
- Blue Shop Towels
- Wood Filler
- Hand Sander
- Vacuum
- Paint – I used this paint
- Paint Roller
- Sponge Brush
- Kitchen Sponge – not any kitchen sponge will work
- Varathane Water Based Poly
- Gold Hardware
Prep Work
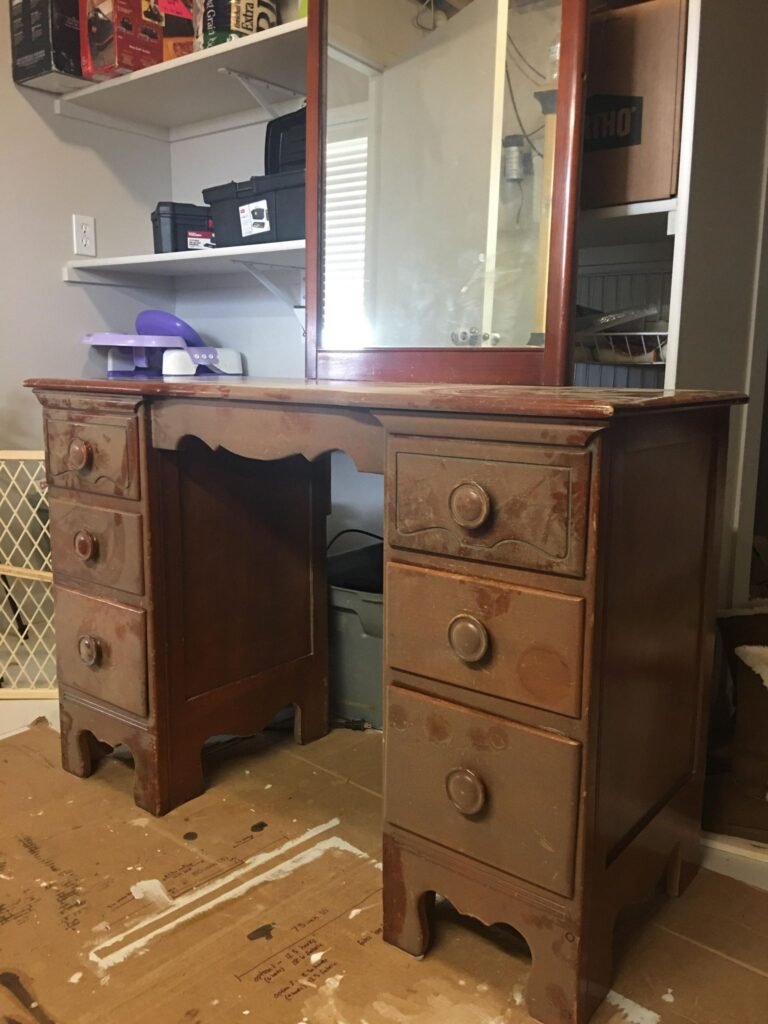
Prep work is so important so much so that I am in the process of writing a post solely on the importance of prep work! If you’d like an email when that post goes live send me an email and I’ll add you to the list. I love a good one and done project and I do occasionally do those kinds of projects but not always. The tools/products you should “invest” in is important too. I like to keep things cheap but have no problem investing when needed. However if you are just getting started you probably do want to drop hundreds of dollars on a bunch of supplies you never end up using. I created this list of 10 practical items you need for refinishing furniture.
So anyways, prep work! First, remove the hardware using a screwdriver and set those aside where you won’t lose them. For this project, I am using different handles. I am not a fan of the original ones but they may come in handy one day so I’ll hang onto them for now. After the hardware is removed then I am going to clean and degloss at the same just like I do in my super simple painting without sanding tutorial. Using the blue shop towels and my deglosser I scrub around on every surface and every nook and cranny to make sure all the dust is gone and that the deglosser takes effect everywhere!
Fill The Holes and Divots
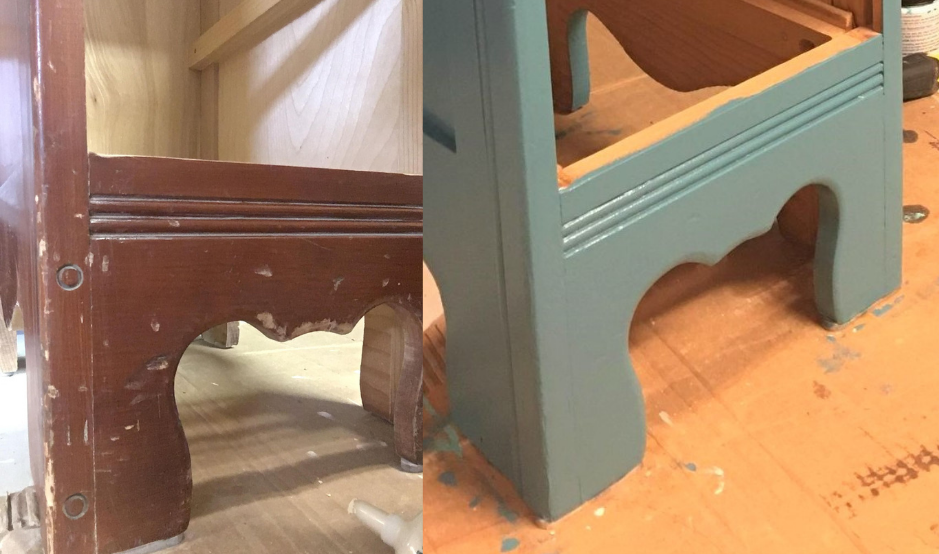
Using wood filler I filled in all the holes and divots. I normally don’t do divots since they add character but this piece had a LOT especially on the top and felt they needed smoothed out. It also had these weird circles stamped in the wood (on purpose) I wasn’t a fan so I filled those in too. Once the wood filler was dry I sanded them smooth and vacuumed (with the brush attachment) up all the dust for a clean surface.
Time For The Paint
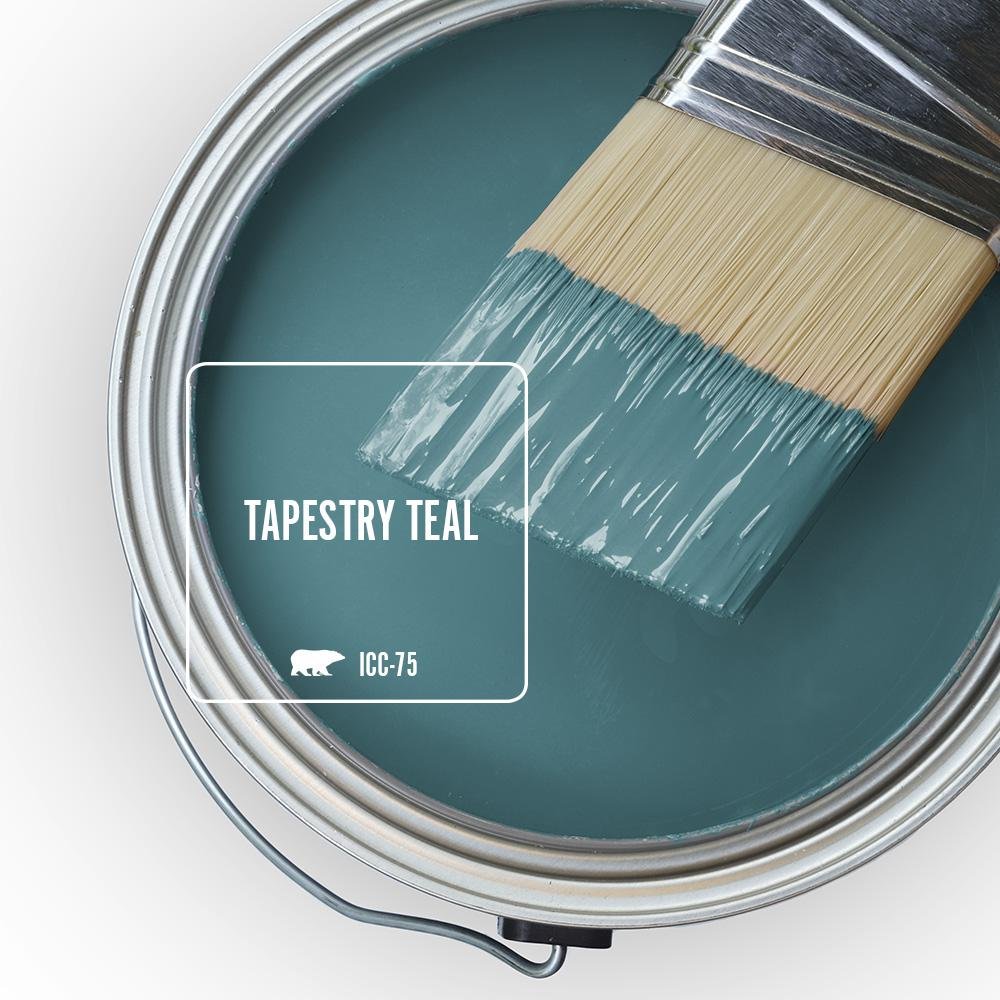
Now for my favorite part! I love doing the actual painting. It’s basically the whole purpose of the project and I love watching the furniture take on the new color. If you follow me on social media I bet you saw the mishap in colors. I picked a really pretty bright turquoise/teal. I seriously loved it but once it was painted on it was like a blue highlighter exploded all over and it was really bad. So I went back to the drawing board and choose Tapestry Teal by Behr and it is so so good!
In typical Krikit fashion, I did NOT use a paintbrush but my trusty paint roller! If you don’t want brush strokes stop using a paintbrush. Or buy extra additives, expensive paint (which doesn’t always solve the issue), or sand between every coat. Seriously rollers and sponges are so cheap; cheaper than paintbrushes for sure; and faster and better!
*Side Note*
I used a paintbrush with the first paint color as an experiment. I am in a few furniture refinishing groups and so many people love their paintbrushes and I am like the odd man out on this subject. In my last painting project, I had awful brush strokes (I used something other than my normal latex paint that claimed to be self-leveling and all the goods) and sanded the whole project, and started over because the brush strokes left were insane. So I wanted to see how latex paint would do (again) with a paintbrush and how long it would take me. The latex paint had fewer brushstrokes than the other stuff and took me an hour and a half to paint. Using the roller only took me 30 minutes. Again proved to myself to just ditch ALL the paintbrushes.
Roller Technique
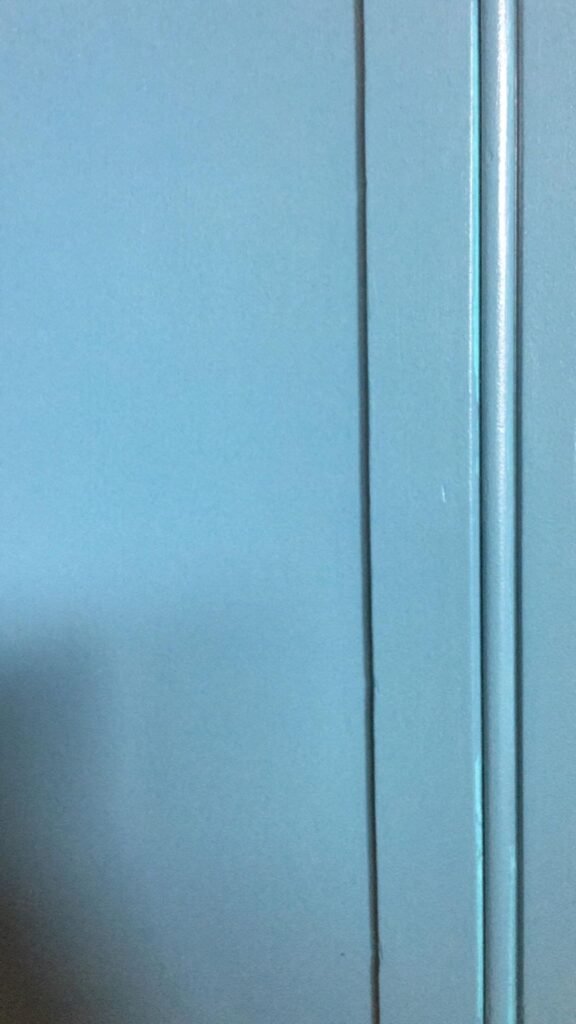
I rolled over that highlighter blue with the Tapestry Teal and it covered so nicely and it’s so pretty; pictures do not do this color justice! The trick with a roller is having the right amount of paint. This will more so come from experience than me telling you. But ultimately if your roller glides and doesn’t roll, you have too much paint. If you get roller lines in your paint you are either pressing too hard or not enough paint. I usually dip my roller in to cover it halfway in paint and then roll it over the bumps on my tray to evenly spread it and remove excess paint. Then I will dab (or partially roll about 1/4 turn) the paint in different areas in the section I am focusing on. Then I start rolling it out till smooth. Getting more paint as needed.
Once I’m done rolling I used my sponge brush to go in the small areas of the painted vanity. I dab the paint in these areas so that it mimics the texture of the roller and not smear it like a paintbrush creating more work. This vanity had a little more crevices and non-roller areas than normal but nothing crazy and still went faster than using a brush. I did two coats of paint and moved on to the next step.
Top Coat With A New Technique
A topcoat is not always needed. If this were my painted vanity and I was going to keep it I probably would not have sealed it. But since it will be transported and l have no idea how the new owner will handle it I sealed it. Most top coats don’t do well with a roller and will bubble on you and not leave a clean, smooth surface so I normally use a paintbrush. Using a paintbrush with the sealer still left brushstrokes and takes forever always leaving me frustrated. So I have been on the hunt for other options and I finally found it!
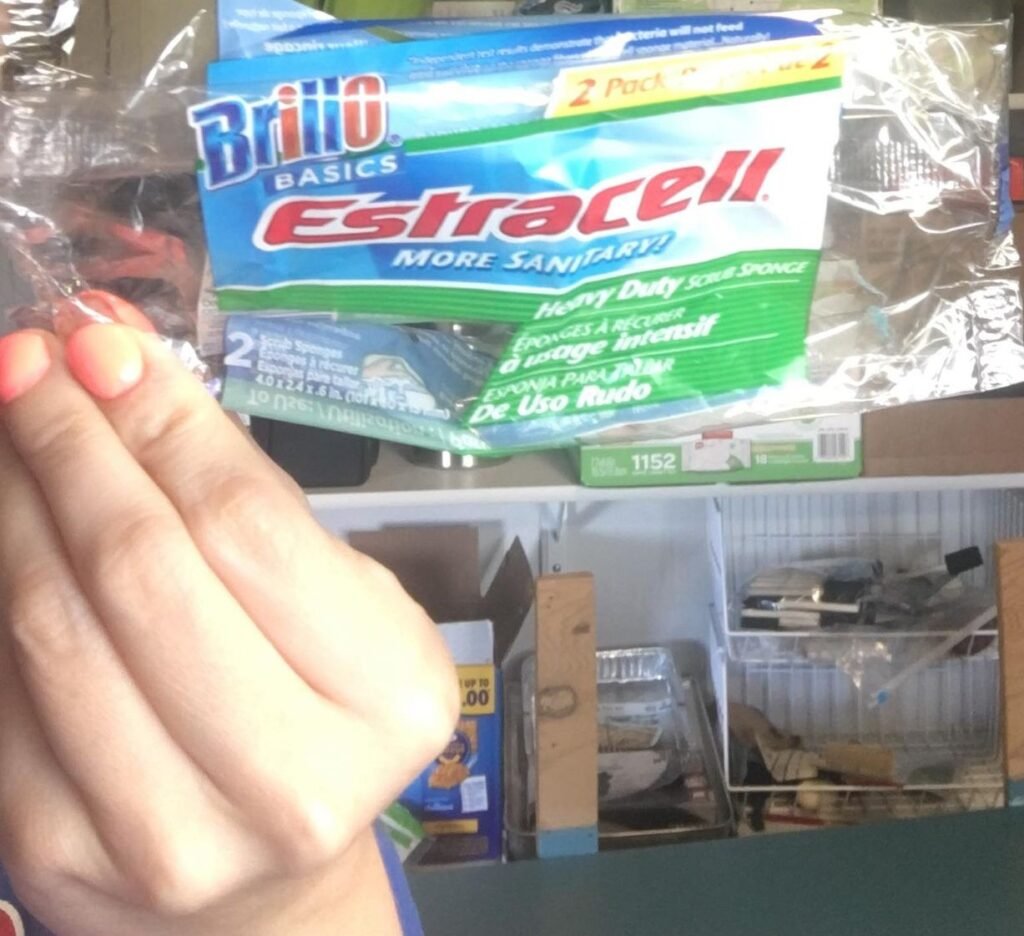
However, recently I have seen how people use a kitchen sponge (not a sponge brush) to paint on their topcoat without the brush strokes so I gave it a try. The key with the sponge is finding one with a smooth and fine texture. Ordering and waiting wasn’t an option so I looked at every sponge at Walmart and picked one that fit my wants. I found these in a 2 pack for a dollar and was sold. Time to experiment and I was really excited to find something to ditch the paintbrush for the topcoat. Yall it worked really well and I am so happy with how I turned out. I really don’t think I will use a paintbrush ever again.
New Technique
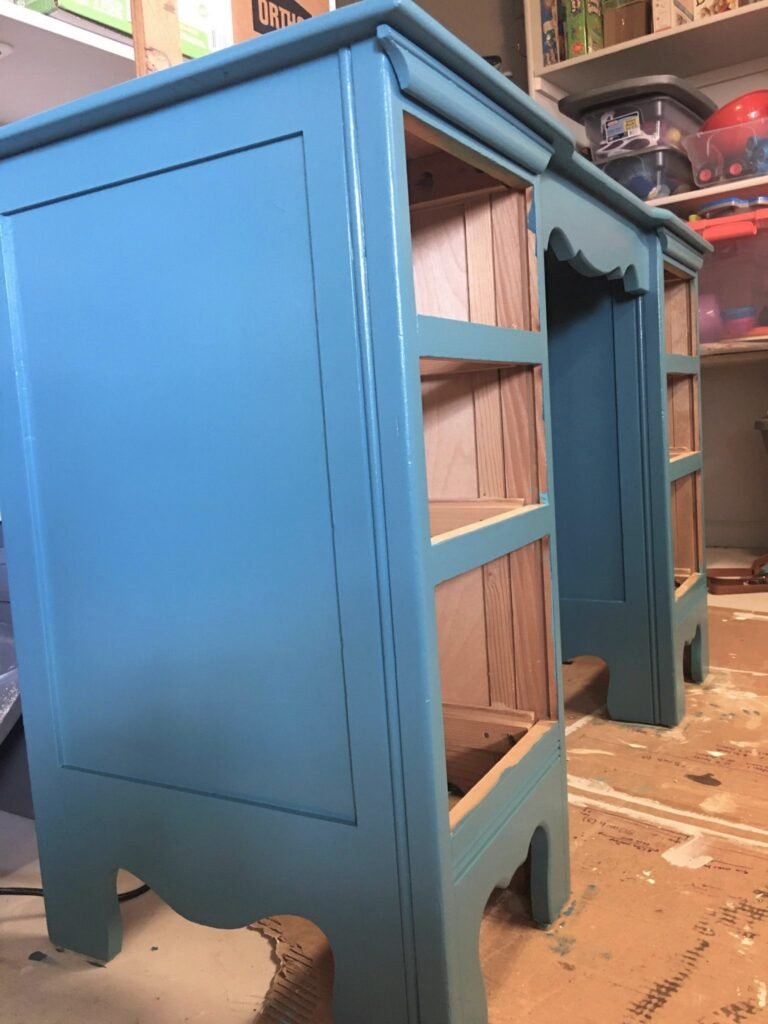
So here is the technique. Read carefully cause it is a doozy. I took the sponge and cut it in half so I had less sponge surface area to worry about. I got it wet and squeezed all the excess water out. Then I dipped it on the topcoat and started rubbing/smearing it all over the painted vanity. Once the surface was covered in sealer I wiped it all in one direction for a consistent finish. Since it has just a touch of water it allows you to work the product a bit longer without gloop-ing.
Because it is a sponge I could use it in the small tight areas I usually use a sponge brush in. If you get bubbles you can easily smooth them out with a light touch. And….that’s it! So it isn’t a doozy at all but really freakin easy and my new go-to topcoat technique. Seriously go buy yourself a sponge!
Final Touches
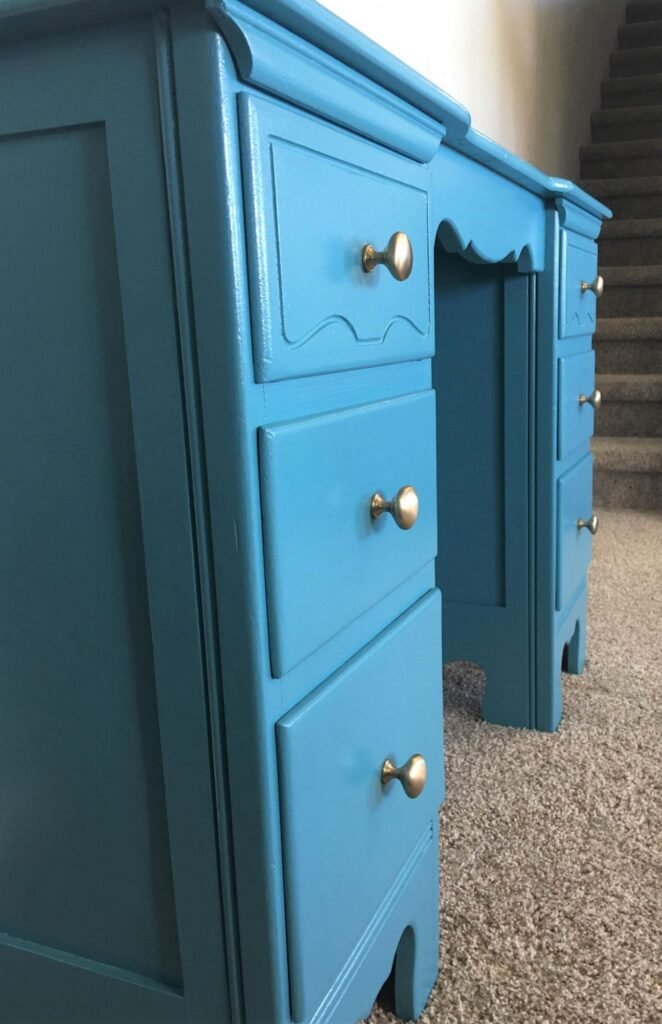
The final touches to pull it all together with the hardware. I once again left this up to Facebook and Instagram to decide on hardware color. I gave the options of clear glass, gold, black, and silver. Gold was the winner and I was not surprised. Gold is very popular right now and gives an amazing pop to an already great piece. Like I mentioned I ditched the original hardware and bought these really pretty champagne bronze knobs and love them!
Finished Painted Vanity Without A Single Brush Stroke
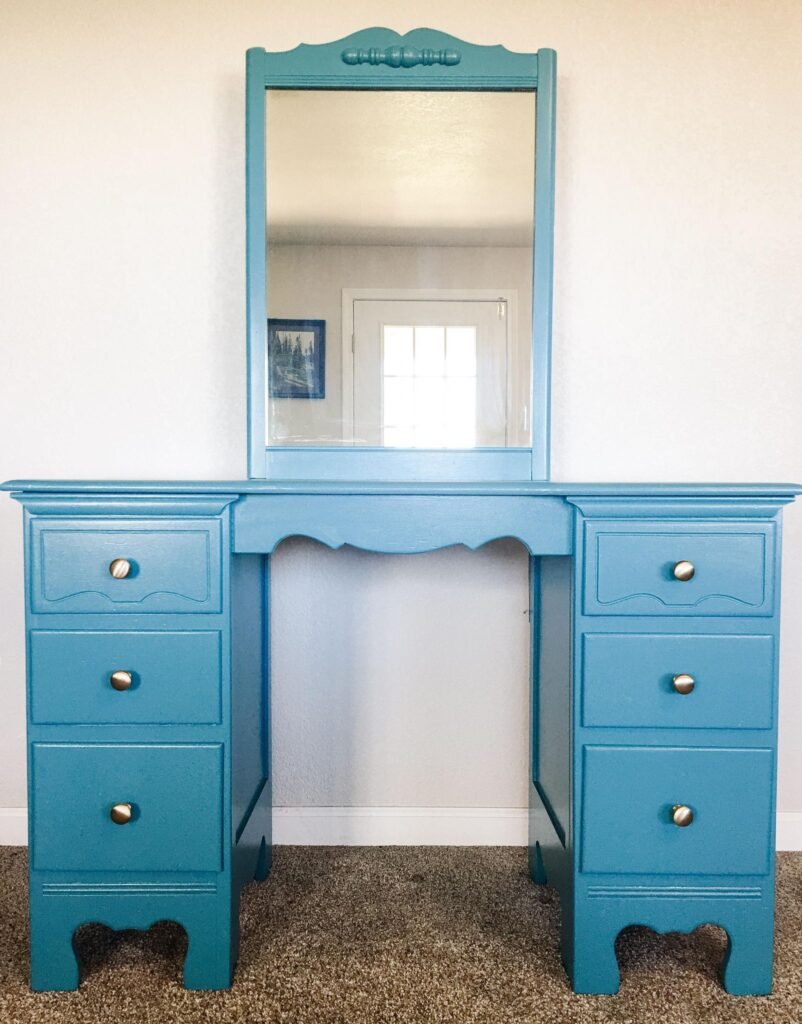
Isn’t she a beauty? I am so happy with how this whole project turned out. I am so glad I ditched the highlighter and went with a darker teal for some sophistication and glamour. Do you have a vanity needing a glow up or just got one? Post your pictures I would love to see them!
How about that brushstroke game? It is frustrating for us all and I am so glad to have that forever long struggle and headache over with! Are you still struggling? Need some help and/or extra guidance? Reach out I want to help as best as I can!
-Krikit
