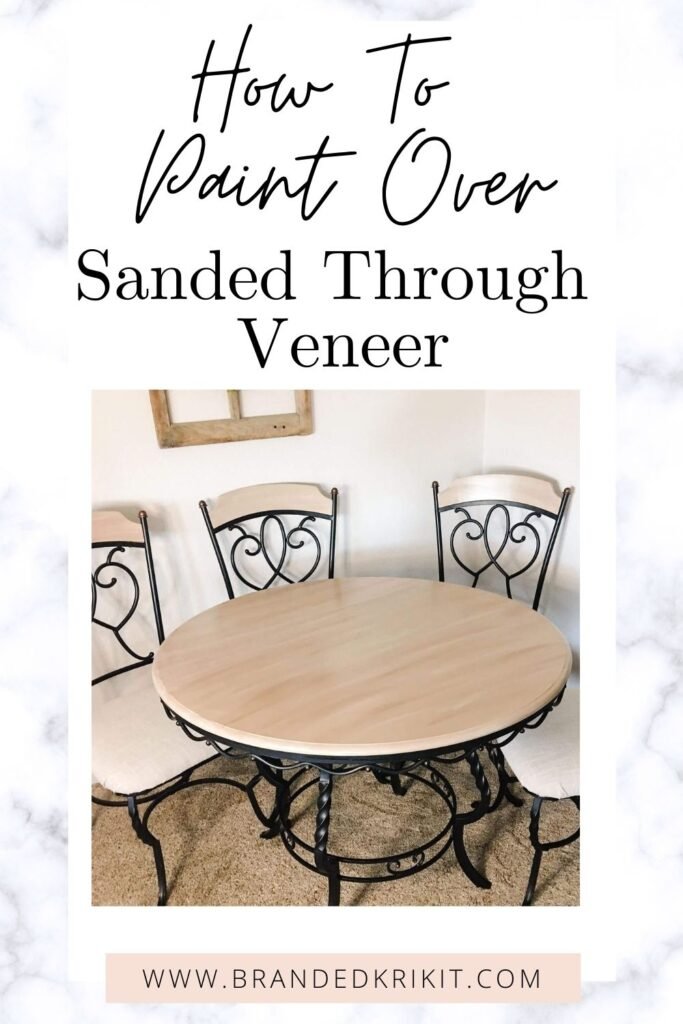
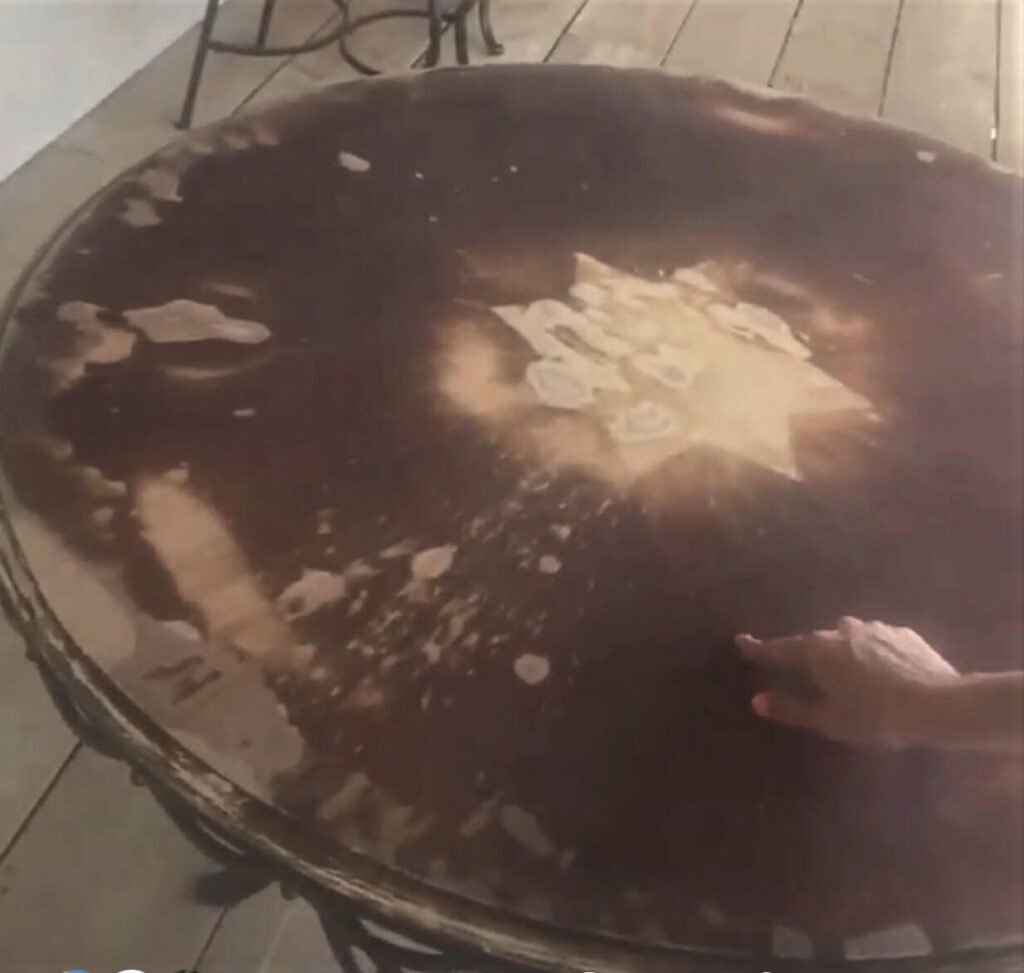
If you have ever worked with veneer then I bet you have sanded through it. We have all been there at least once but probably a few more than that. No worries. Fixing and painting over sanded through veneer is incredibly simple. Follow along to see just how easy it really is!
This post may contain affiliate links, which means I may receive a commission, at no extra cost to you, if you make a purchase through a link. Please see my full disclosure for further information.
Supplies Needed
The Table
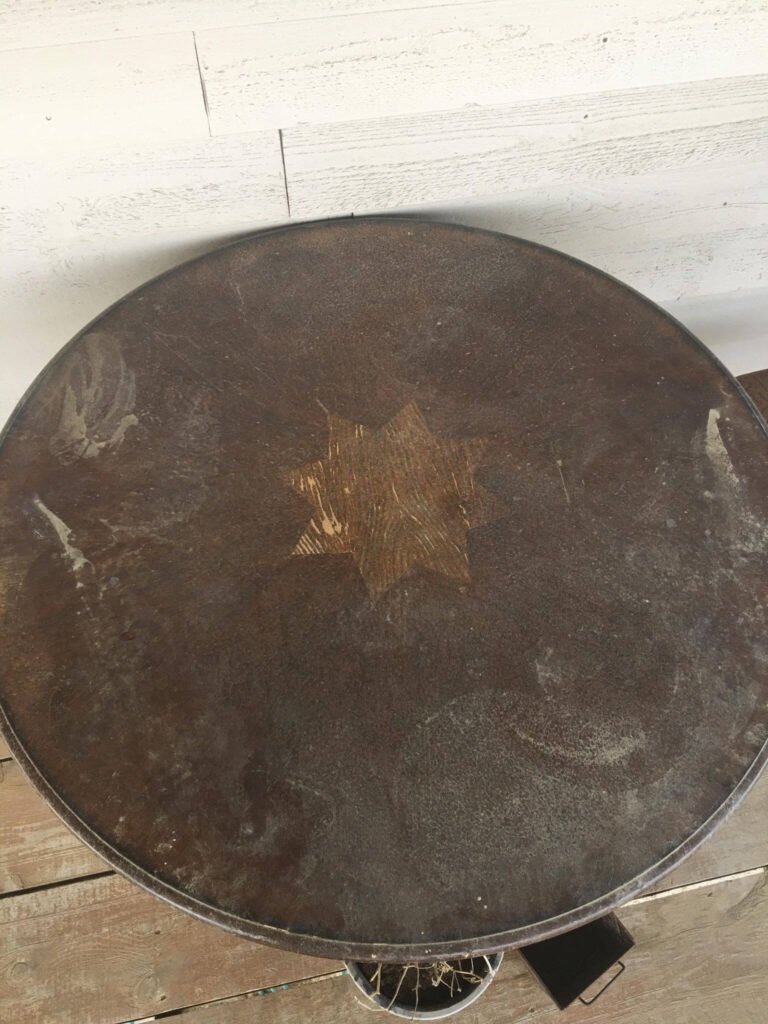
This table use to be our everyday kitchen table but when we got a new one this one went onto our covered porch as an outdoor table. Since this sat on our porch for a while it did acquire a bit of water damage. It wasn’t terrible and I knew there had to be a way to fix it. Even with it being veneer with MDF underneath; I knew I could make it beautiful and smooth again! I knew to level out the bubbles from the water damage I was going to have to sand those bubbles down until smooth. Guaranteeing myself that I would sand through the veneer. We have ALL been there and the good thing is that it is 100% saveable. If you’d like a crash course on veneer check out this post
Sanding The Damaged Veneer
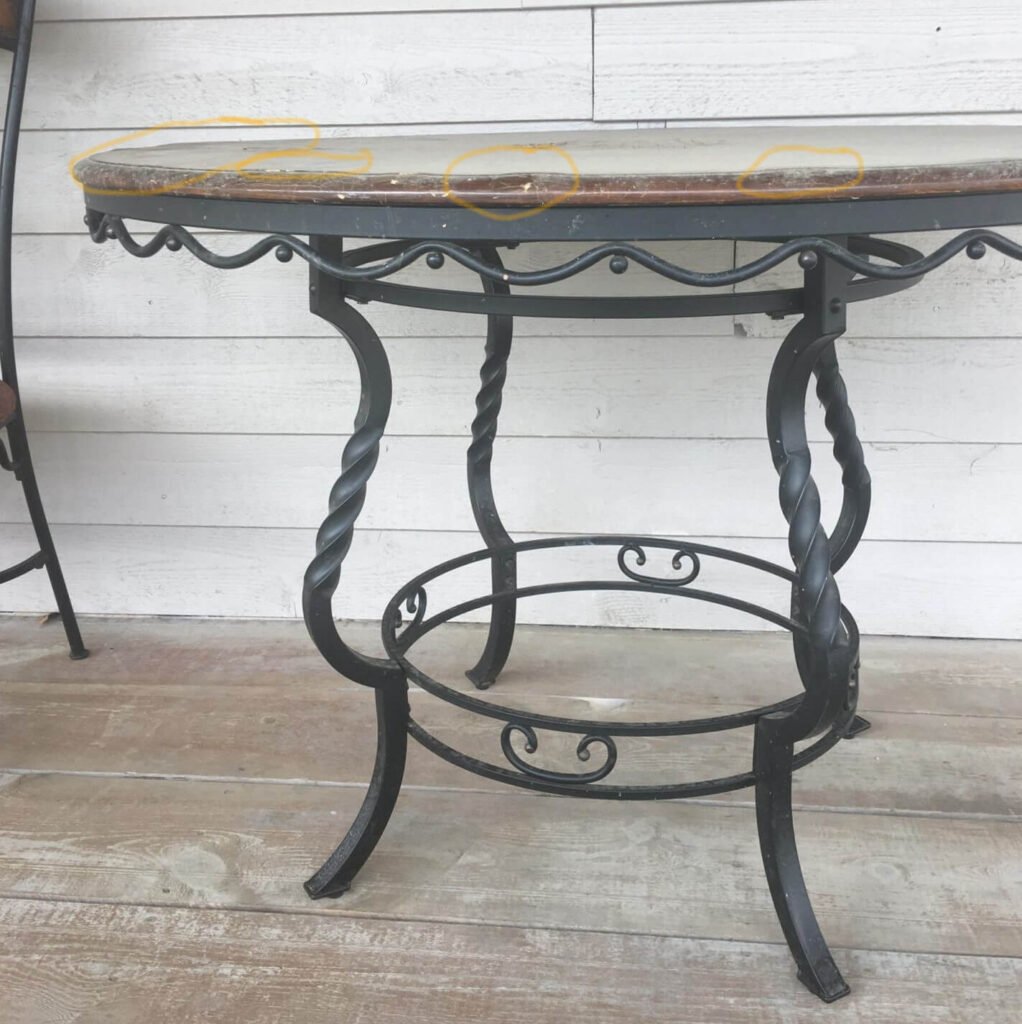
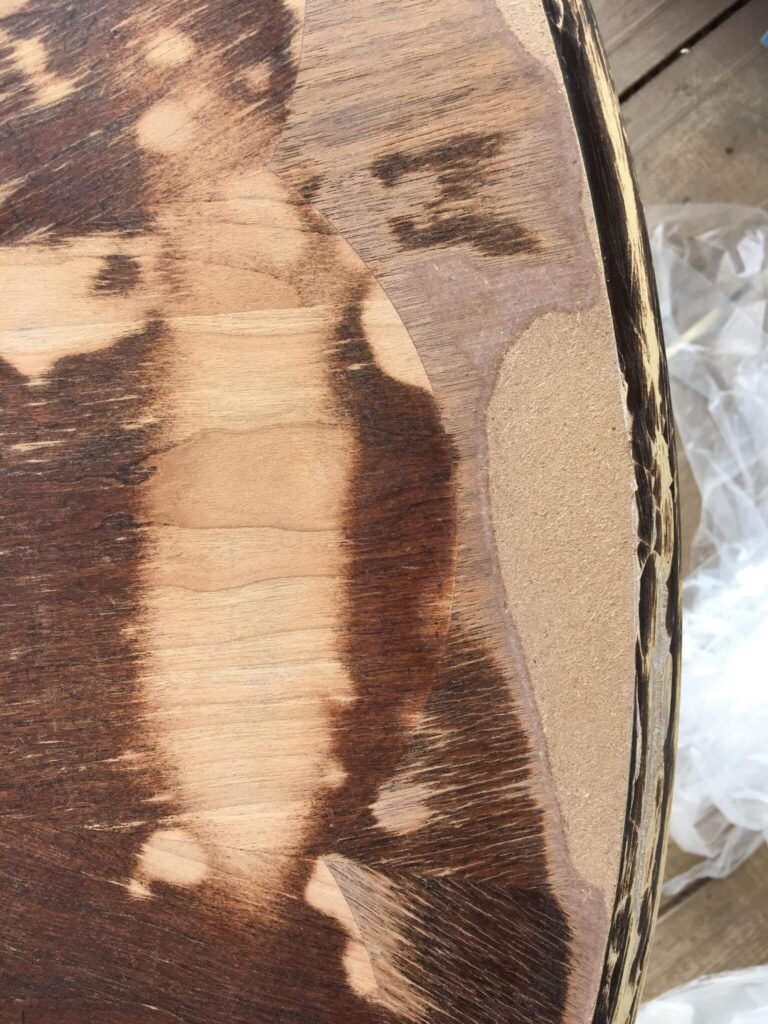
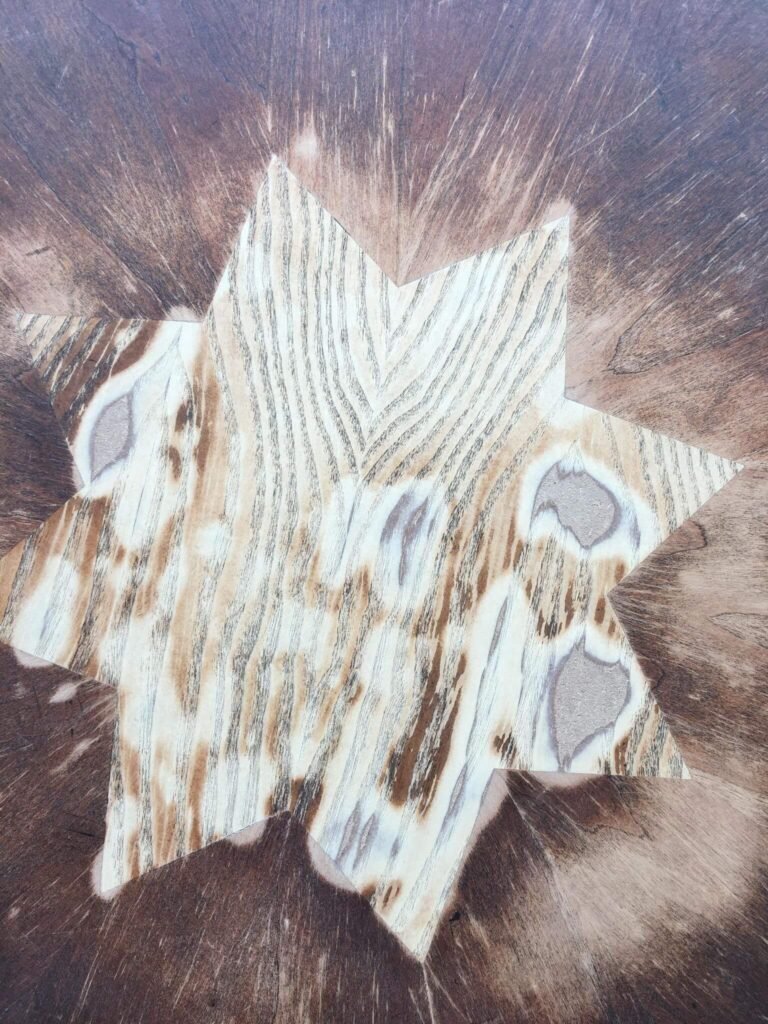
With this becoming our outdoor table it did wind up with a little bit of water damage even though it was under a roof. This table was not made for the outdoors and so the damage was inevitable. There were just a few spots that swelled. I knew the table was made with MDF and a veneer covering and that I would have to sand through the veneer and expose the MDF. Sad I know but it happens and at least it was intentional. Now if you have read my post on laminate vs veneer and how to refinish them correctly then you know that sanding through the veneer oftentimes means you have to paint it.
Now I know I said you shouldn’t stain when you sand through the veneer or you end up with the mess pictured in the post I just linked. Well, what if I told you that you can stain the un-stainable! WHAAAT!!! That is right I am not joking! Seriously stay tuned because that post is coming for you in the near future! Sign up for my newsletter and I’ll send you an email when that post gets published!
Okay, back to the damaged veneer. I used my orbital sander and sanded the whole thing down so that it was smooth all the way across! Focusing on the swollen areas till they were level or just slightly above the level of the rest of the table! These are the areas that I sanded through the veneer. I just used my hand as a guide. No need to get terribly fancy with this. I also did not sand off the existing finish everywhere, just a good sanding across the whole thing. It is getting painted and not needed to remove the finish.
Fixing The Sanded Through Veneer
To be able to paint sanded through veneer you either need to use Bondo (or any wood filler) to give it a new surface so you aren’t dealing with the MDF at all. You would use Bondo/wood filler if you were wanting to fill a hole in the veneer or if the surface level dipped down and you were needing to smooth it out to be level. With this table, the exposed MDF is level with the table so fiddling with Bondo/wood filler is just an unnecessary step.
Soooo to make life easier you can use….an oil-based primer! I was a little skeptical when I first heard about this, to be honest, and was pleasantly surprised how well it worked! If you have ever painted MDF it is kind of “fuzzy” and throws the texture way off. But seriously the oil-based primer completely gets rid of that! You do not want to use a water-based primer because it will allow the MDF to swell which is what I am trying to fix here. You may also use a shellac-based primer for all my B-I-N lovers out there!.
Priming The Damaged Veneer
I do not enjoy working with oil-based products they are a mess and hard to clean up. So I spent the extra money and bought oil-based primer in a spray can. I taped the sides up and just sprayed the whole entire table with it and sprayed a little bit extra on the MDF areas. I allowed it to fully dry and came back with a higher grit sandpaper (220) and sanded it until smooth. The texture did not fully match the rest of the table but we had made definite progress. I sprayed more spray paint primer in those areas for a second coat. Once it was fully dried I re-sanded it till smooth again. Wala we were getting somewhere with this and it really did match the smooth texture of the rest of the table.
Heads Up
Pausing to give an apology. I do not have many pictures from this project. I took a ton and then the day after I sold this table my phone freaked out and lost a handful of pictures showing details and specifics of how this all went down. So until I do another project like this then please just bear with me. I love a good visual but unfortunately, I can’t provide that here for everything and I am sorry!
Painting
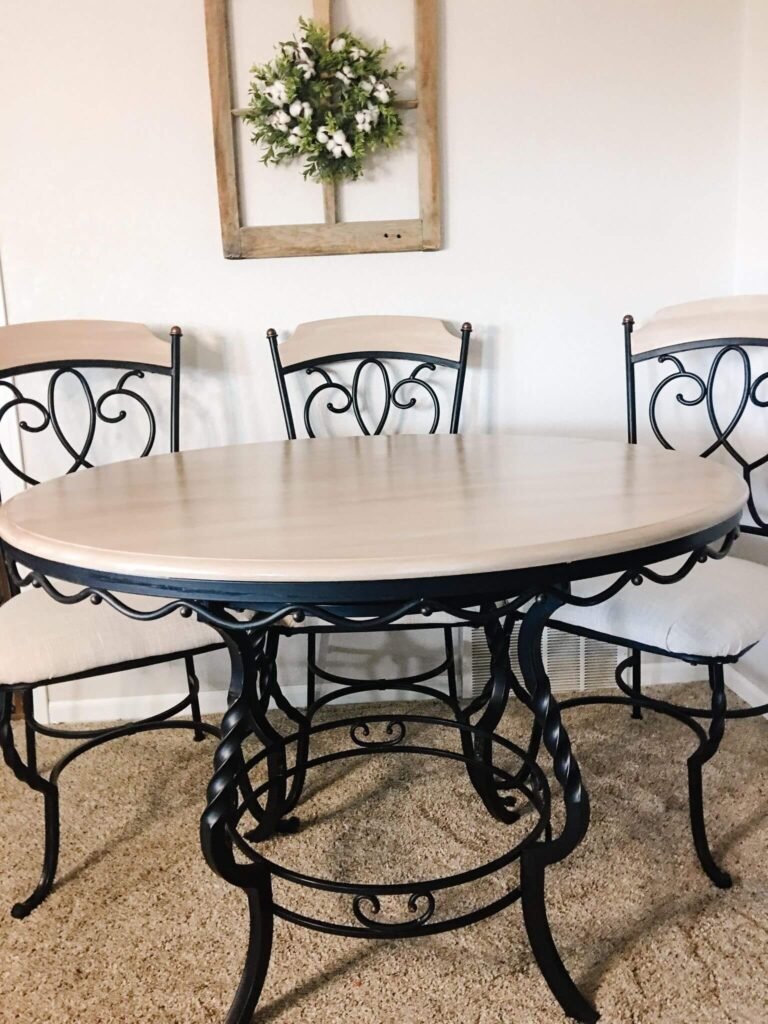
Now that the table has been primed and the ugly spots should now match your table it is time to paint. You can now paint your piece however you want to. If you would like a flawless and brush stroke-less finish then check out this post! If you want to see the steps to how I achieved the look for this table then stay tuned because a post is coming! The best way to stay up to date on all my new posts is by signing up for my newsletter. I send out an email every time I publish a post. I promise I won’t spam you!
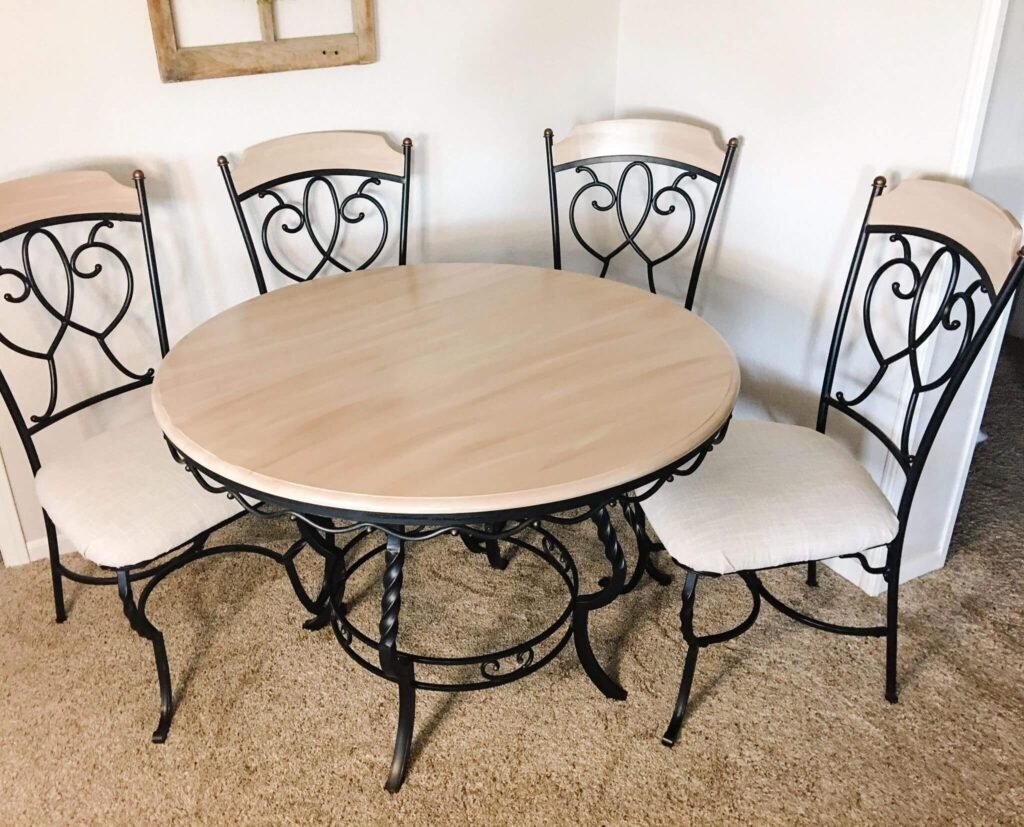
Now that we have finished up that project don’t be scared of veneer. Yes, sometimes things don’t work out as planned but nothing ever does. Next time you’ve sanded through veneer remember that it is a quick and easy fix! Don’t forget to keep an eye out for that post about staining the unstainable! I also have a post coming out about the importance of prep work too.
