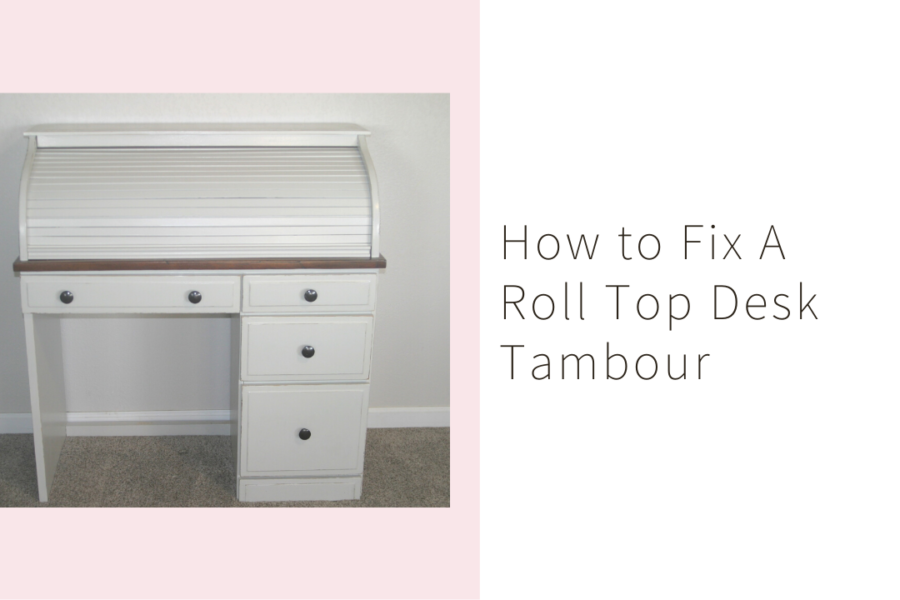
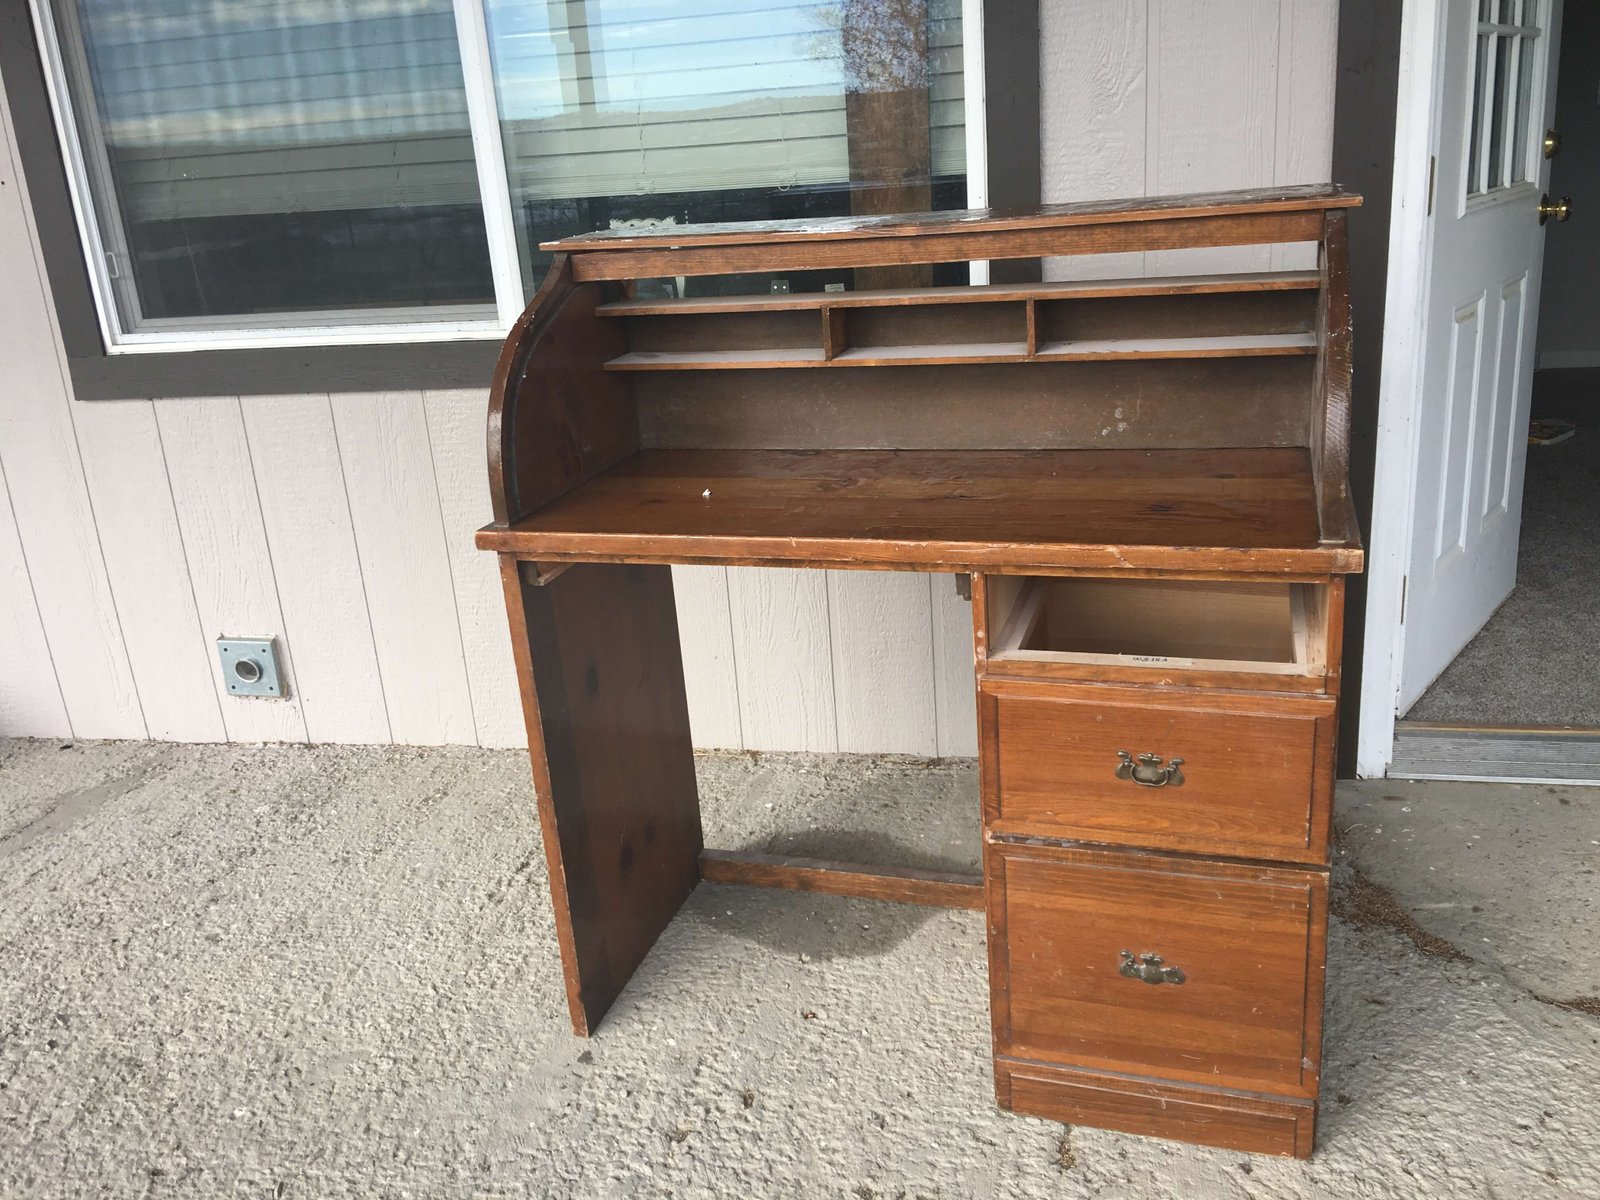
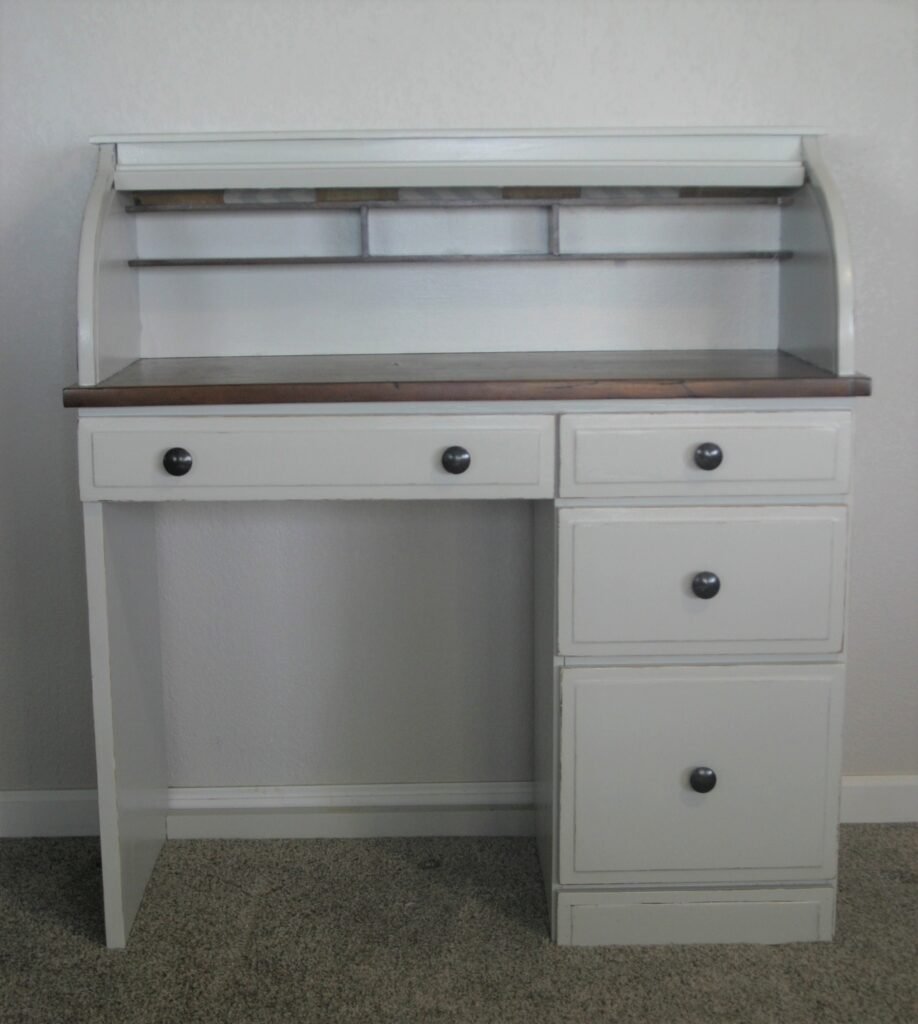
At the beginning of this makeover, I had zero plans to write about this part of the process so I apologize for the lack of pictures to help visualize the process. I decided to write about it because there really was not much out there for me to research on what I needed to do to fix the tambour. To be honest, when I started messing with this desk I really did not think the tambour would be put back on when I sold it but trashed instead. Luckily that was not the case and I was able to salvage it and have a full roll top desk available for its new owner!
This post may contain affiliate links, which means I may receive a commission, at no extra cost to you, if you make a purchase through a link. Please see my full disclosure for further information.
Items Needed to Fix the Roll Top Desk Tambour
Clean up & Arrange
The tambour was sealed shut when I bought the desk. It took a lot of pulling and wiggling to get it out. The glue had dissolved and the fabric strips were falling apart so the wood slats that make up the tambour were in multiple pieces. I pulled the old fabric off and chipped away any last glue bits.
First I painted and sealed it while I painted the rest of the desk with a foam roller, one slat at a time. You can read all about the refinishing process of this desk makeover here and here! Once they dried I flipped them all over so the backsides were facing up. Tambour wood slats are made so each slat has an end that goes over the previous slat and under the next overlapping each other. I positioned them so that they were all placed together properly so when installed they would move correctly. This is the whole point of the fabric is so each slat can move on its own away from the other when needed but are still held together.
Fabric
The fabric! I used duck cloth which is basically a lightweight canvas. I had leftovers from a project I did YEARS ago and it finally came in handy. You can purchase this at any fabric store I had bought mine at Hobby Lobby. Whichever you prefer will work! With the slats positioned properly, I measured and cut my fabric into three equal sections. One strip to go down the middle, left, and right sides. I cut the canvas into three strips the length of the tambour and about 4-5 inches wide.
Gluing
Next, I applied a thin strip of wood glue on each wood slat the width of the canvas. You do NOT want the glue spreading in between the slats. The slats need to move independently to work properly so do not glue them together. Place your fabric over the top and smush the glue and fabric together. Wiping any that comes out the sides and making sure it does not go in between the slats. When doing the strips in the side place them an inch or two away from the edge. The edges should have no glue or fabric on them. This part will be what slides inside the grooves of the desk and the fabric will hinder that. Do this process to all three strips of fabric and allow them to dry completely.
Finishing Touches
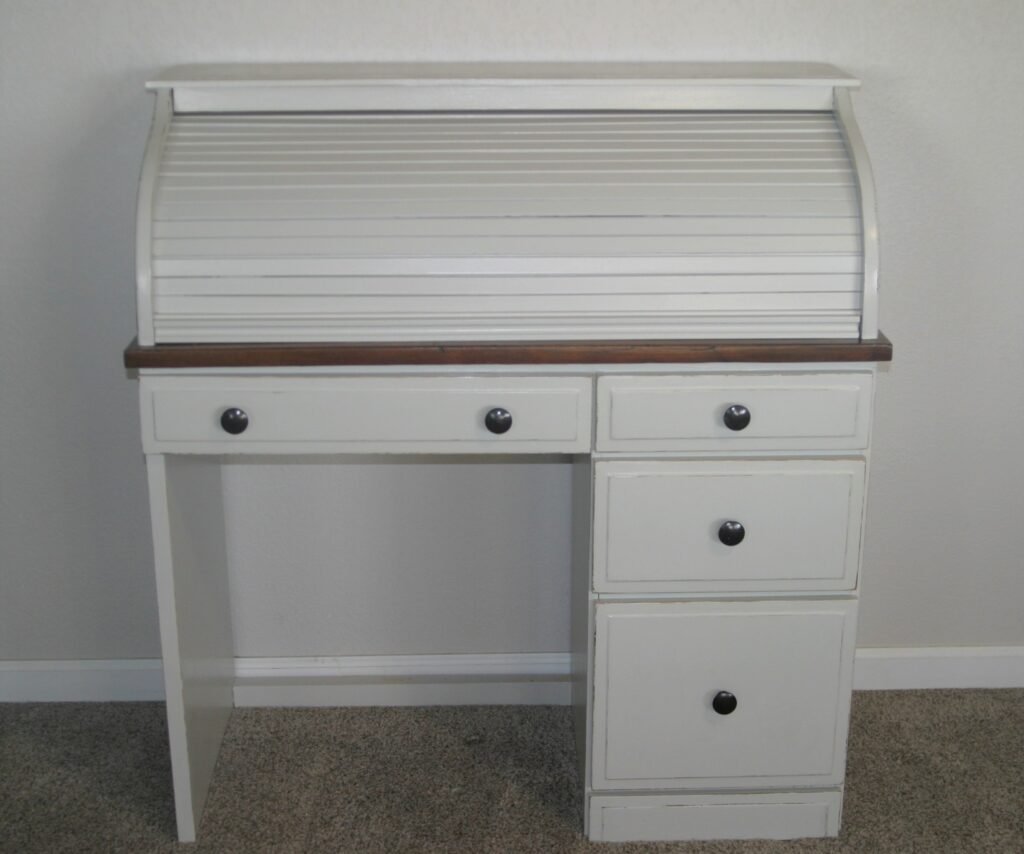
Once it has properly dried take the spray silicone spray and spray a tiny bit along the grooves of the desk that the tambour will slide in too. Wipe up any product that ran down the side or pooled down at the bottom. Grab your newly assembled tambour and wiggle it back up through the grooves. The silicone spray will allow it to move so nicely! There you have it! That is how you fix the tambour of a roll-top desk!
If you are refinishing an entire roll top desk than check out my other posts about painting and staining your desk!
-Krikit

